
Manufacturer: Thermaltake
Release Date: 02/24/2017
MSRP: $99.99 ( 2 Blue LED fans), $129.99 (3 RGB fans)
PC gaming isn’t just about having the best GPU, fastest CPU, or 64GB of RAM (which is stupid, honestly), but also how good your PC looks. When you invest a large amount of money in a machine, you want to put your own stamp on it, and it starts with the case itself. I moved on from the Raidmax Viper GX case, which was a good case for beginner PC builders. I actually had an accident in which my son knocked me off balance, and I spilled soda on top of the tower and had a major disaster. This led me to need a new case, and tempered glass is the way to go.
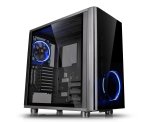
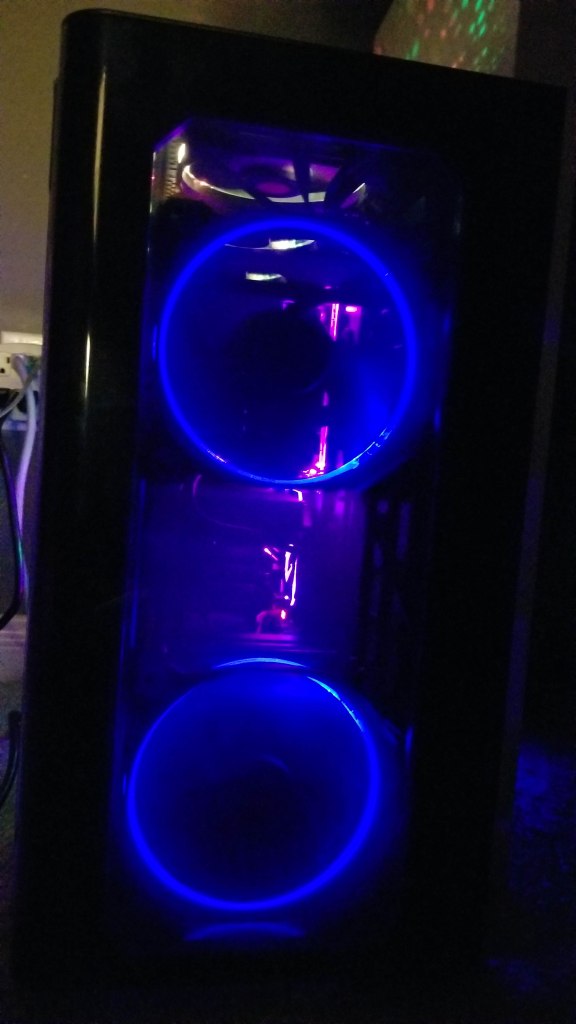
Now if you aren’t really into showmanship, lights, colored radiator fluid, and cool hardware, then don’t get one of these. However, with some good cable management and patience, you can get a simple setup to look top-notch. The Thermaltake View 31 comes pre-installed with two Riing 14 Blue LED fans (the one I have) or three Riing 12 RGB fans (which cost extra). The case itself looks sleek, is lightweight, and is easy to use and set up. The tempered glass sides just have two screws on each side, and they pop right off, allowing full access to the inside. This tower is void of 5.25″ bay drives, and everything inside is customizable.
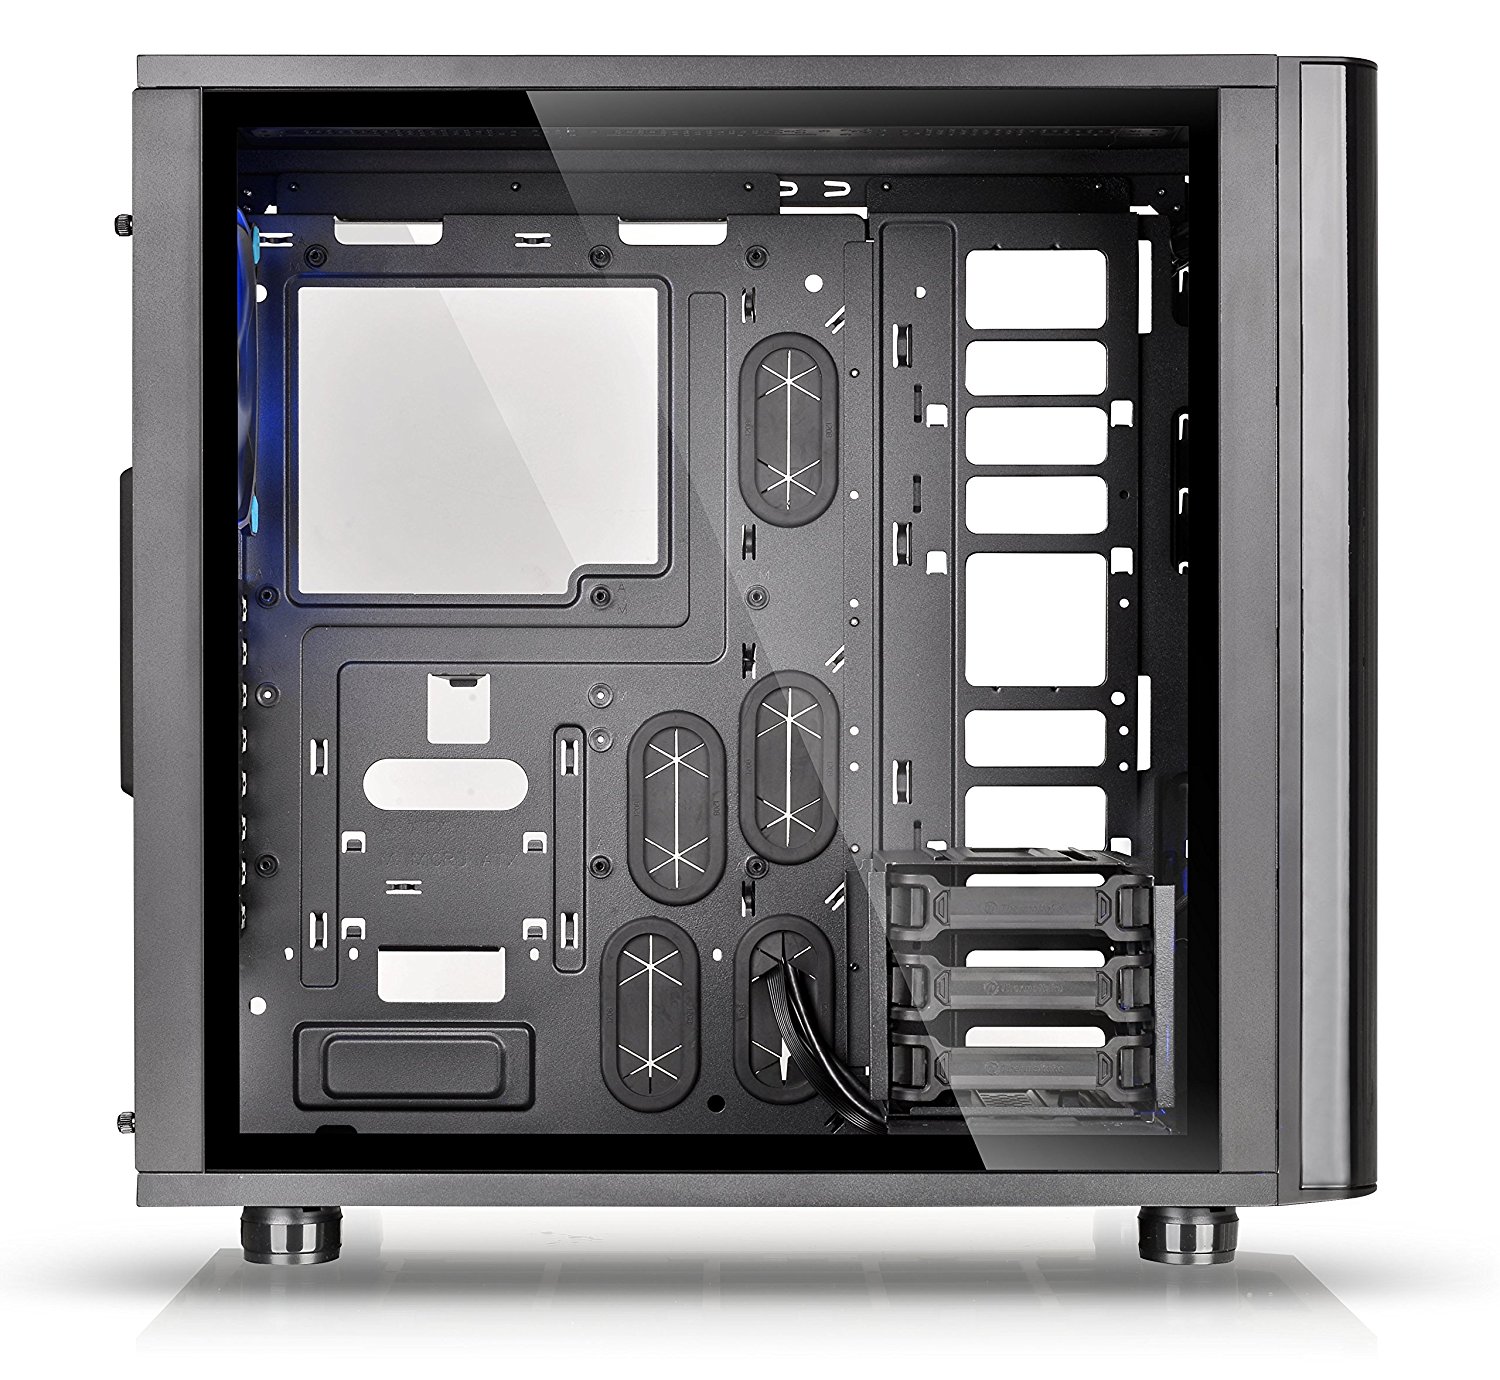
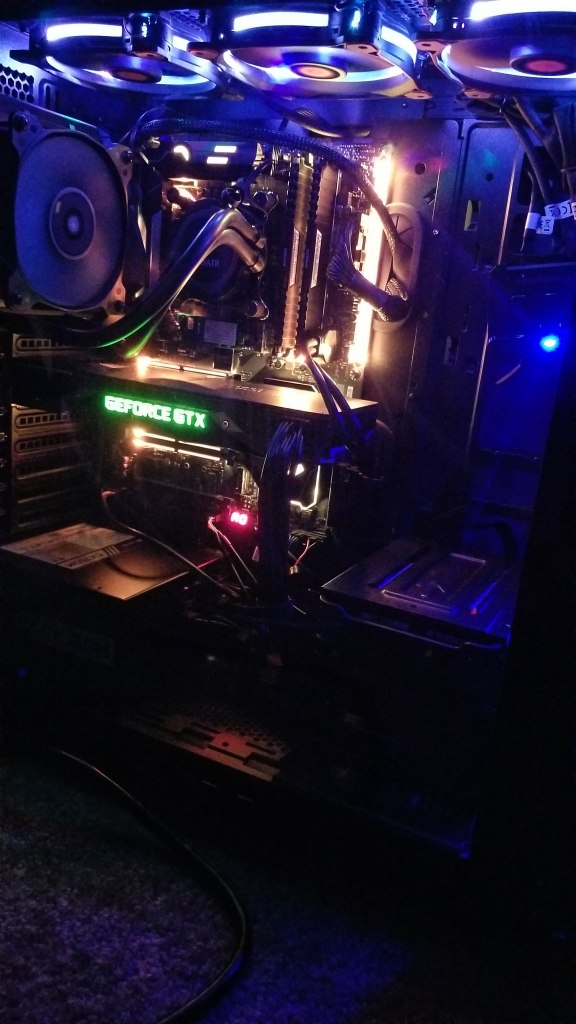
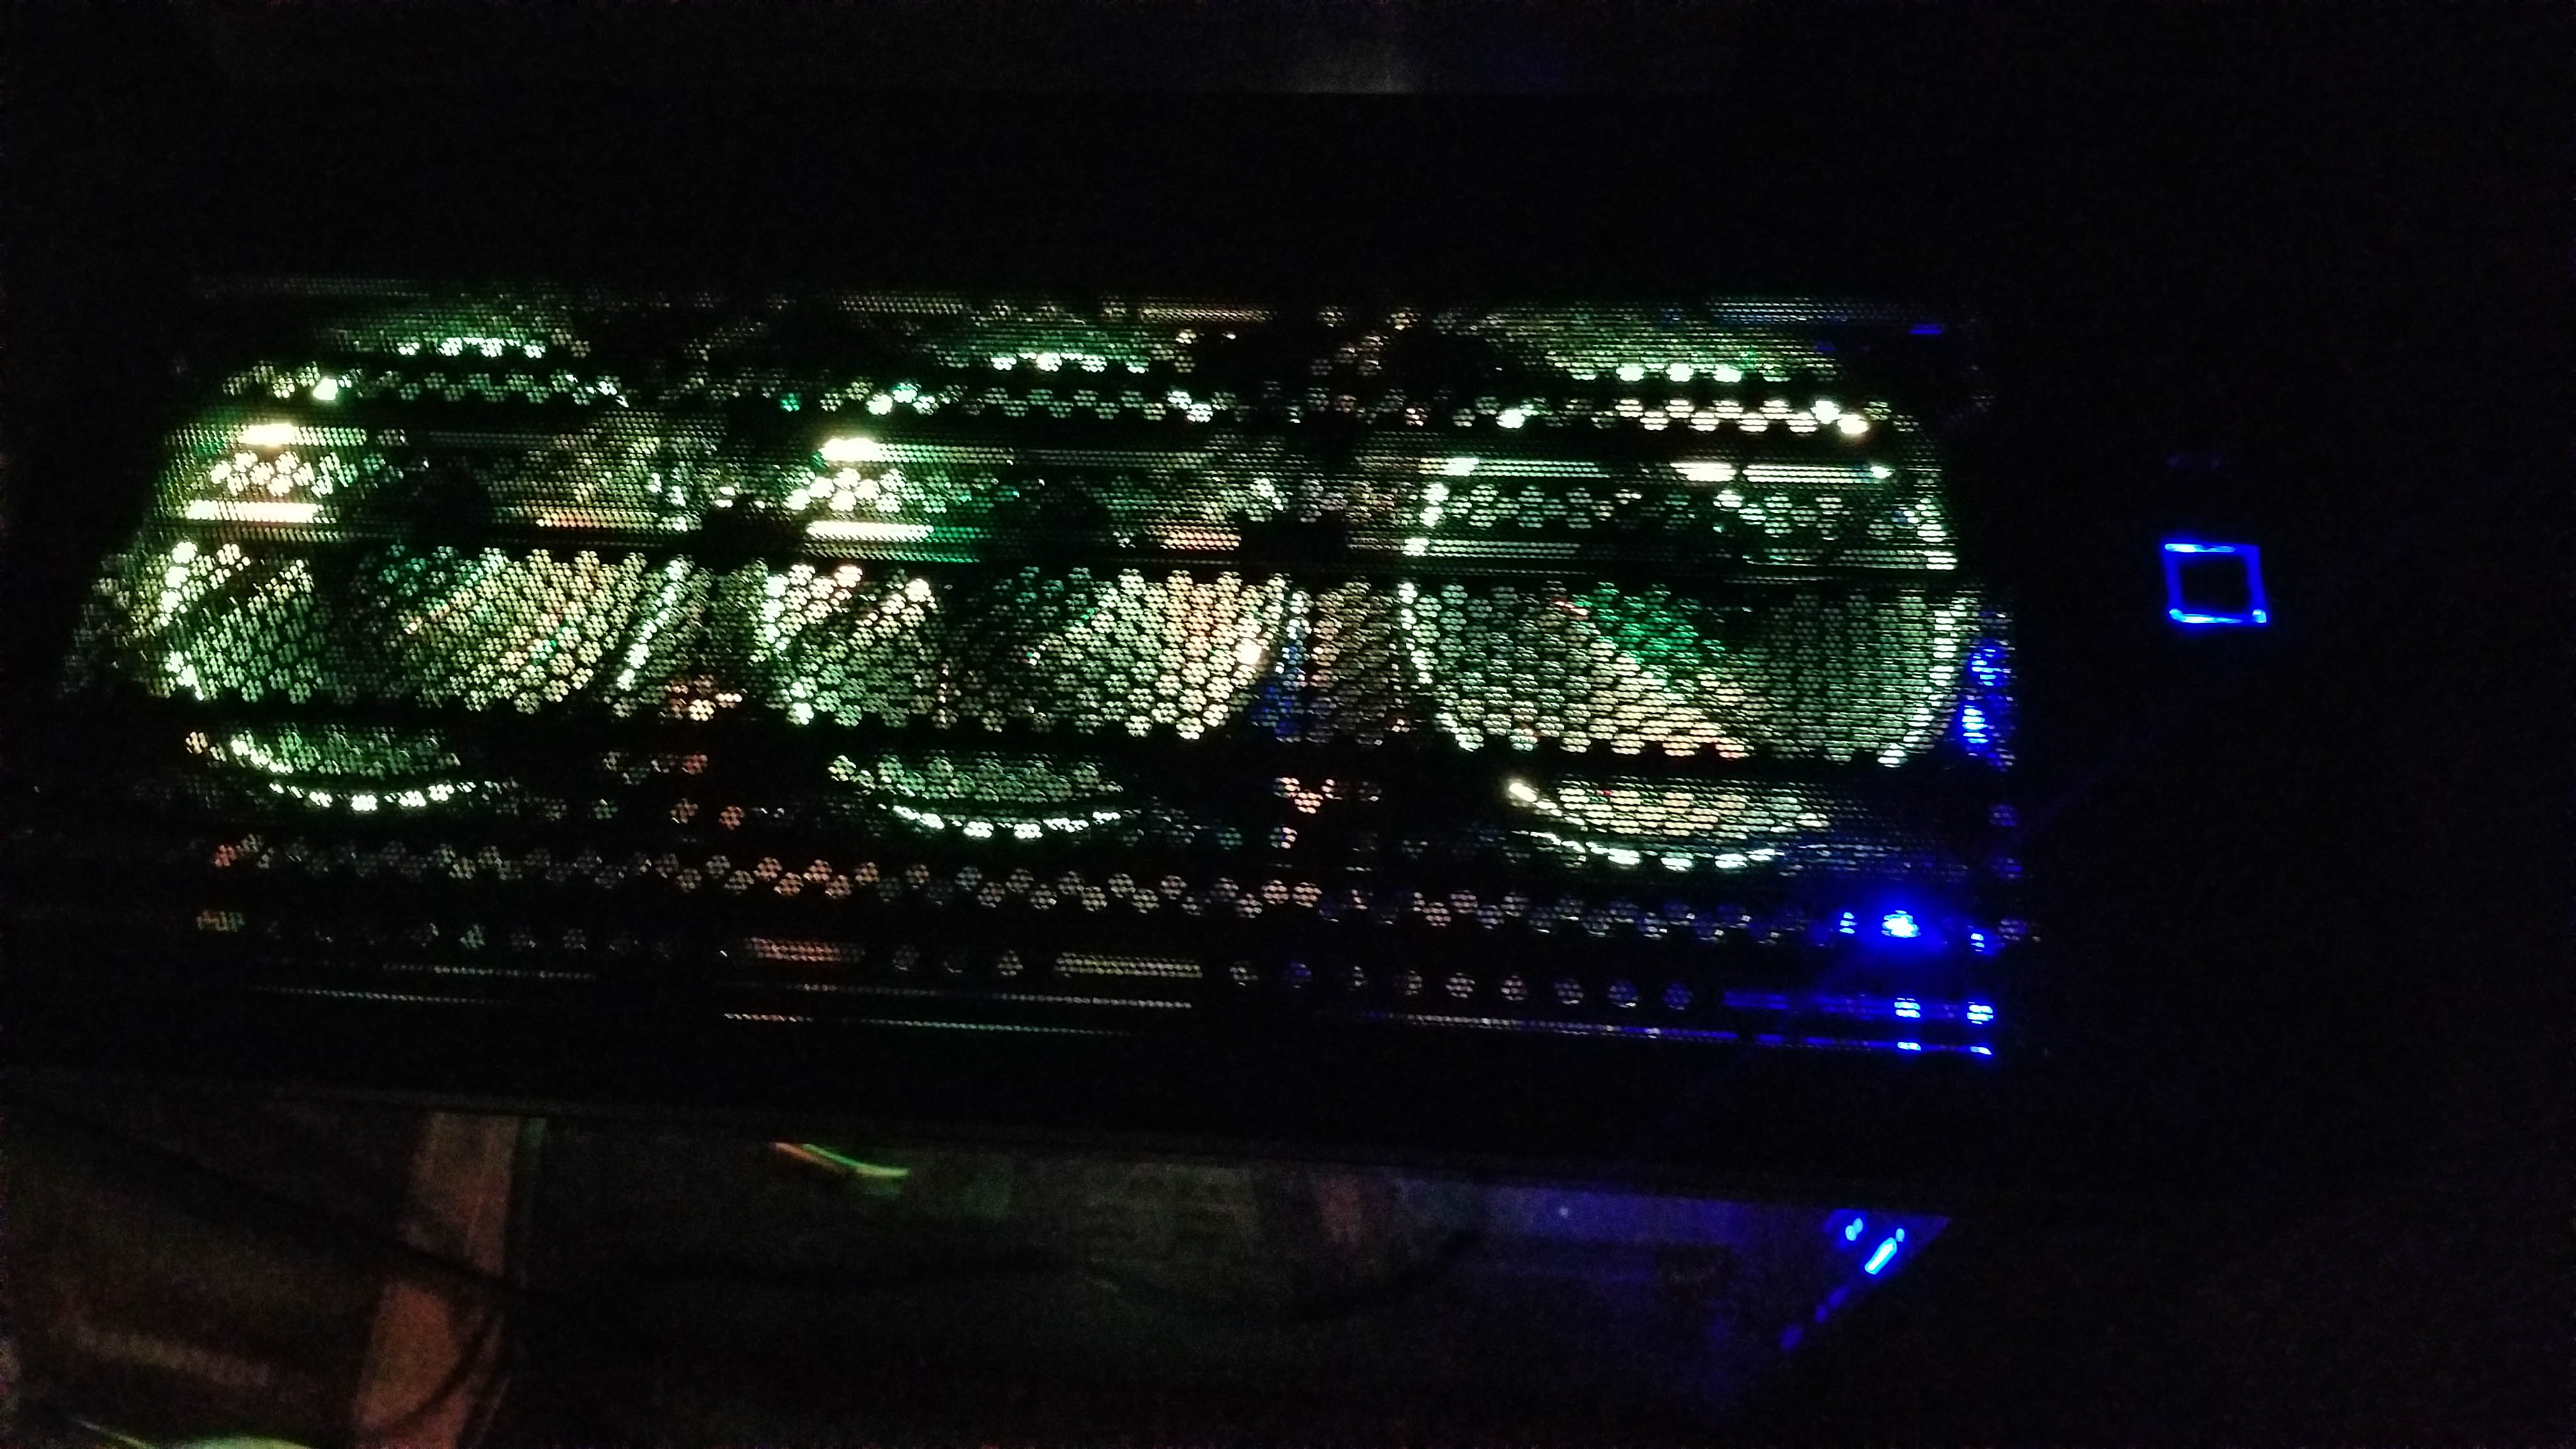
There are 3 HDD trays with an amount that is moveable, or you can install them on the back of the PC if you want them out of the way or need to install a large coolant reservoir. There are plenty of options for fans and radiators, as they can go on all sides. I opted for the two Riing 14 Blue LED fans to go in the front, and I purchased an additional 3 packs of Riing 12 RGB fans for the top. I don’t have any fans on the bottom yet, and I have a Corsair H75 AIO radiator with a dual fan setup for the CPU in the rear. It looks fantastic, and just a little effort goes a long way.
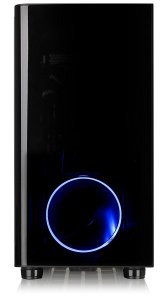
One major feature I love is the magnetic dust screen that lays right on top of the top fans, as this allows you to see the lights from the top. The front panel has vents on the sides to allow air in and is darkened so only the lights show and you don’t see the blades spinning. When I actually started placing things inside, it was nice to see the motherboard stand-offs were pre-installed for an ATX motherboard, and the front panel cables were already tied down and managed. There were plenty of holes and places to put cables and loop things through. Even with a crowded system and every port filled, you should be able to find plenty of areas to manage cables neatly. There is also an option to have your CPU face towards the case for those with custom GPU coolers.

The front panel features a clean and sleek blue-lit square power button, a smaller reset button, an HDD LED, two USB 3.0 ports, and two USB 2.0 ports, as well as a microphone and headphone jack. This was a huge plus over my last case, which only had two USB 3.0 ports up front.
Overall, the case is just slick, clean, and tidy, and it looks high-end and professional for a reasonable price. I do have a few minor issues, such as the fact that there are not six HDD trays, so you can have three up front and three in the back. I’m actually contacting Thermaltake right now to see if I can have more sent to me. Some additional trays would have been nice. People who don’t use AIO liquid cooling systems will find the big empty area on the right to be an eyesore (I don’t mind it). It does not come with a PCI-E ribbon cable for the GPU stand-off. It also lacks more fans, pre-installed RGB or not. What do you get? However, the case is fantastic, and I don’t think I’ll be swapping it anytime soon.


Yeah, it's pretty damn awful. Notoriously one of the worst games on the PSP. A 4 was actually being generous.…