
Well, I guess someone had to do it right? There isn’t a single Retropie setup for Raspberry Pis on the internet that I could find. After setting up my Picade I spent three weeks tweaking, adjusting, fiddling, troubleshooting, and overall just learning the ins and outs of Retropie and Retroarch. It’s a fantastic and powerful emulator software but needs to be fiddled with so much that most casual users will give up. You finally have a Pi and an enclosure or some sort of cabinet for it and no idea on how to make it look nice or even get games to work.
Getting Retropie Up and Running
Let’s start with something simple and that’s just getting the thing up and running. You will need to burn an image to an SD card to get started and I highly recommend just using a Pi 4 as this guide will cover that Pi, but older ones are fine too.
First, you’re going to download the Retropie Imager
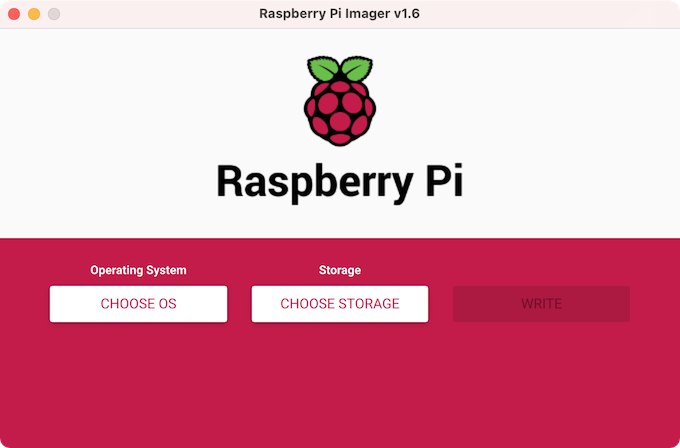
Choose the version of Retropie that matches the Pi you’re using and then select your storage and click write. That’s it! You now have the basic Retropie install ready to go. Slot it into your Pi and start it up.
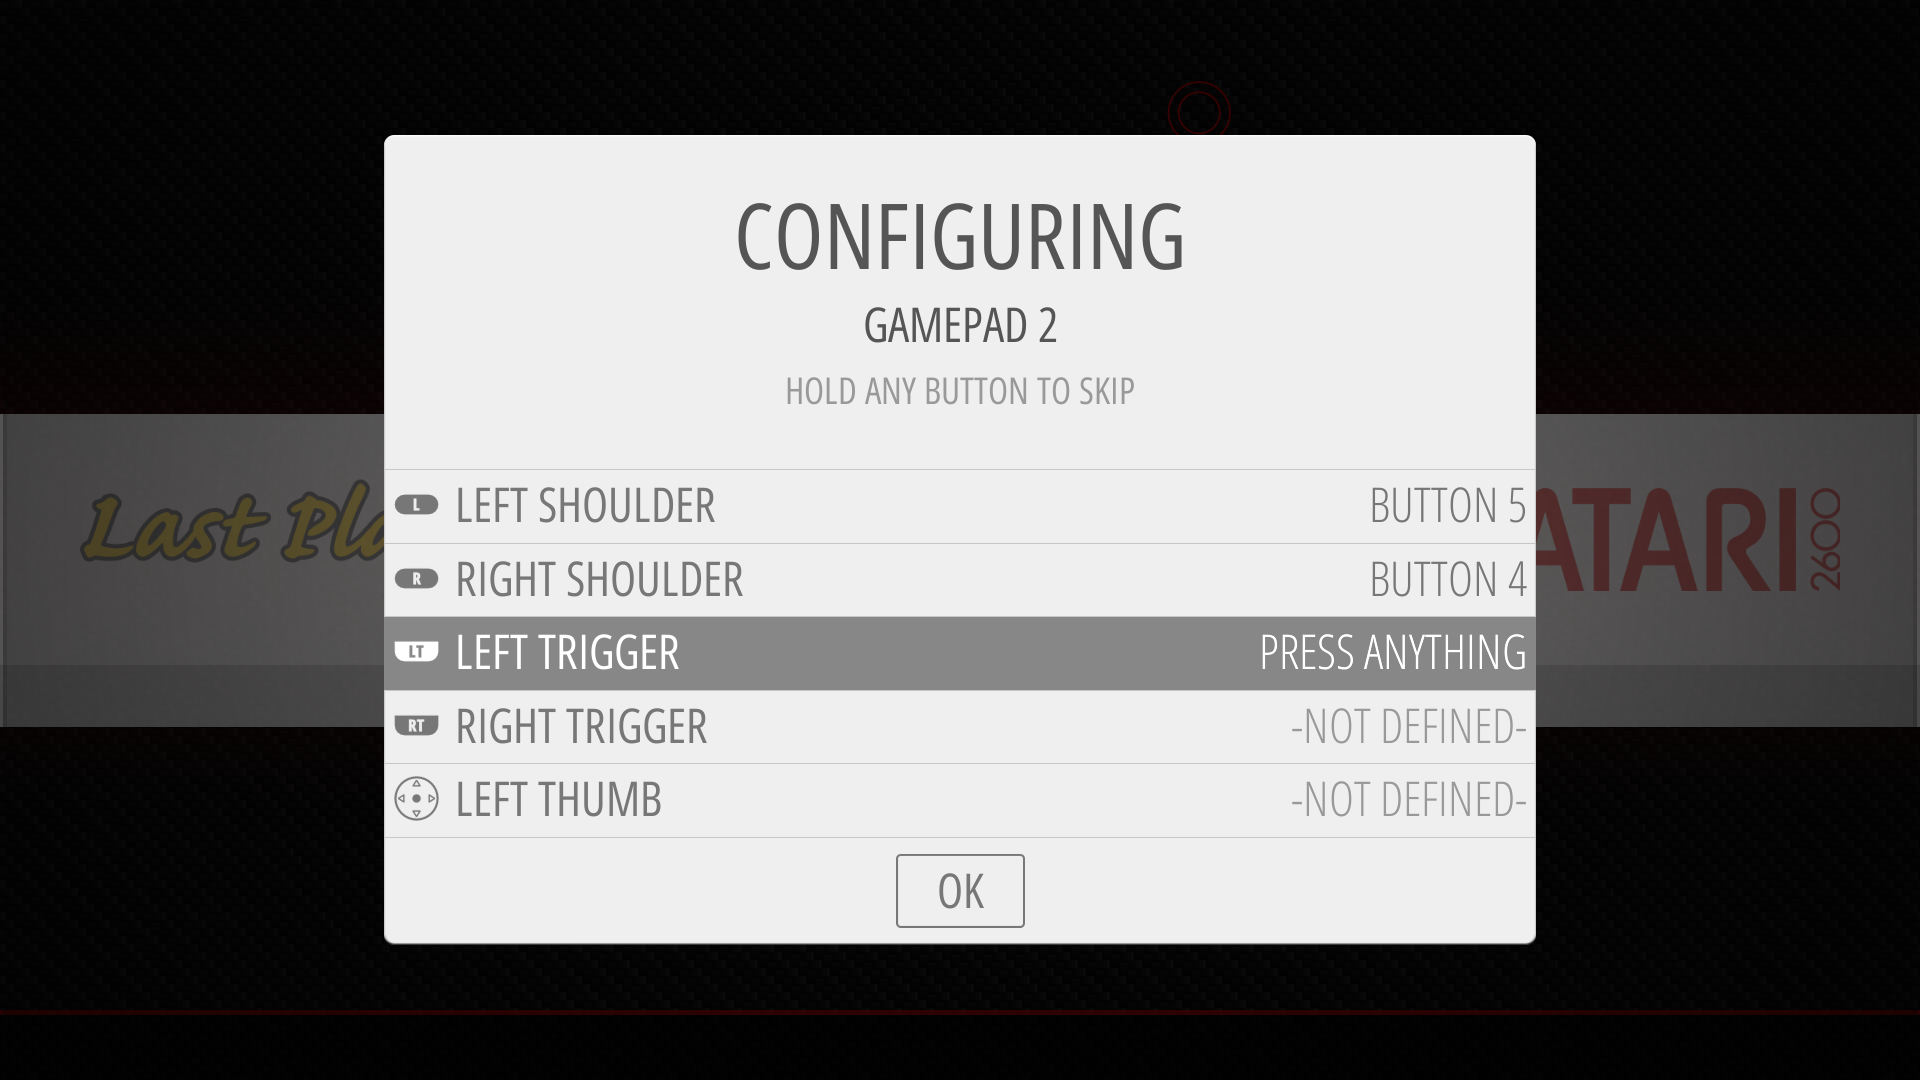
When you startup Retropie you will need to set your controls. If you have a cabinet built around the Pi set your controls as you want and hold down any button you want to skip. If you’re using a controller I suggest picking the main controller and sticking with that one as Retroarch will map EVERY emulator to these controls.
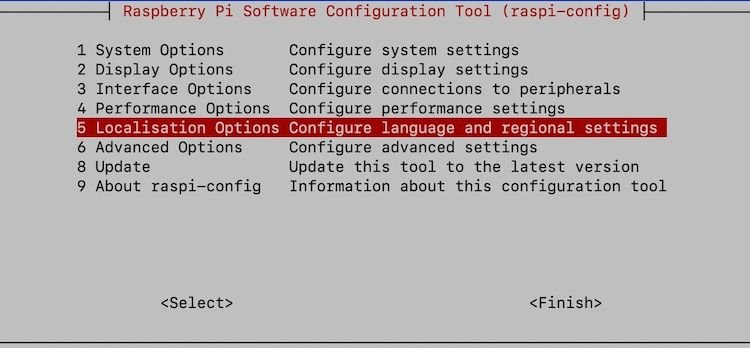
After this, you will need to have the correct keyboard layout for your country. To do this go into RetroPie>Raspi-Config.
For the US layouts change the keyboard to “Generic 105 key” layout and the rest their default options when prompted.
Setup Wifi and SSH
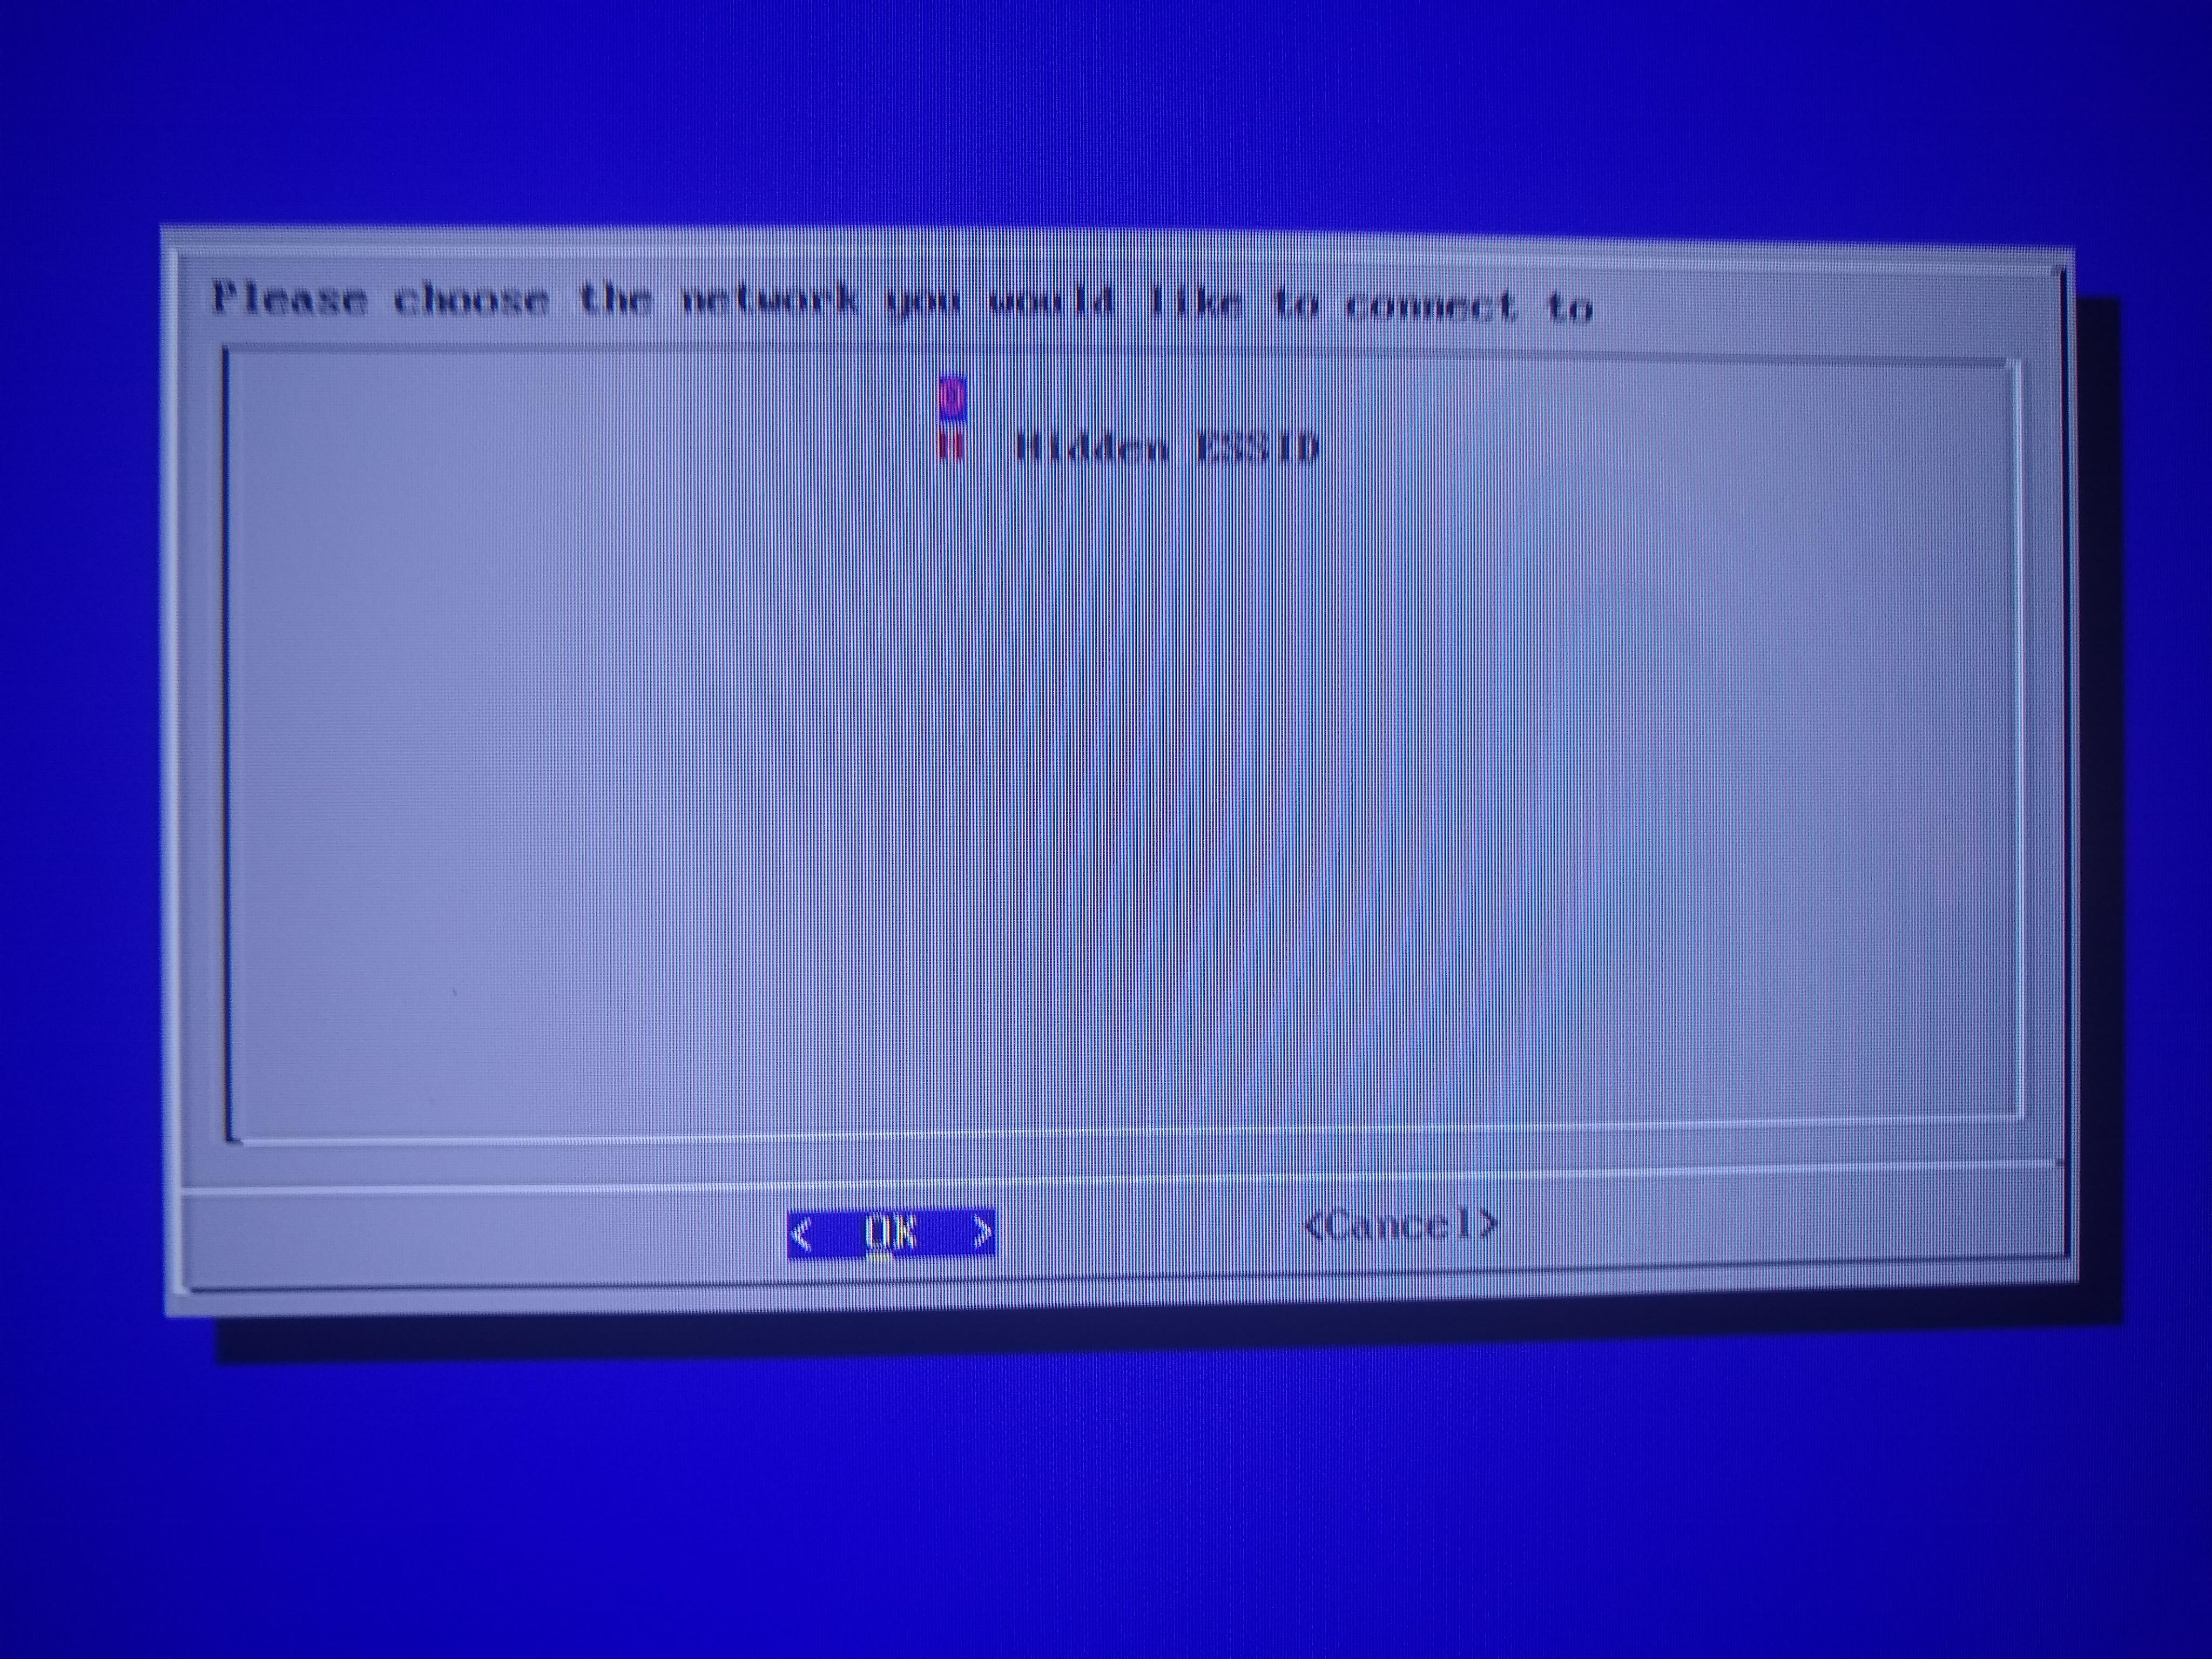
The best and fastest way to get ROMs and files onto your Pi is to set up the Wifi and SSH into it. We can’t do anything without these two things set up first. You can also alternatively use an ethernet cable, which is recommended, but if you have an arcade enclosure or are far away from your router then this may not be an option. Once you have set up your control go into Retropie>Wifi. I highly recommend getting a wireless USB keyboard for this stuff as the “DOS” menus of Retropie are easier to navigate with a keyboard. I use this one as I can leave the dongle inside my Picade and the keyboard has very long battery life. It also has a great layout and nice buttons. You also won’t be typing more than a few buttons prompts or short commands so you don’t need anything full size for typing novels. Rii Mini Wireless Keyboard
Once you’re in you can scan for an SSID and type in your password. And yes, I looked it up, there’s no way to see the characters in your password which is super annoying if you have a complicated password. You should see SSIDs, this one is blank for privacy reasons. Once you’re connected write down your IP address as you will need it next.
Setting up SSH on your Windows 10 PC (I’m not sure how to do it for Mac) is fairly easy. I highly recommend using WinSCP as it’s just easier and more reliable and has Windows built-in FTP stuff. Once you have it installed you need to enter your IP address from the previous screen and the username and password is always pi and raspberry by default. You can change these if you want, but…who wants to hack into your Pi? Yeah, no one.
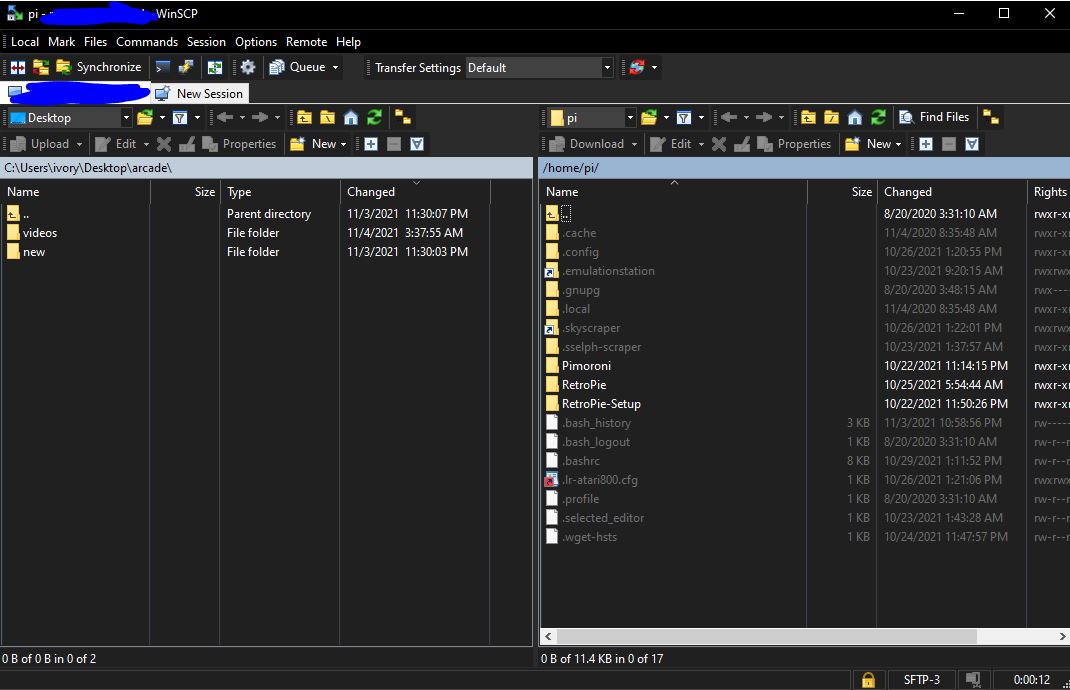
You should now see a screen like this. Always remember that in the <root> menu that <home> is your main folder if you get lost. Inside go to RetroPie and the <roms> and <bios> folders are what you’re going to use the most.
You also need to enable hidden files by going to Options>Preferences>Panels>show hidden files
Update RetroPie and Firmware
You should upgrade your firmware if you haven’t already. If you installed a Picade you have probably already done this step, but you need to step down into a command line by pressing F4 on your keyboard and type in:
sudo apt-get update
sudo apt-get upgrade
you can then type
reboot
At this point, I recommend updating Retropie by going into the Retropie>Retropie Setup in EmulationStation. Then select Update RetroPie Script and once that’s done you can select Update.
Now we’re ready to add BIOS files and ROMs
Getting ROMs Working
Before we make Retropie look fancy we want to get games working first. I can’t link where to download them, but for Arcade MAME ROMs you can go to archive.org and get romsets. Now, I need to take some time and explain MAME and how it works as it’s very confusing and most people have trouble getting MAME up and running.
MAME is not like other video game consoles in which you can download any ROM and stick it in the folder and it plays. MAME requires the correct romset version/year for the MAME emulator you’re using. For Retropie you will mostly use mame2003plus, mame2010, and FinalBurnNeo. You must only use the romset that matches the emulator version. This is such a hard thing to find online as there are a million answers. If you go to archive.org and search for “mame2003plus romset” you should find an entire archive of them. This is also important because some ROMs only work with certain emulators and you need to have the right romset. You can’t just download an entire 120GB file and drag them all in your ROMs folder and hope they work. Now the confusing part is getting distracted by the three main emulators. Don’t worry about this. I will link a Google spreadsheet of every MAME game (or most of them) that works and for what emulator to use them with. I highly recommend searching inside the document under each emulator tab at the bottom for the game you want. Search within mame2003plus first as you want this to be your default core. Any other games needing specific emulator changes can be changed individually.
Here is the Google Doc
This is also mainly for a Pi3b+, so anything that says it lags will most likely run on a Pi 4 just fine. Remember, there are some popular games that just do not run on a Pi 4 and that includes Killer Instinct and some Cave 1K games. Modern fighters like Tekken 3-6 will not run. This also includes certain Sega games that use the Naomi or Atomiswave boards for Dead or Alive and Crazy Taxi for example. The Pi 4 just isn’t powerful enough for these so don’t even bother.
There are also some games that require CHD files which are hard disk images that are needed to run alongside the ROM itself. You will probably not find any games that require these as most are too advanced to run on a Pi 4 anyways, so you can mostly ignore this.

For games like Metal Slug, you need the neogeo.zip BIOS file in the ROMs and BIOS folder. For games like Demon Front, you need the pgm.zip BIOS in both folders as well. I can’t link BIOS files, but Google search “neogeo.zip for mame” and something will come up.
For other consoles, I highly recommend reading the official Retropie help docs and under each emulator, it will tell you if a BIOS is needed, what format each emulator can read files in, and other settings. I also recommend compressing your CD images into CHD files as most disc-based emulators can read these and it saves space. The official docs have links to CHDMan and how to use it. There are places to download already made CHD files for systems like PlayStation. r/roms on Reddit is a good place to start.
Whenever you SSH ROMs over to your Pi you need to restart EmulationStation which is your GUI for Retropie. You can press Start>Quit>Restart ES and your ROMs should appear under the correct consoles if you put them into the correct folders.
Scraping
This is a weird term that most people don’t know, but it means downloading all the images and metadata you need for each game to make your Pi experience look presentable. A blank screen with game names just isn’t very appealing. You also want a nice ES theme to complement these scrapes, but we’ll get into that later. Don’t ever use the built-in scraper inside ES as it’s crap. You want video snapshots, wheels, and even marquees, but it’s a bit complicated and you will need your trusty keyboard for this one.
We are going to press F4 on the keyboard and type in the following:
sudo ~/RetroPie-Setup/retropie_setup.sh
Quick tip. If you press the up arrow in the command line screen the Pi remembers all the commands you type in. This is a quick shortcut when needing to get the scraping section faster or any other command you’ve used.
Navigate to Manage Packages>Manage optional packages>scroll down to the bottom and install the skyscraper package.
For this scraper to work correctly you will need to go to screenscaper.fr and create an account. You then need to enter the credentials in the skyscraper .ini file using WinSCP. Optionally you can edit the .ini file on your Pi by going into “Advanced options” in the skyscraper menu and editing the config file there. Pressing Ctrl+X will allow you to save the changes.
Navigate to the following location in WinSCP
/home/USER/.skyscraper/config.ini
Then enter the following at the bottom
[screenscraper]
userCreds="USER:PASSWORD"
Replacing USER:PASSWORD with your credentials.
Once this is done, navigate back to the skyscraper menu. Under option 5 “generate options” make sure ROM Names is Source Name, Remove Bracket info is enabled and the last option is disabled. Make sure “Download videos” is enabled.
Under option 3 “Cache options” make sure screenshots, cover, wheels, scrape only missing are enabled. The rest should be disabled.
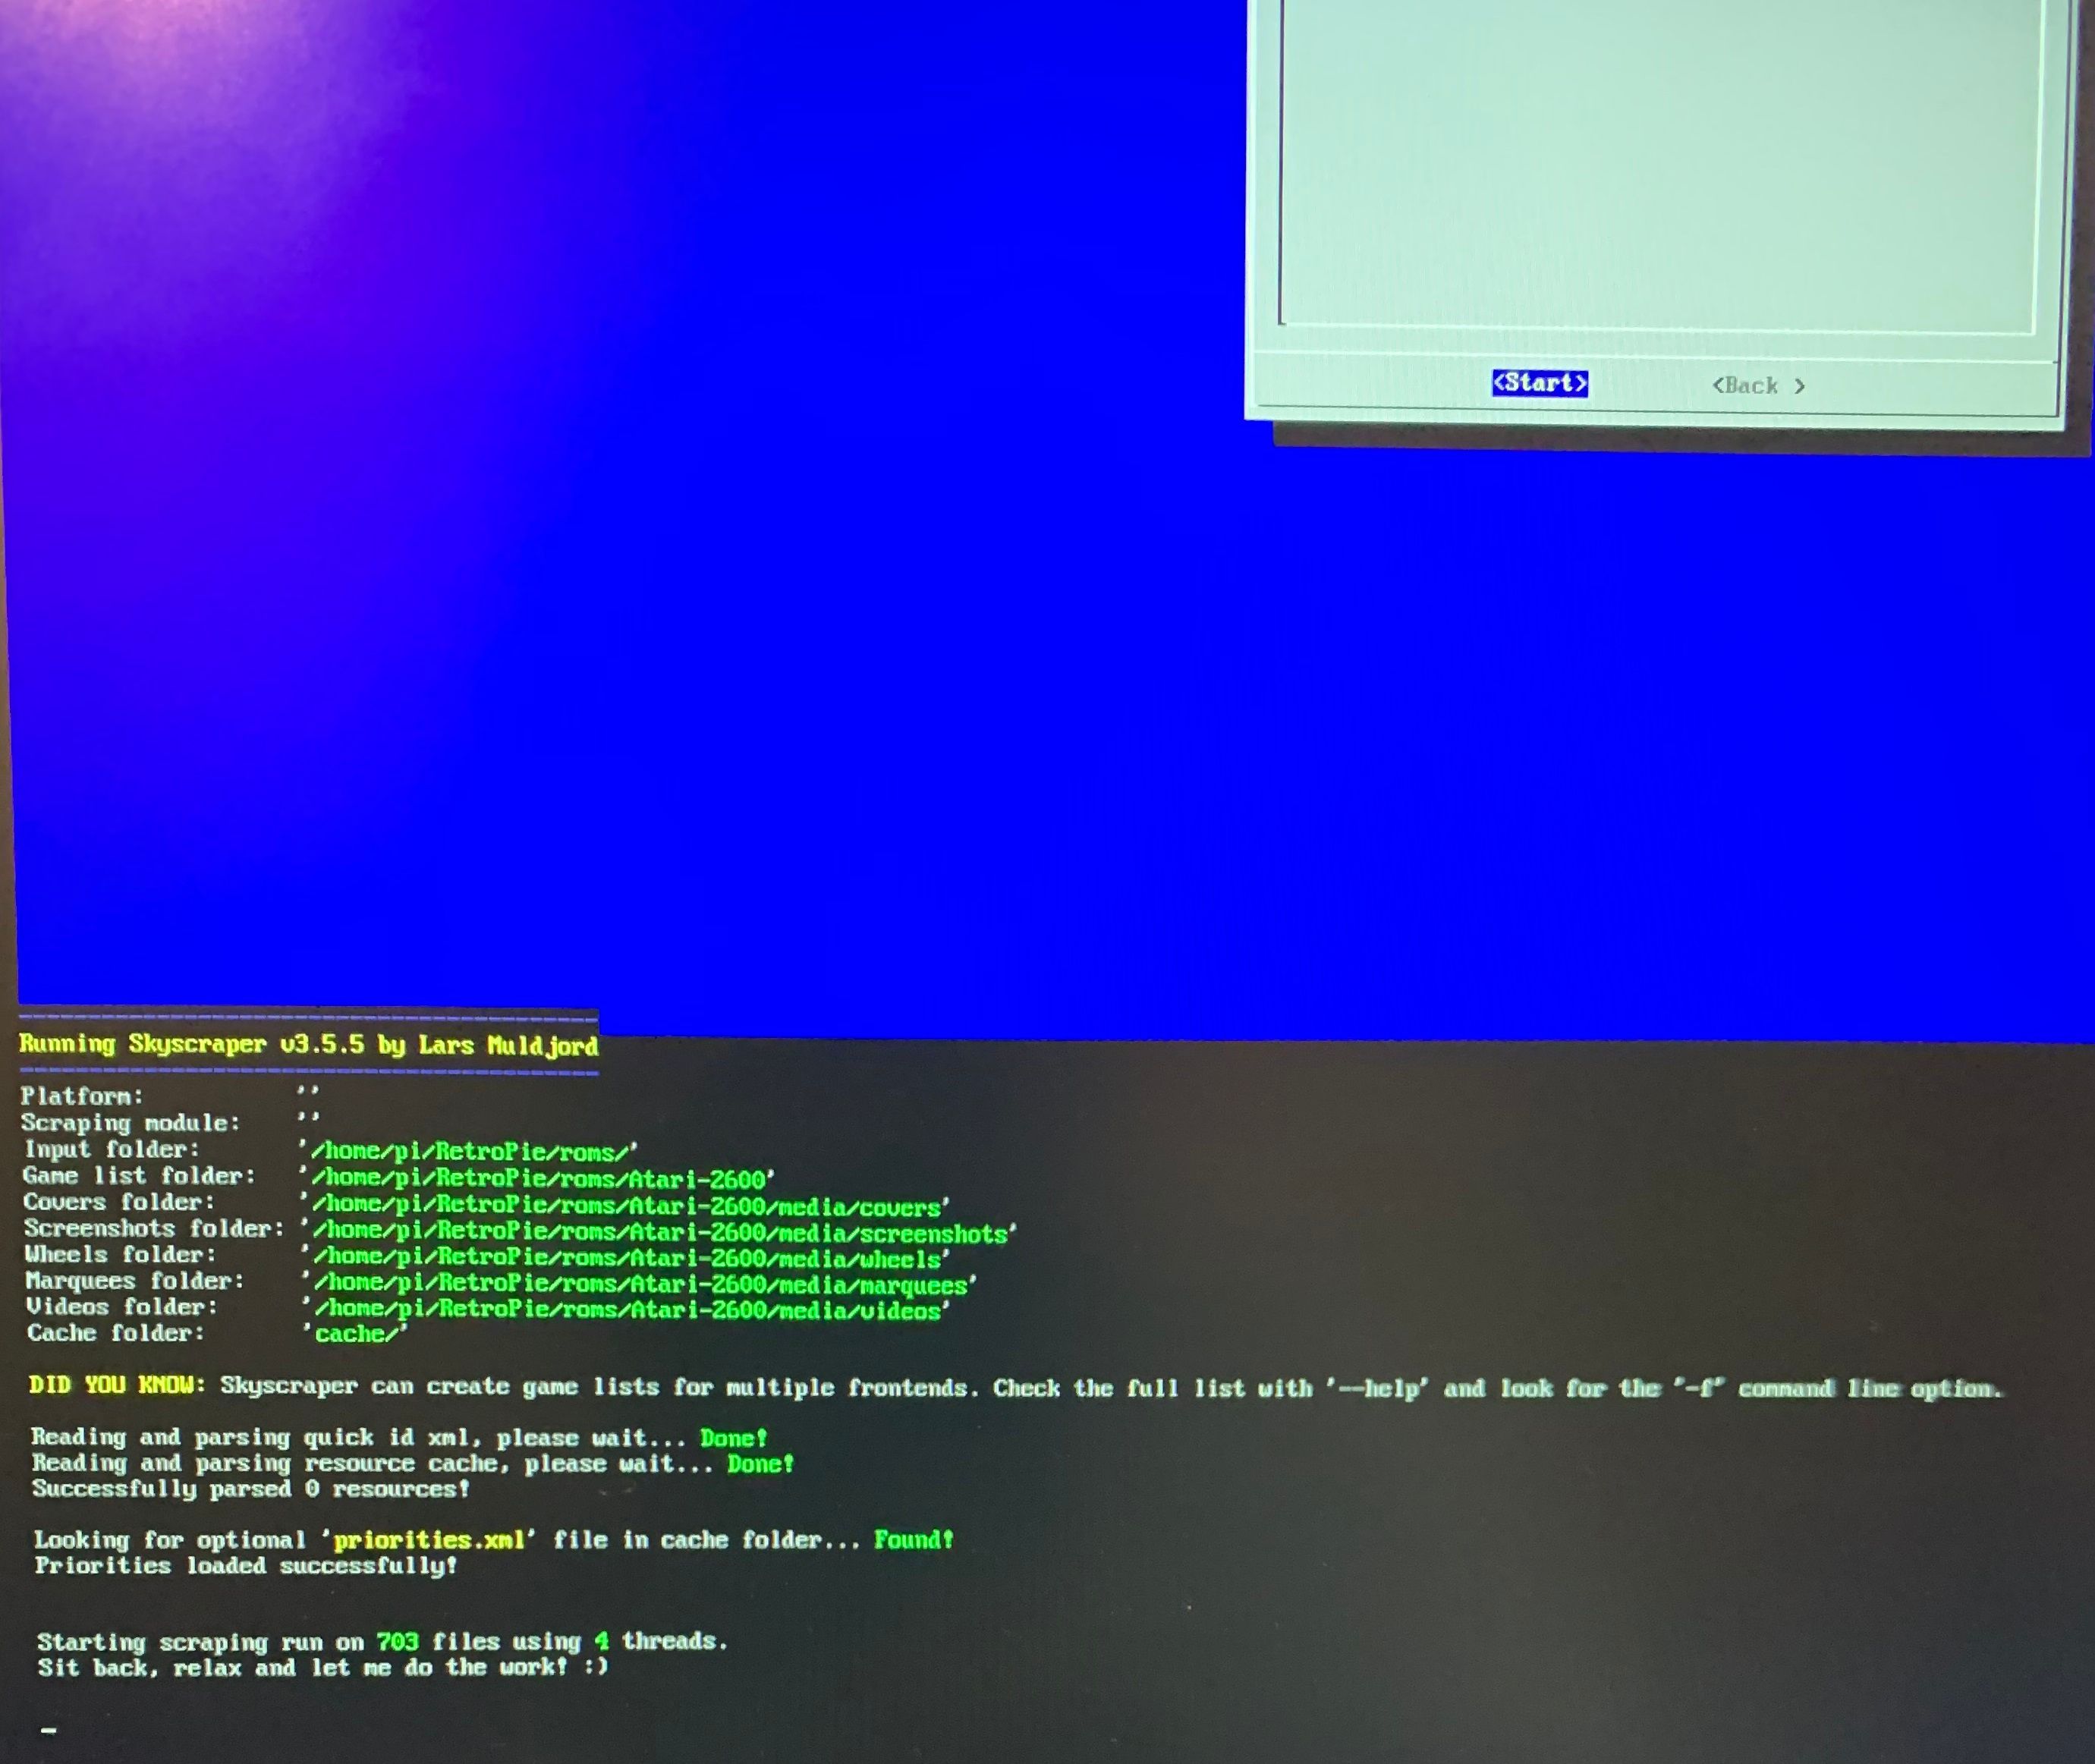
Once this is done you need to go under option 1 “Gather resources” and press space to select the systems you want. After this is done let the scraper do its thing. Depending on how many ROMs you have this could take a while.
After this is down you need to generate the lists! They won’t show up in ES otherwise. Go down to option 4 “generate game lists” and select the systems you just scraped and continue.
You’re done scraping! After this backup, until you see the reboot option.
Customization EmulationStation
Themes
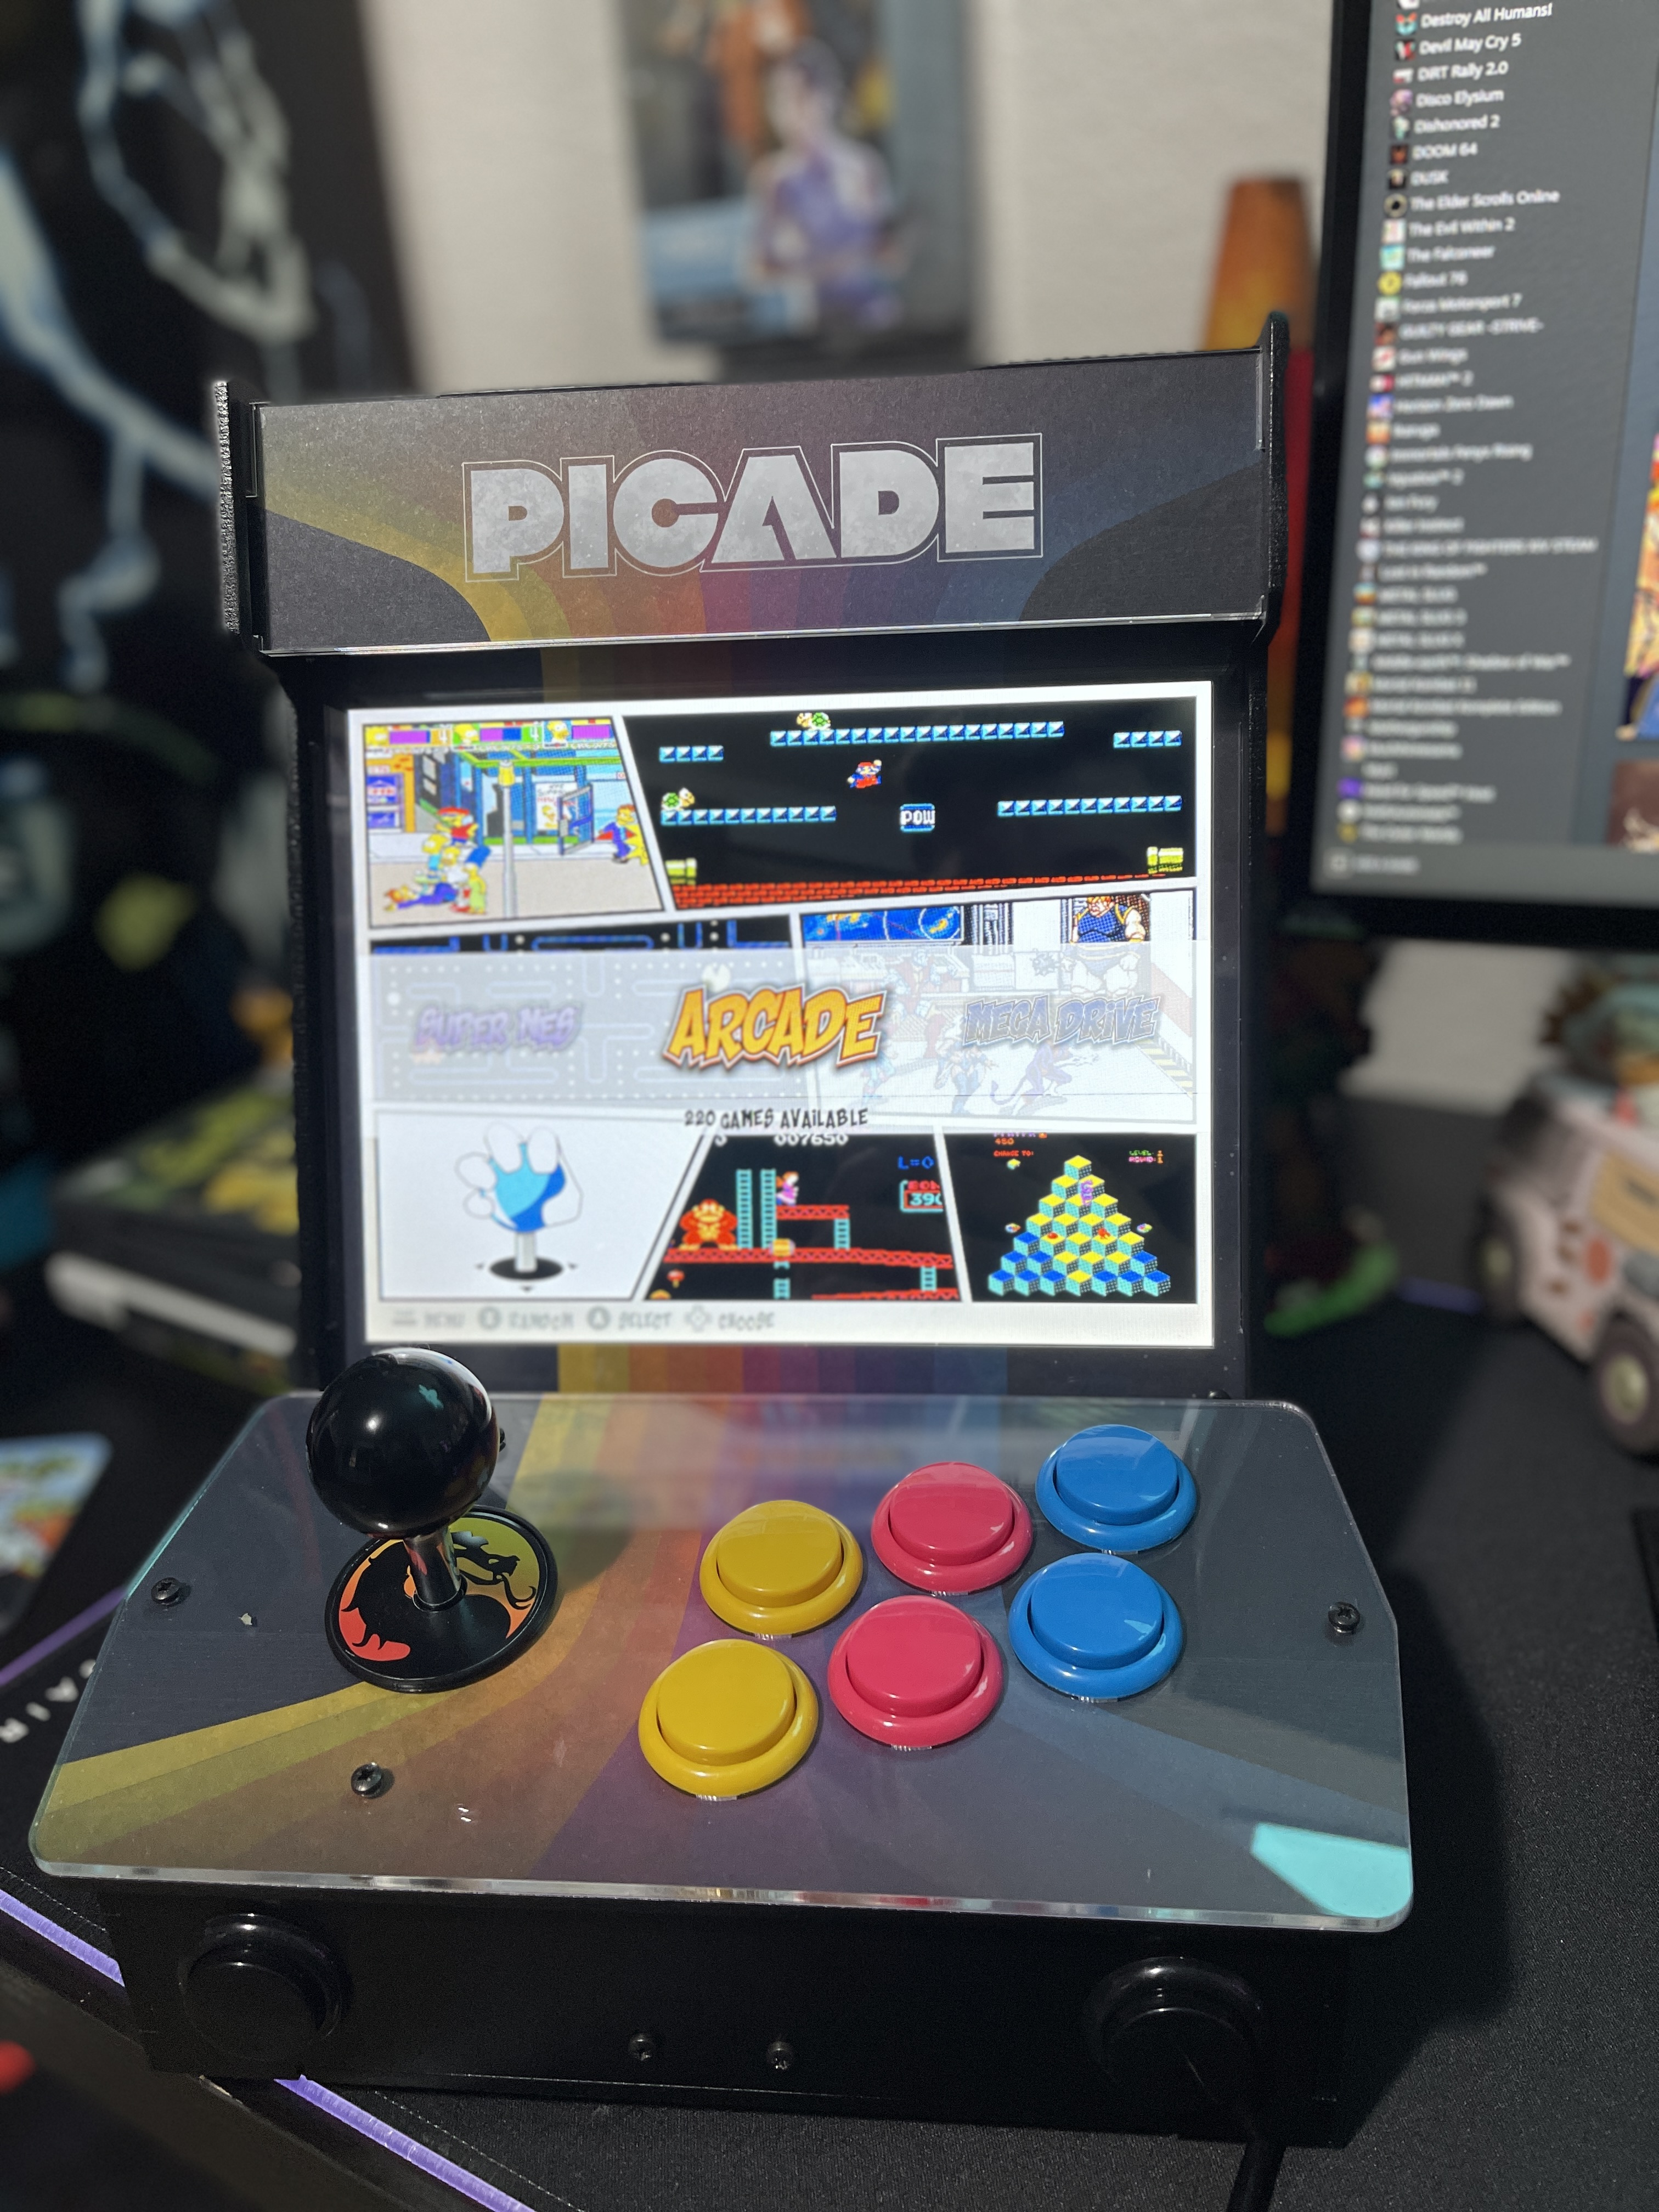
This is an important one and probably one of the most important visual changes you can make to make your Pi look unique. I suggest looking at a list of the official ES themes here or a video preview of them all here. Navigate to the ES Themes under the Retropie menu and select “View or update theme gallery” and then “Update theme gallery”.
Once you have the theme you want installed press the select button on your controller and go to UI Settings>Theme Set. It should change instantly. This is when you should check your scrapes. If you have a theme that plays videos you should see them playing when you highlight them. Some videos may not play and you may need to change to the OMX Player by going into the settings again and “Other Settings” and turning it on. If this still doesn’t work some videos may need to be re-encoded. Don’t bother doing this until you have all the games you want on your Pi and are happy as every time you scrape you will need to replace/re-encode all of the videos again.
Splash Videos

Splash videos are videos that play while Retropie is booting up. You will want to disable startup text and the length of the video will depend on how many games you have installed. Videos can range from around 12 seconds to a minute. These videos cover up anything on the screen so it looks cleaner when starting up.
To disable on-screen text that you see during the start-up phase you can do so by dropping down into the command prompt with F4
sudo nano /boot/config.txt
go to the very end and add this line
disable_splash=1
These videos are usually in .mp4 format and can be ripped from YouTube videos and dropped into
/home/pi/RetroPie/splashscreens/video/yourvideo.mp4
Here’s a link to an entire playlist of professionally made splash screen videos
Properly Encoding Troublesome Videos

If you have scraped videos for your theme and some aren’t playing at all or have no sound or video then you might need to re-encode them. SSH into your Pi and navigate to
/opt/retropie/configs/all/emulationstation/downloaded_images
There should be video folders within each system folder. Download and install Handbrake. Under preferences change the output file name format to just “{source}” as you want the file names to stay the same. You don’t want to go renaming possibly dozens, or even hundreds, of videos by hand. You can also batch convert these files, but make sure they convert into .mp4 files. Once this is done you can just overwrite the files in each system folder.


Super, thank you