
The Sega Saturn has always been a system that felt like unobtanium to me. It’s expensive, fiddly, has a very obscure and small library, most of the good games are Japanese imports, there are very few accessories, and they are big and expensive, and on top of all that, the games are insanely priced. Saturn games are some of the highest-priced games on any system. These days, there are things like optical disc emulators, RAM cart hacks, and things like the Satiator that allow you to run games through the video CD port. A lot of people are defensive and go to bat for their favorite way to emulate games on native hardware. I get it. There is no correct way to do it, with each having strengths and weaknesses. I went with the TerraOnion MODE due to its high build quality and support, as well as its multiple storage options.
I will run through an install of TerraOnion MODE, but unlike most install videos or articles, I want to talk about snags and problems I ran into that other people might discover. I want this to be a comprehensive resource for beginners to just buy a Saturn second-hand and know what to get and how to set things up correctly. I will also talk about proper video setup, and again, like various disc emulators, there are numerous ways to get good-quality video out of the Saturn.
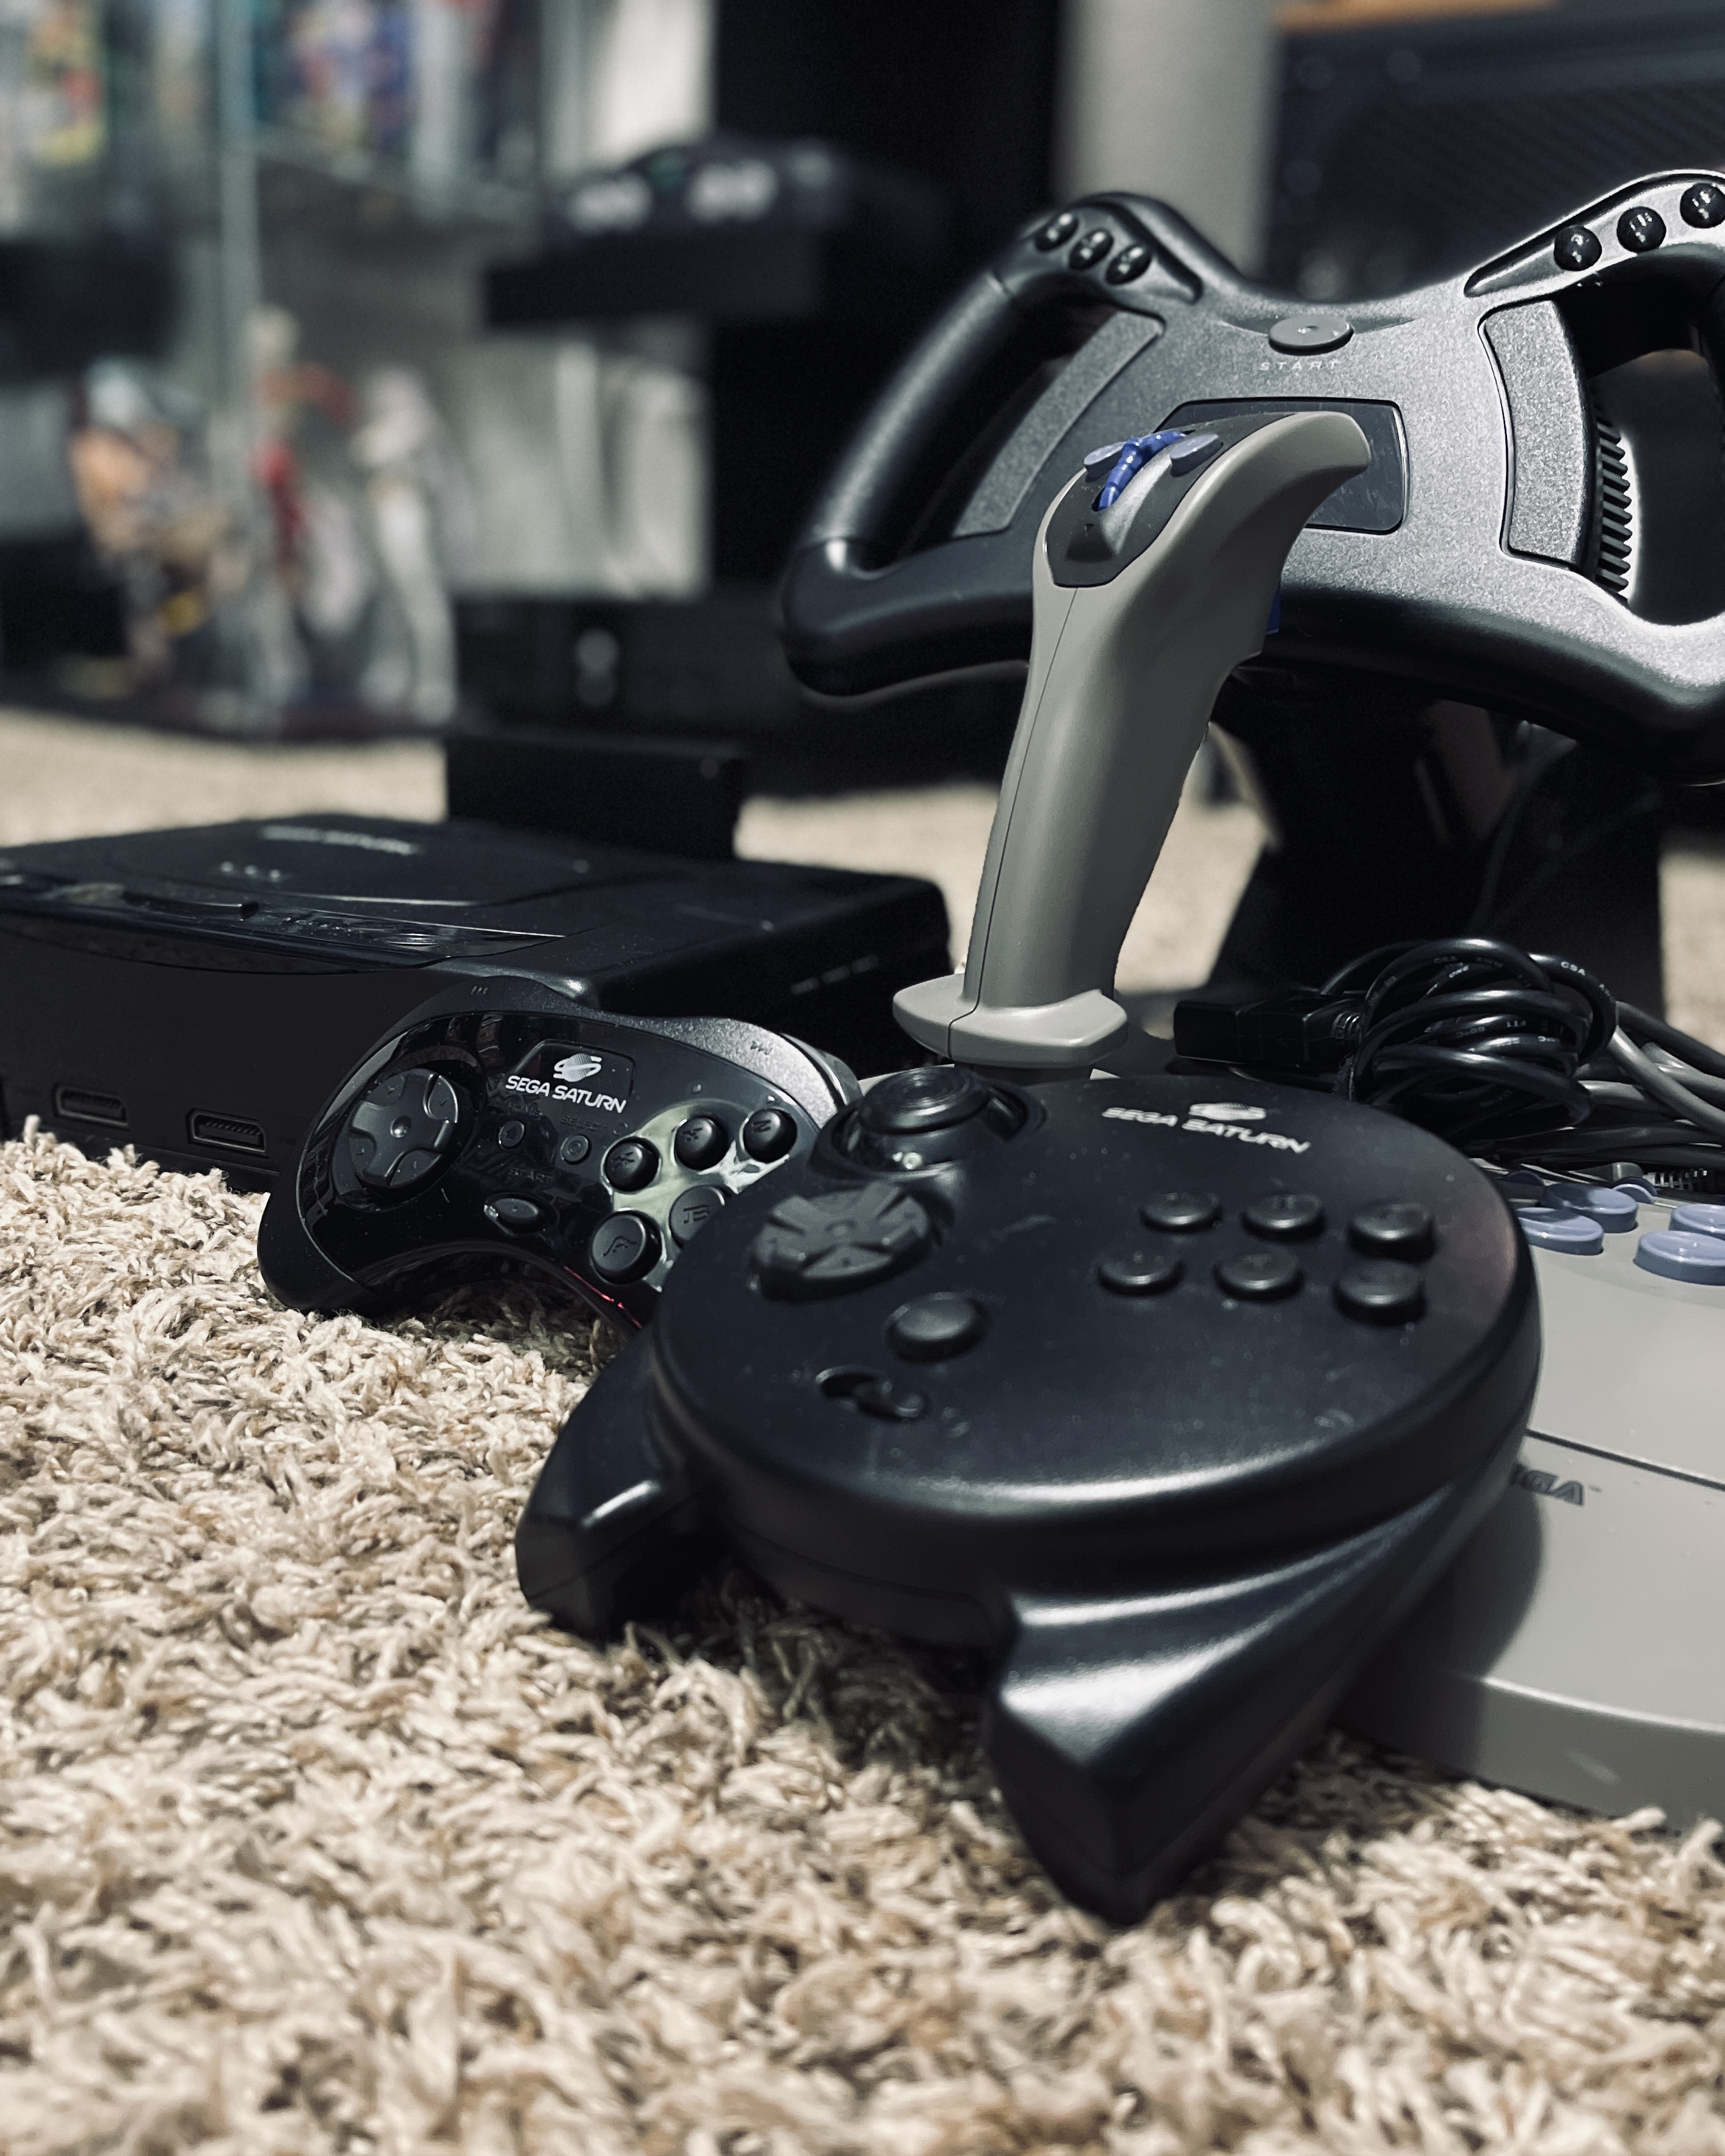
“When you have Sega Saturn, nothing else matters”
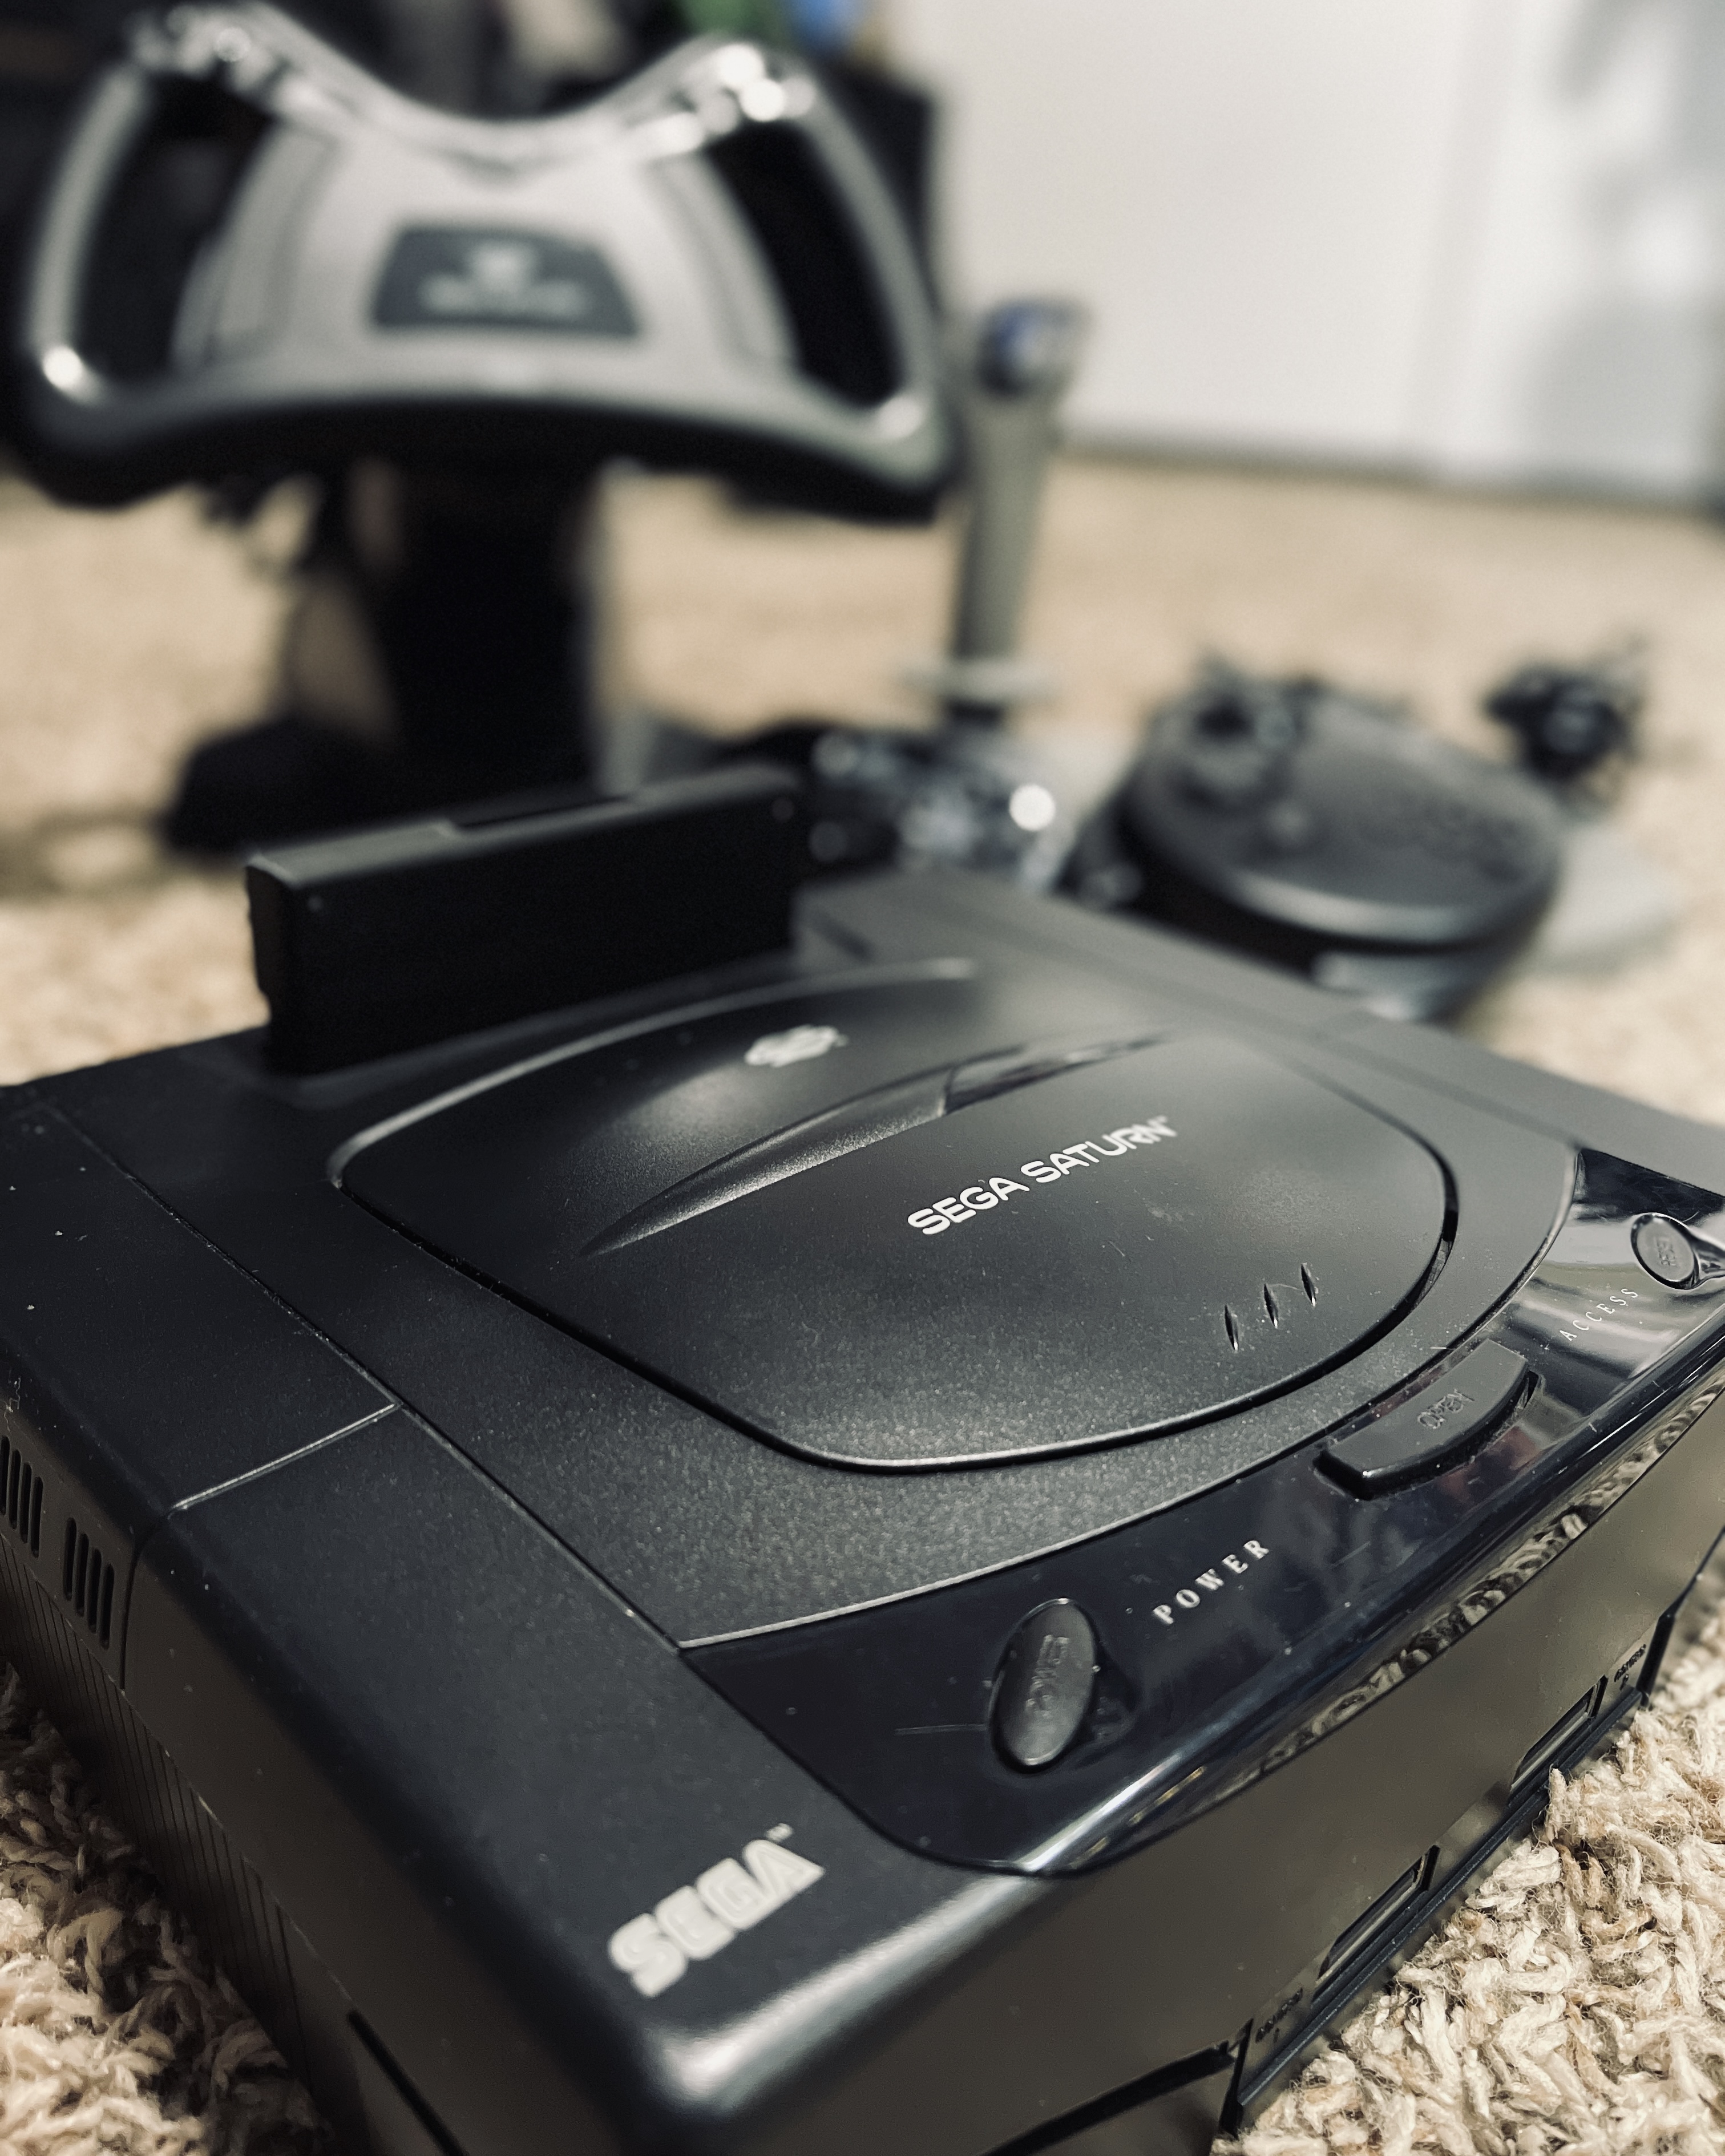
Do I want a Japanese, European, or US console? For disc-based gaming, this matters as the Saturn is region-locked. There are also Saturns with a power supply mounted to the lid (VA0 model), but they are not that common. Most disc emulators work on any console since they unlock region locking, but thankfully most hacks for the Saturn have every version in mind. Usually, you can rest easy without seeking out a specific model, unlike the Dreamcast.

So, even if your Saturn doesn’t read discs, this is a great option for you. There are also other mods, like ReSaturn, that replace the power supply completely if yours is failing. It’s a good idea to open up your Saturn and check the capacitors on the PSU for leakage.

There are also new shell mods you can swap your guts into if your Saturn is in bad shape cosmetically. Overall, these are some mods to consider and systems to look out for when shopping for a Saturn.
It Needs to Look Good
The first thing you probably want to invest in after getting a Saturn system is the video output. There are two main things you need to consider. Good S-Video or component cables and a good upscaler I went with the Retrotink 2X Pro and HD Retrovision component cables. Yes, these are expensive but worth their weight in gold. I have never seen a retro console look so crisp and nice as this setup. While that’s the high end of things, there are also cheaper ways to hook up your Saturn, and that also includes the TV you’re playing on.

Of course, this is mostly true if you’re gaming on a newer HD TV. Buying cheap composite or S-video upscalers on eBay isn’t going to get you good results. Even plugging the console into the back of your TV would be better than those awful upscalers. However, there are cheaper routes, and that might be to just buy a CRT TV. They are going up in price due to retro collectors, but you can get many locally for free. While the tube itself might be old, it’s the most authentic experience.
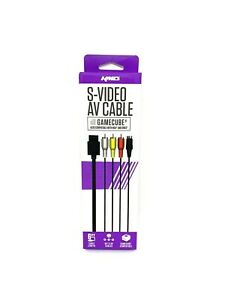
With that said, there are other upscalers that do a good job, like an OSSC, but these can be a little much for just casual players who want a good picture. Cables are a huge thing as well. Don’t get cheap S-video cables off of eBay. Most S-video cables actually don’t have the chroma or luma in the actual S-video part and are empty. Most are fakes that just feed in composite. If you have a Retrotink, you can find fake cables by plugging them into the S-video, and they will be in black and white or won’t display correctly under the S-video input. A correctly wired cable won’t do this. There are some better-known brands out there, like KMD. I own one for my N64, and it displays S-video correctly. If you can find them, proper S-video cables won’t have a yellow plug.
Optical Disc Emulators – Pros and Woes
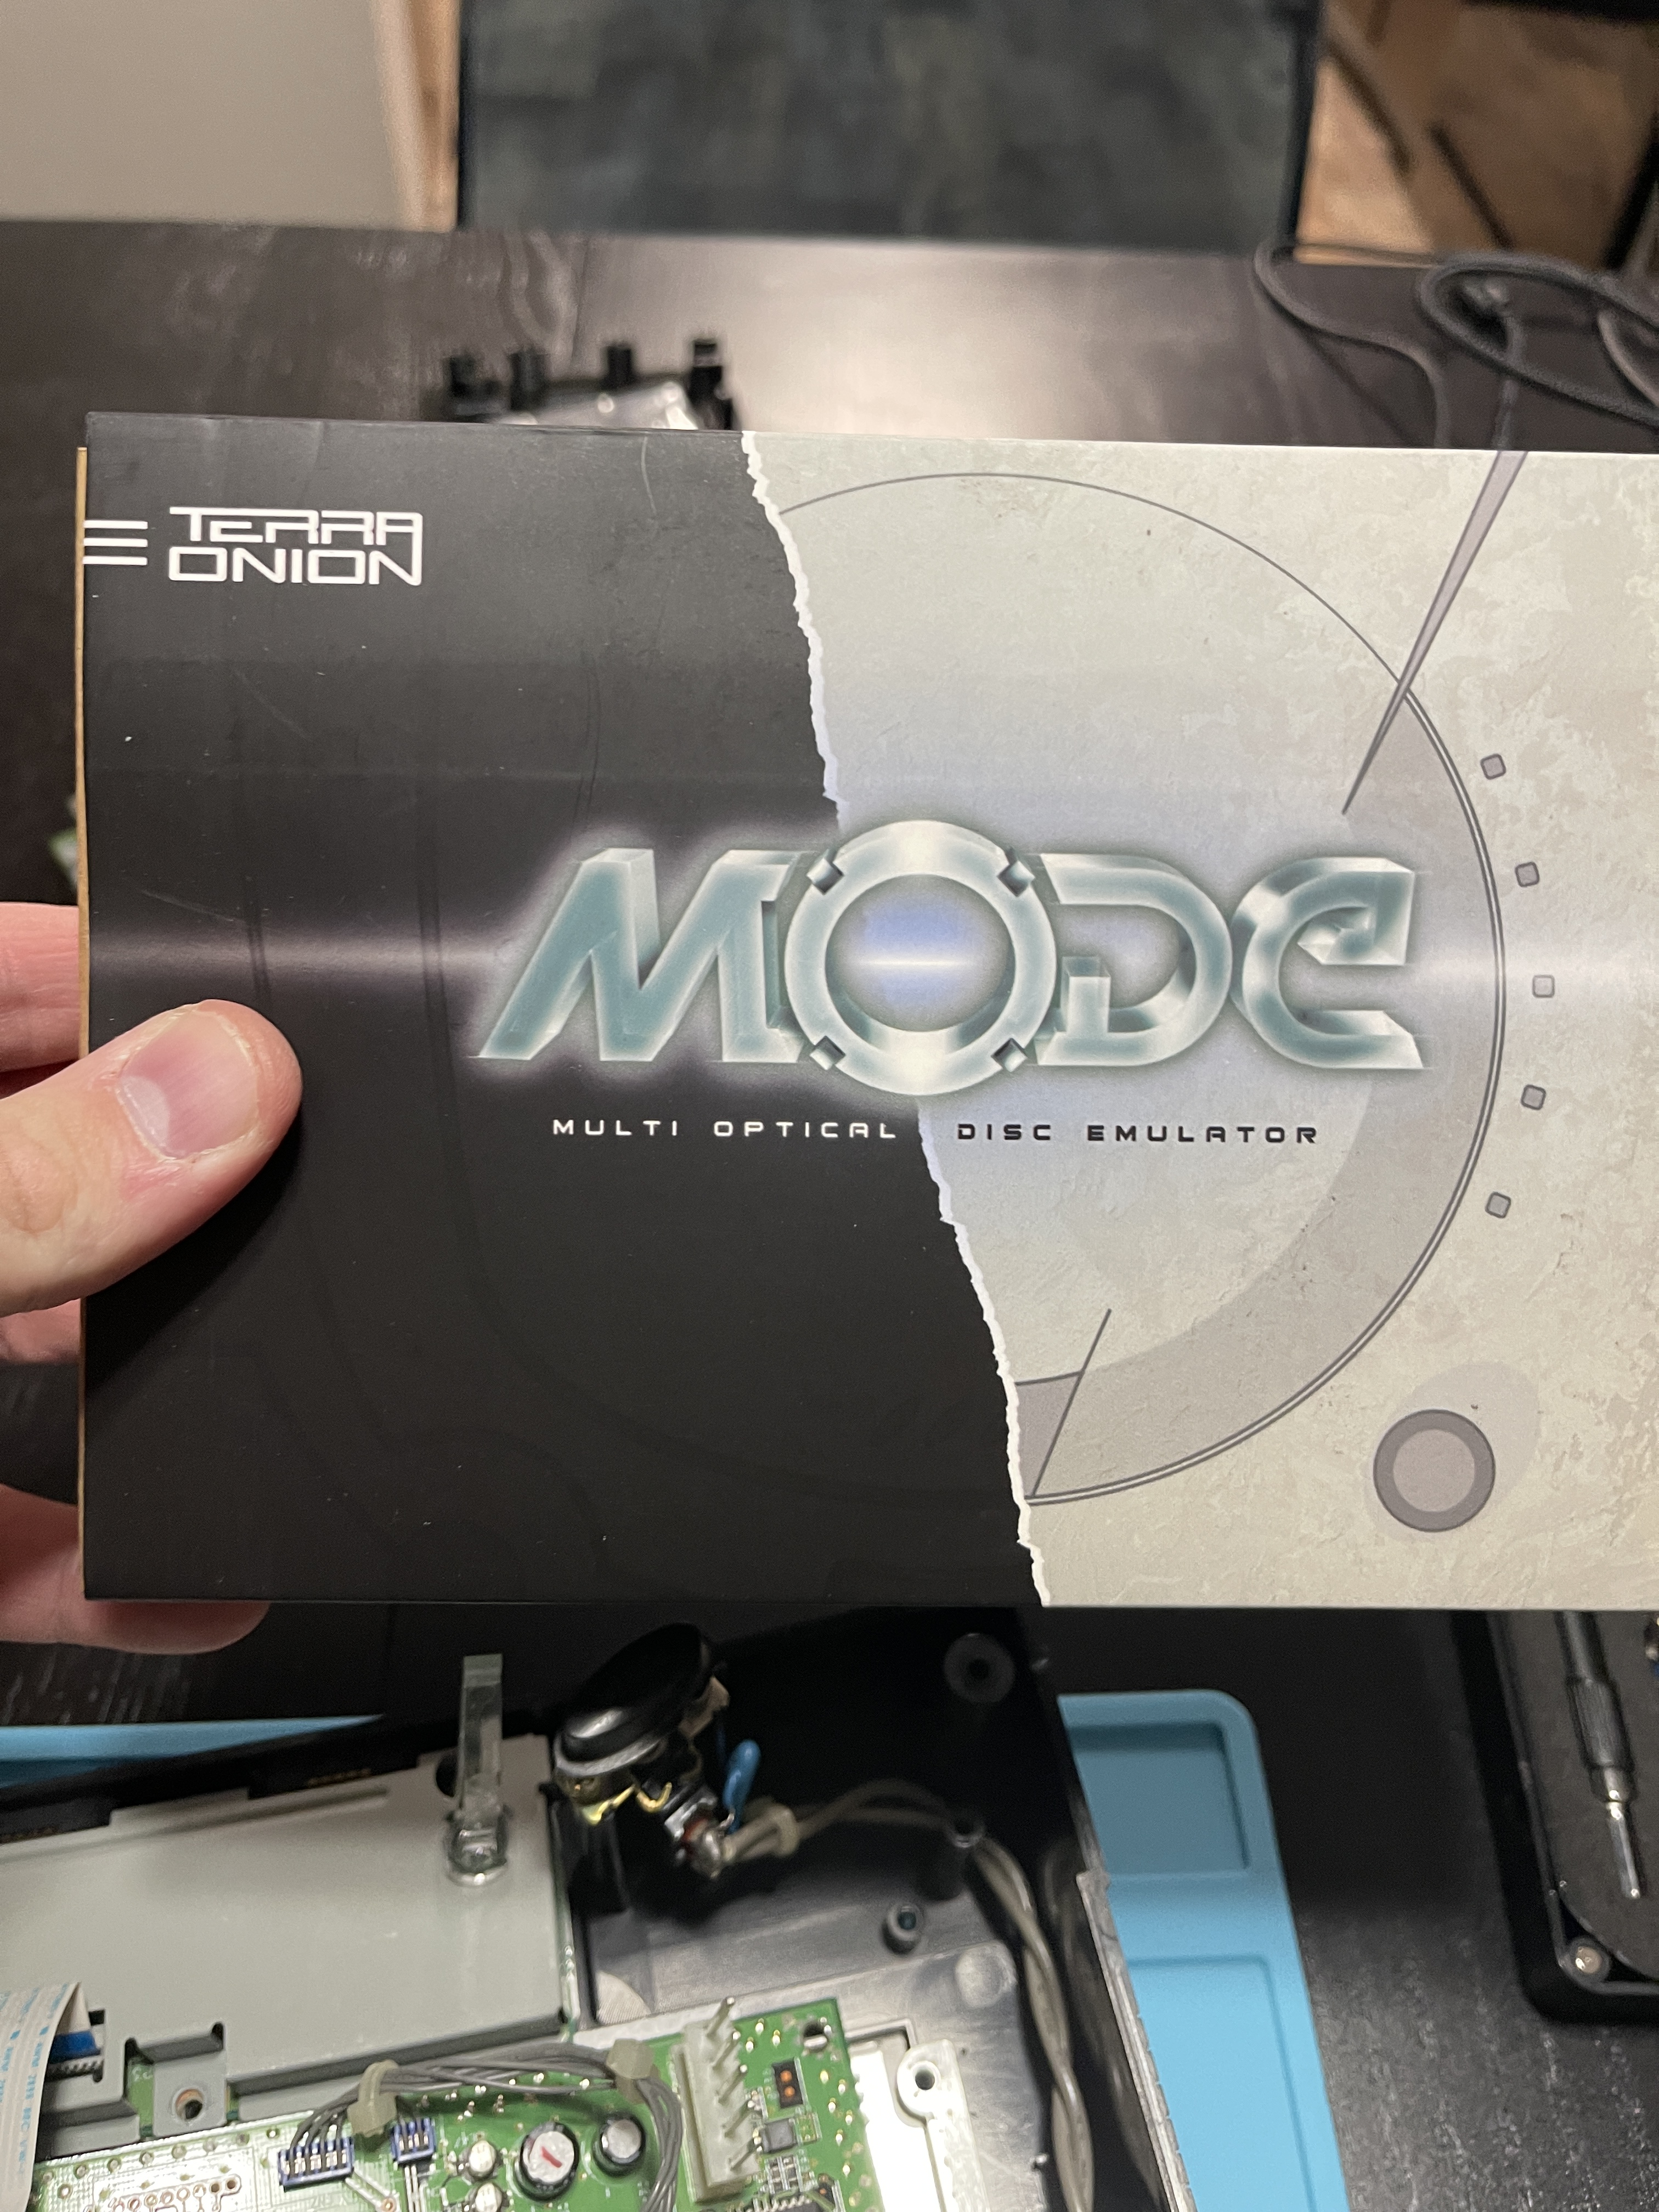
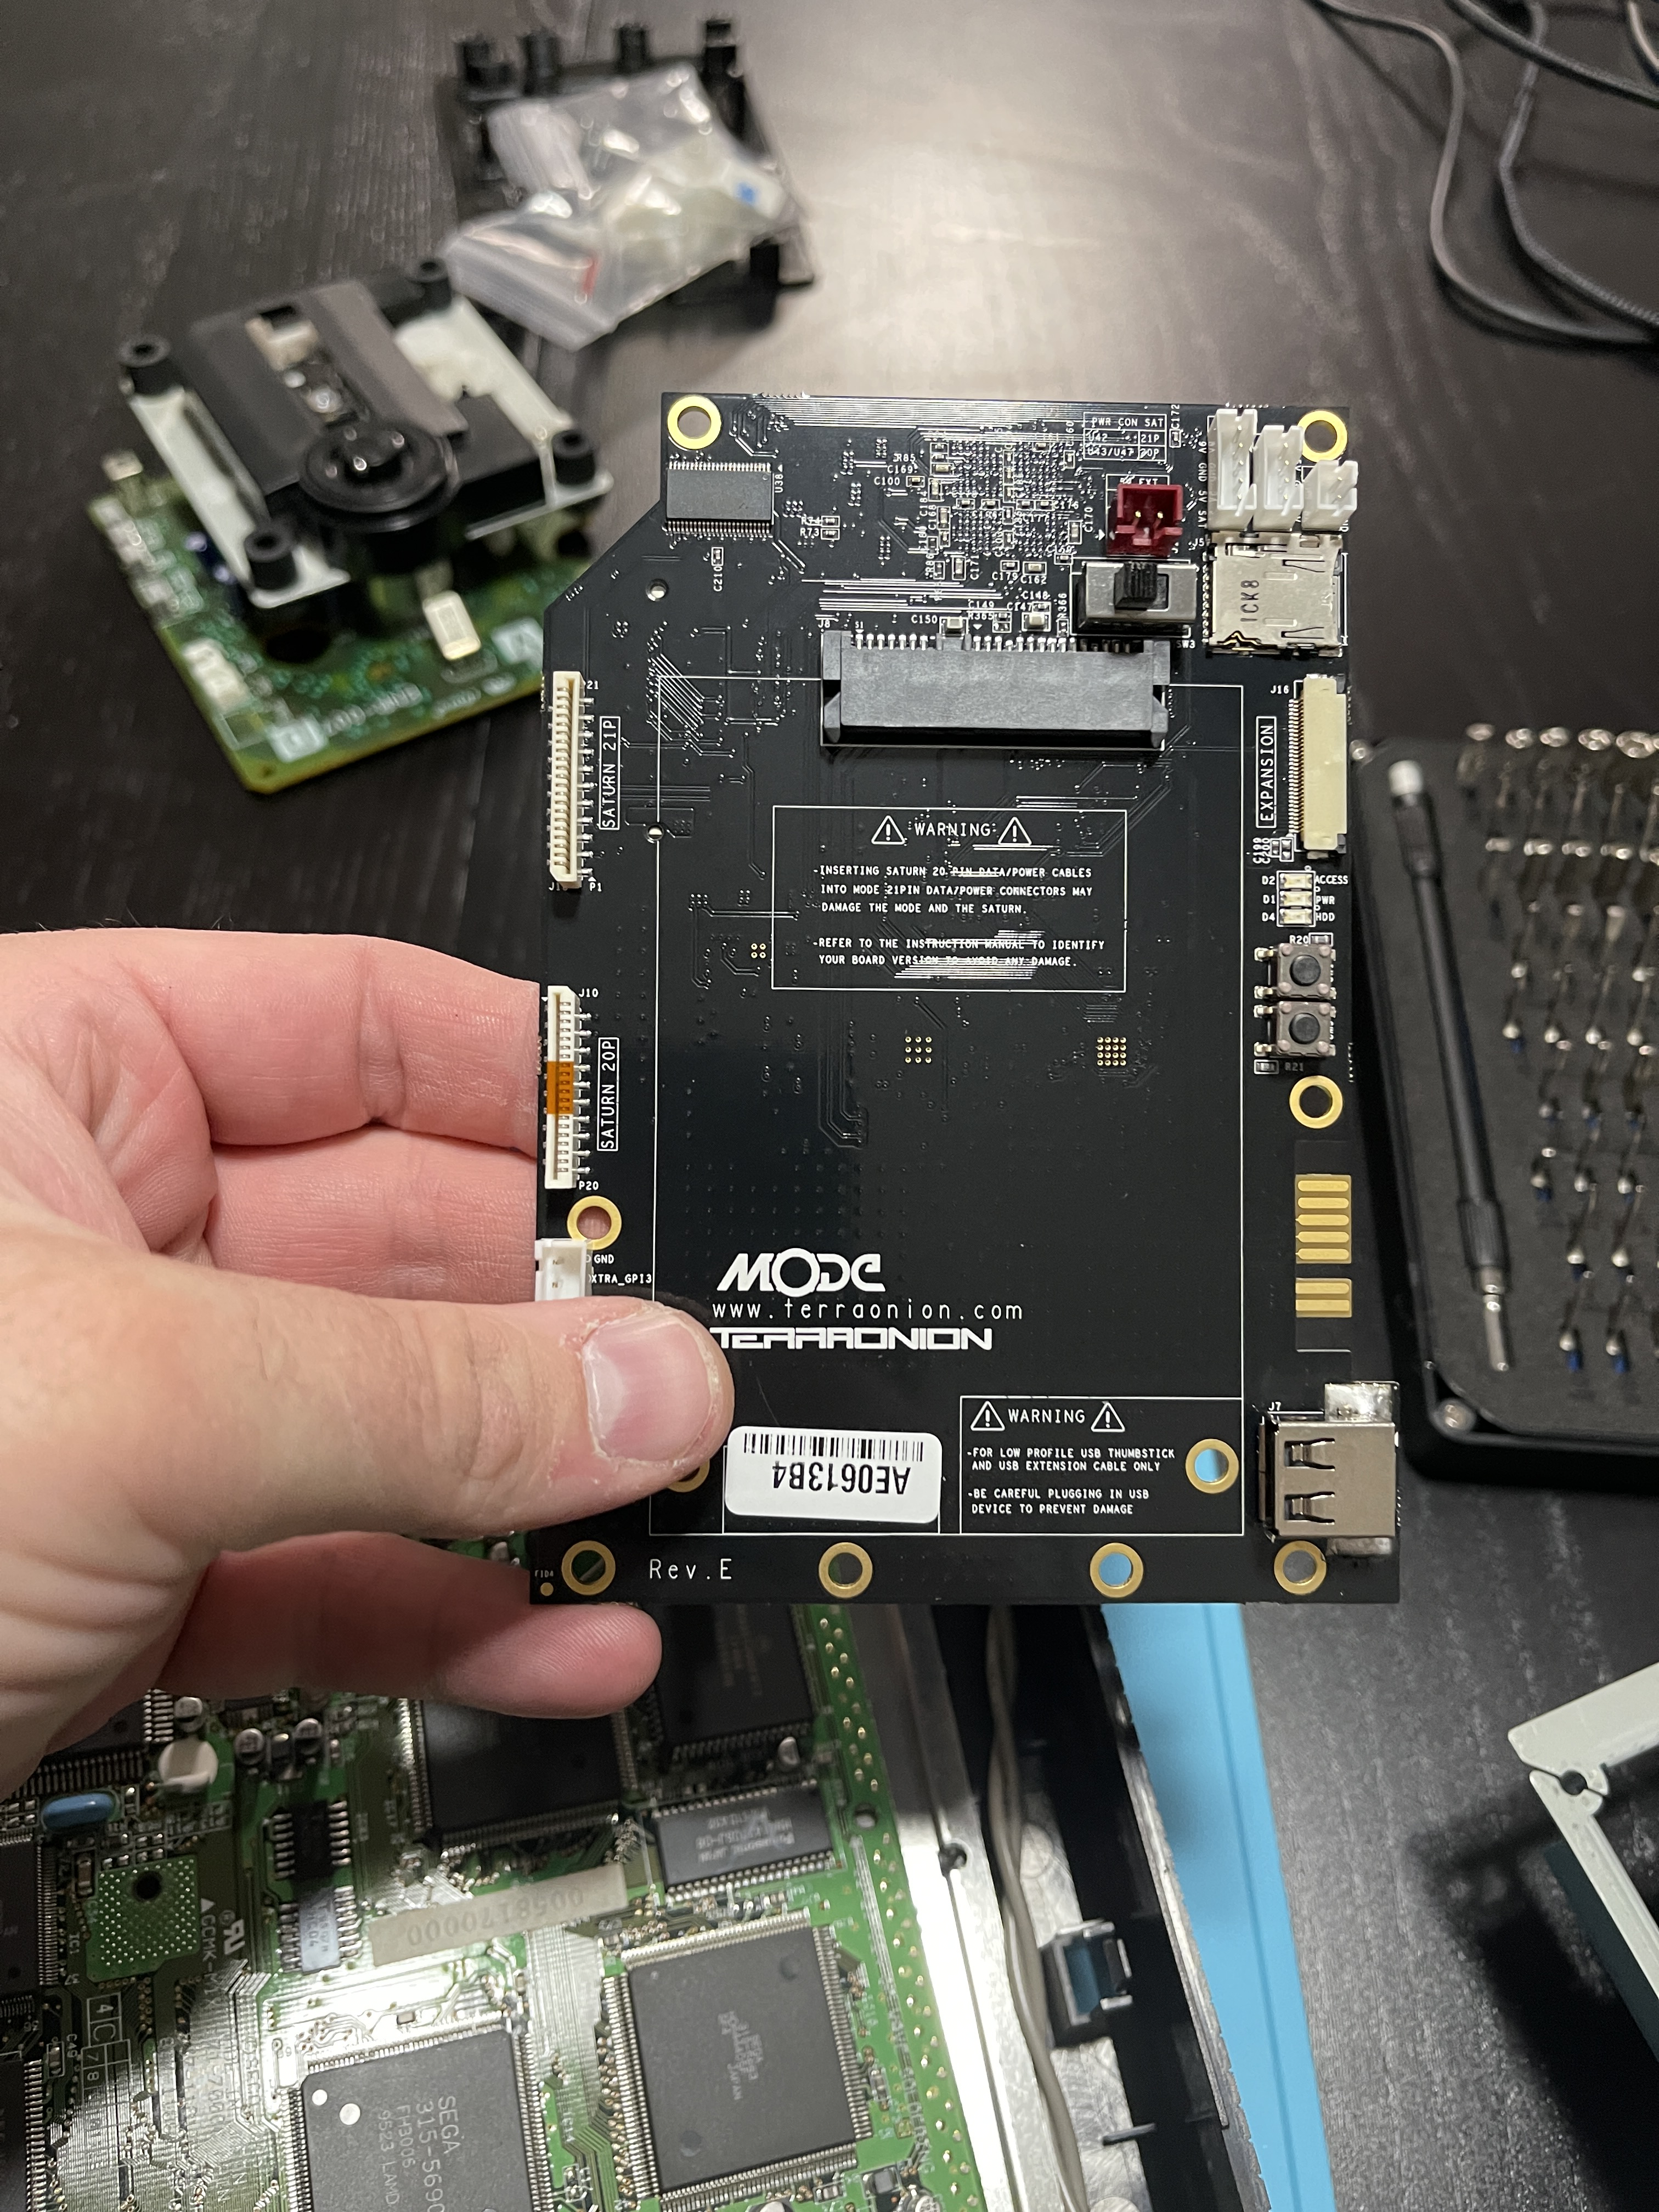
These range from carts to full-on boards, and while there are plenty of good choices, I’m going to cover the TerraOnion Mode. It’s a very well-made board with both positives and negatives to it, but overall, I am very pleased with it. I’ve had it for two weeks now and figured out some kinks and bugs using various hardware and software that I thought people might run into. A lot of these issues I had to figure out myself, as there just isn’t enough information out there.
Installing the MODE is pretty straightforward, but new casual users may be a bit scared to dive into this. If you already did some other mods listed before, like the ReSaturn, or checked the PSU for leaking caps, then you clearly shouldn’t have had an issue up until this point. The Saturn is a very single device in the end. just a disc drive, motherboard, and power supply. There are literally only three components in this thing. One thing I do recommend when installing the MODE is StoneAge Gamer’s 3D-printed bracket mount. I personally also don’t see the need to use an actual hard drive in this thing, and I will get to that later, but they also make an adapter to allow easy access to the drive.
The Optional Power Cable
Now one snag I ran into when installing was for the “optional” power cable. It’s needed for running mechanical drives as the Saturn doesn’t have enough juice to power them, but I recommend installing the cable regardless just to relieve strain on it. The installation shows pushing the leads into the power supply clip but doesn’t explain how. I watched a few videos, and no one has covered this. When you push the power supply down into the motherboard, the pins will push a metal “pincher” to the left of the pins. If you press the PSU down slowly, you will see this in action. The leads need to get “pinched” by this. I tried sticking them in while the PSU was installed, and it just wouldn’t work. You need to fully lift the front side of the PSU and stick the leads into the correct spots. Hold them firmly down and then press the PSU down onto the pins, and the “pincher” will firmly hold those wires in place. The other alternative is to just solder the wires directly to the pincher area.
Firmware Updates and Freezing on Boot
Other than that snag, the installation went smoothly, and I had no issues. Now comes the majority of issues with the software. When I opened up the MODE, there wasn’t any explanation of how it actually works. My Saturn booted straight into CD player mode, and I didn’t understand why. Without changing settings, you need to put the lid on! I then got into the mode, and it froze up and wouldn’t do anything. After several reboots, the mode would just read games and freeze. I then updated the firmware, and this worked. Remember, the MODE will only auto-detect firmware on SD cards and USB drives. I couldn’t get into the menu to access the update on my 2.5″ laptop drive, so that was a major issue. I don’t know what caused the freezing, but this fixed it.
Action Replay Flash Carts Not Working
This was one of the biggest headaches I had. The Action Replay 4M carts you can get everywhere are supposed to work with the MODE, but mine didn’t. I didn’t have one with the physical switch, but with the auto-switching one. When you plug one of these into their menu, it takes priority over an ODE because it’s technically just a disc. While this is fine and it works, it’s irritating to have to quit the menu of the flash cart to get into the ODE menu. You have to erase the boot menu from the flash cart and make it a standard “dummy” cart. With MODE, this is fine, as there are manual backups. You can now easily just fill up your saved RAM and then back it all up on the MODE for more games. I will walk you through the process of making an Action Replay an annoying free dummy cart.
The first thing you need to do is download a boot loader called Pseudo Saturn Kai. This is a “game” you can put on an SD card and launch from the main menu of the MODE. It’s important to download and install the tools cue/iso so you can actually erase the entire menu. This is found in the full version of the download. The lite version for “other” ODEs just erases the firmware but still boots to PSK every time. We also don’t want to boot into another menu. Remember, you can always restore the flash cart back to the way it was through this utility as well. Just remember what firmware version your flash cart had.
Load up the utilities, go to the save manager, press the R button, and go to the erase boot menu. This will now turn your cart into a standard RAM cart. Mine works flawlessly for 1MB and 4MB games. I tested nearly every game that uses one and didn’t have any issues.

My Flash Cart Isn’t Being Recognized
This is common, and it probably isn’t the cart itself. When you insert the cart to erase the menu, you might notice that the detection of the cart in yellow text flashes, or it seems the cart is wiggly. This is usually a dirty RAM slot or one that’s too loose or too tight. There are two screws in the RAM slot, and you can try tightening them first to see if that works, but if not, you need to loosen them. Sega didn’t solder the RAM slot to the board, so 6 to 7 turns with a screwdriver on each screw should help until they’re really loose. Mine had this issue, as I would load up games and it would only see the cart sometimes, despite the cart working fine. Loosening the screws fixed this, and I no longer had to set the cart in softly, head-on, and not at an angle, or pull it out a couple of millimeters. It’s not the best fix, but it’s better than sticking paper between the cart and the slot.


Super, thank you