Reissues, remasters, remakes, whatever you want to call them they are here to stay and become more ambitious every year. This year had some fantastic returns of older games that look and play well on modern systems. Usually, the full-on remakes end up being the best, but you can do remasters well if you add enough features to make the game worth revisiting.
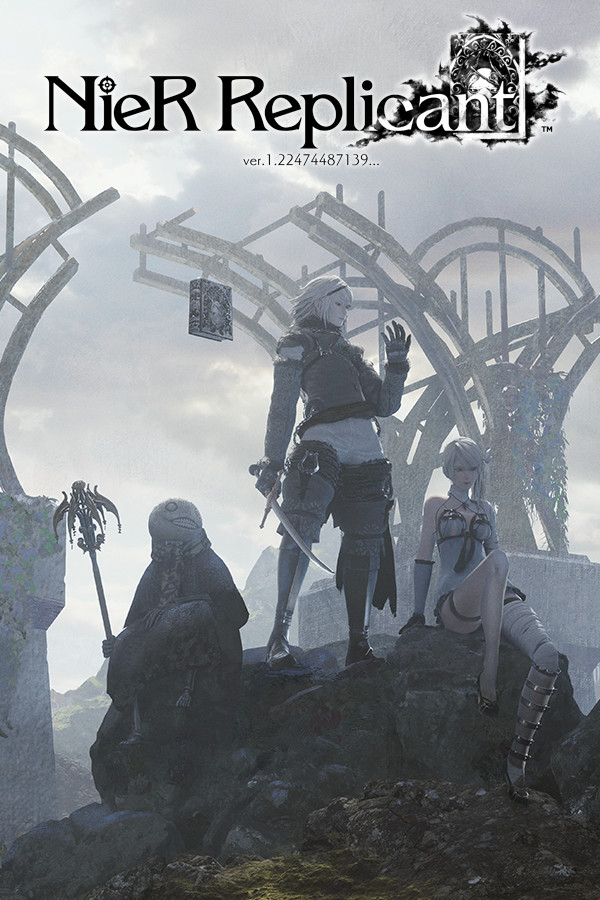
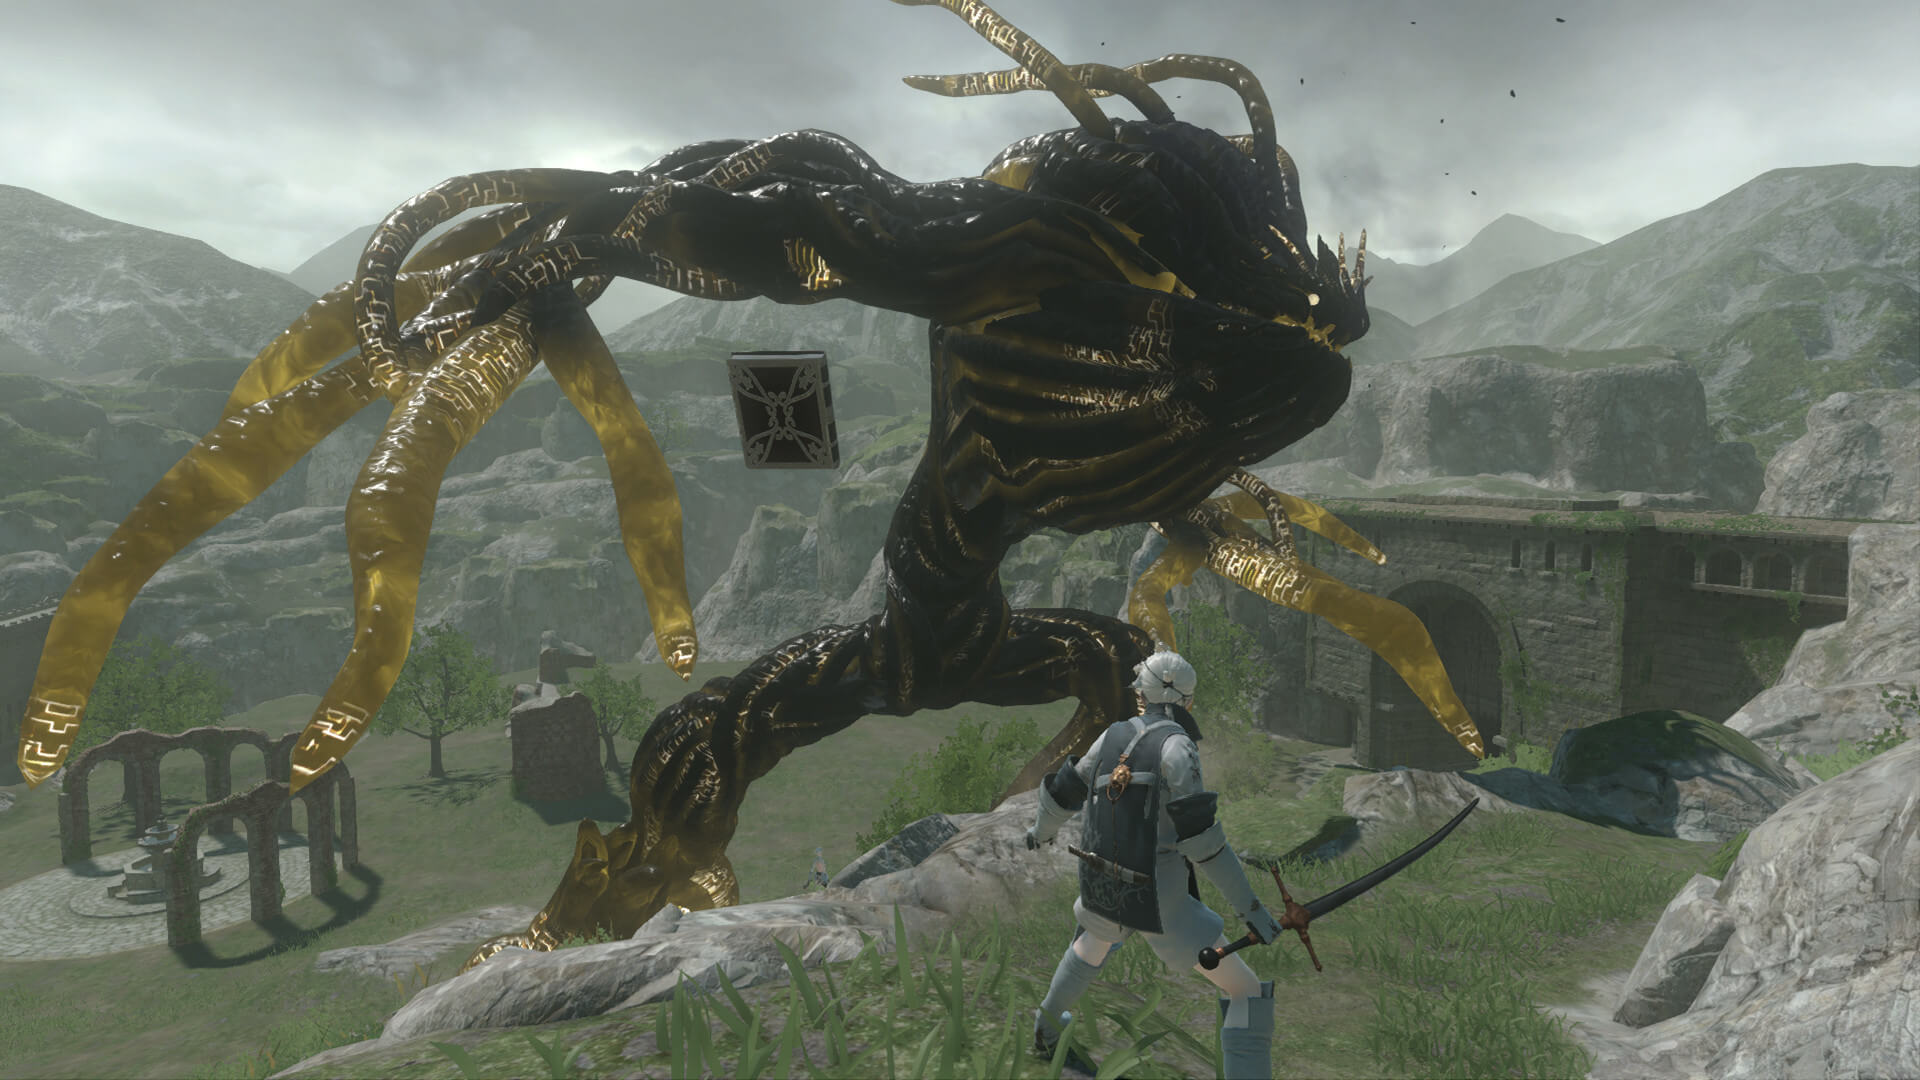
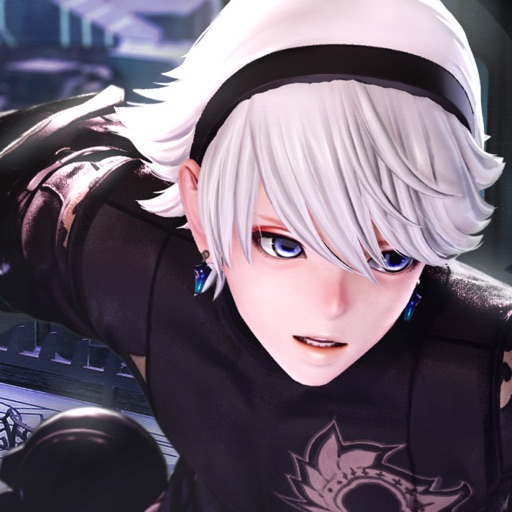
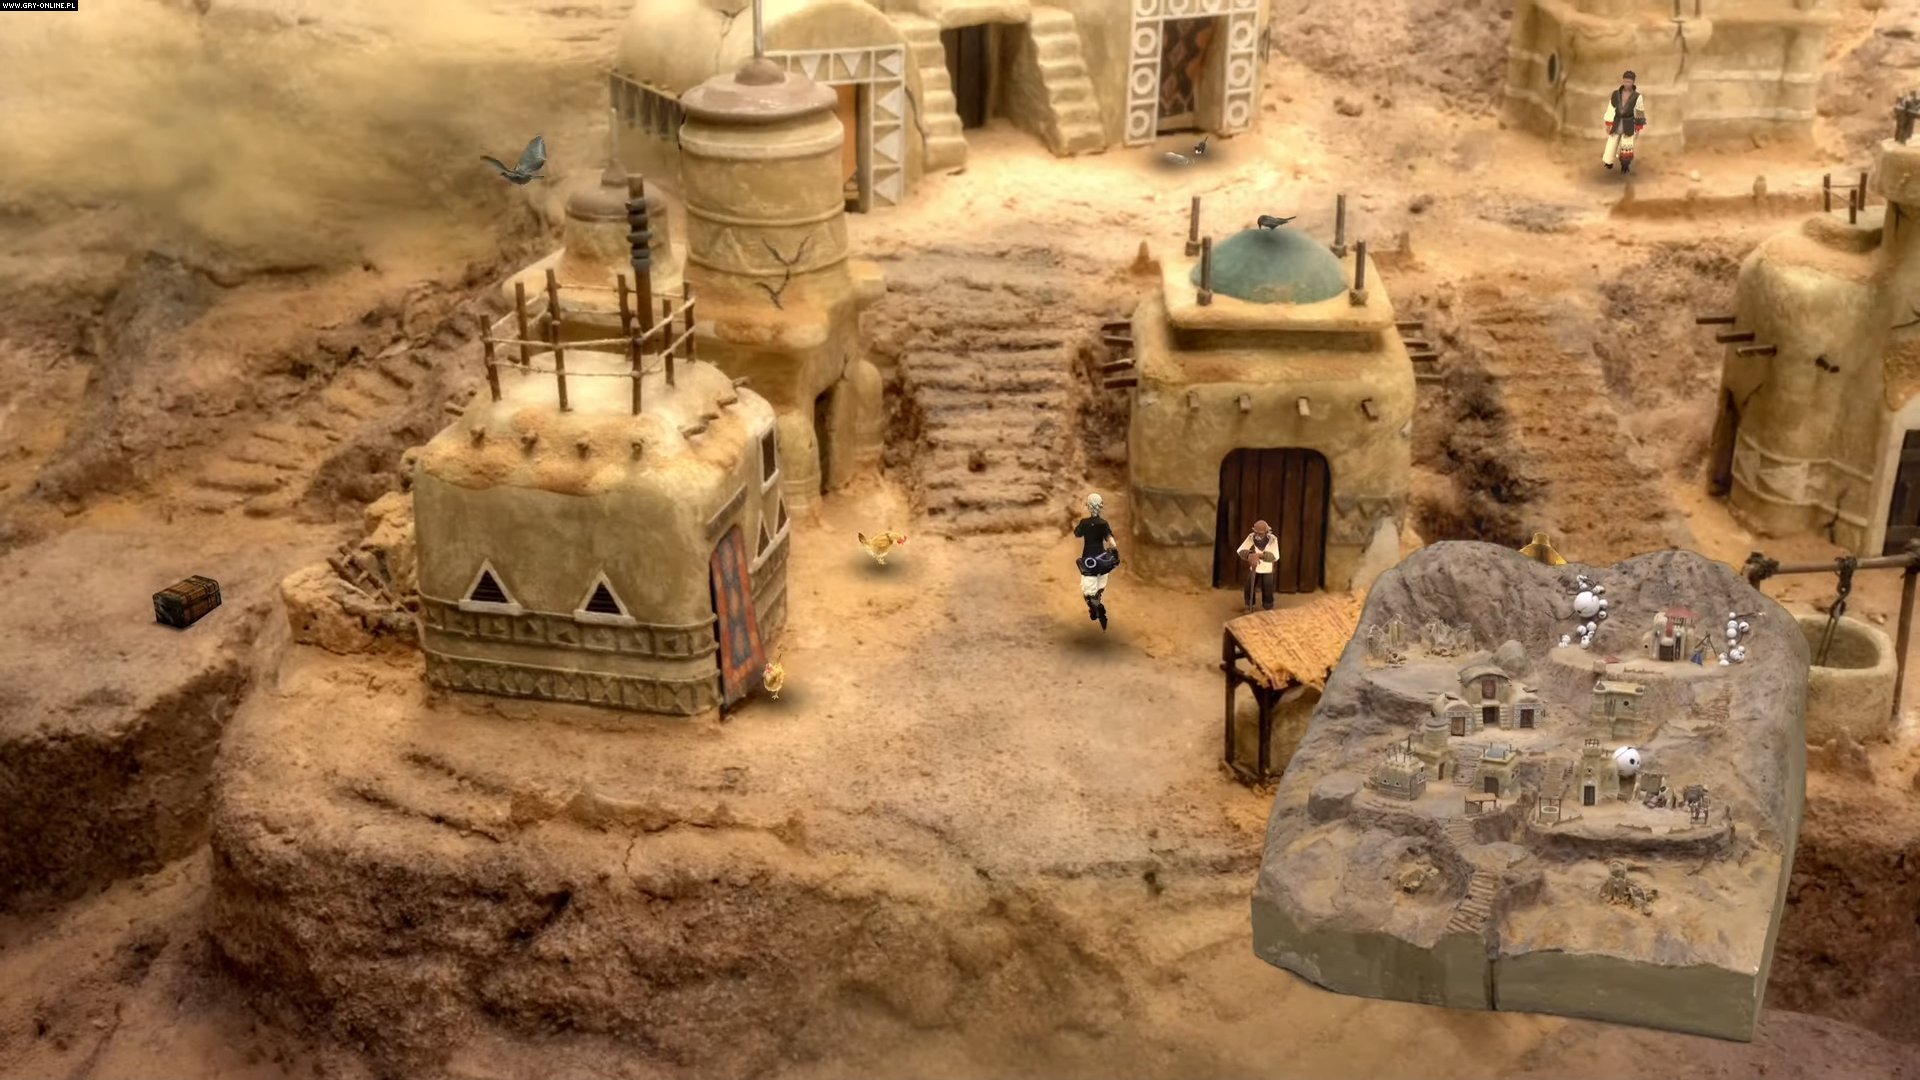
NieR Replicant
NieR Replicant is a full on remake of the original Nier on PS3 and Xbox 360. The game didn’t do well sales wise and had mostly middling reviews, but it was a cult classic that had a lot of fans. Thanks to the success and reboot of the sequel, Replicant brings the original game back with new features and an updated engine. It just looks and plays well and is such a fantastic remake of a game that wasn’t all that great originally.
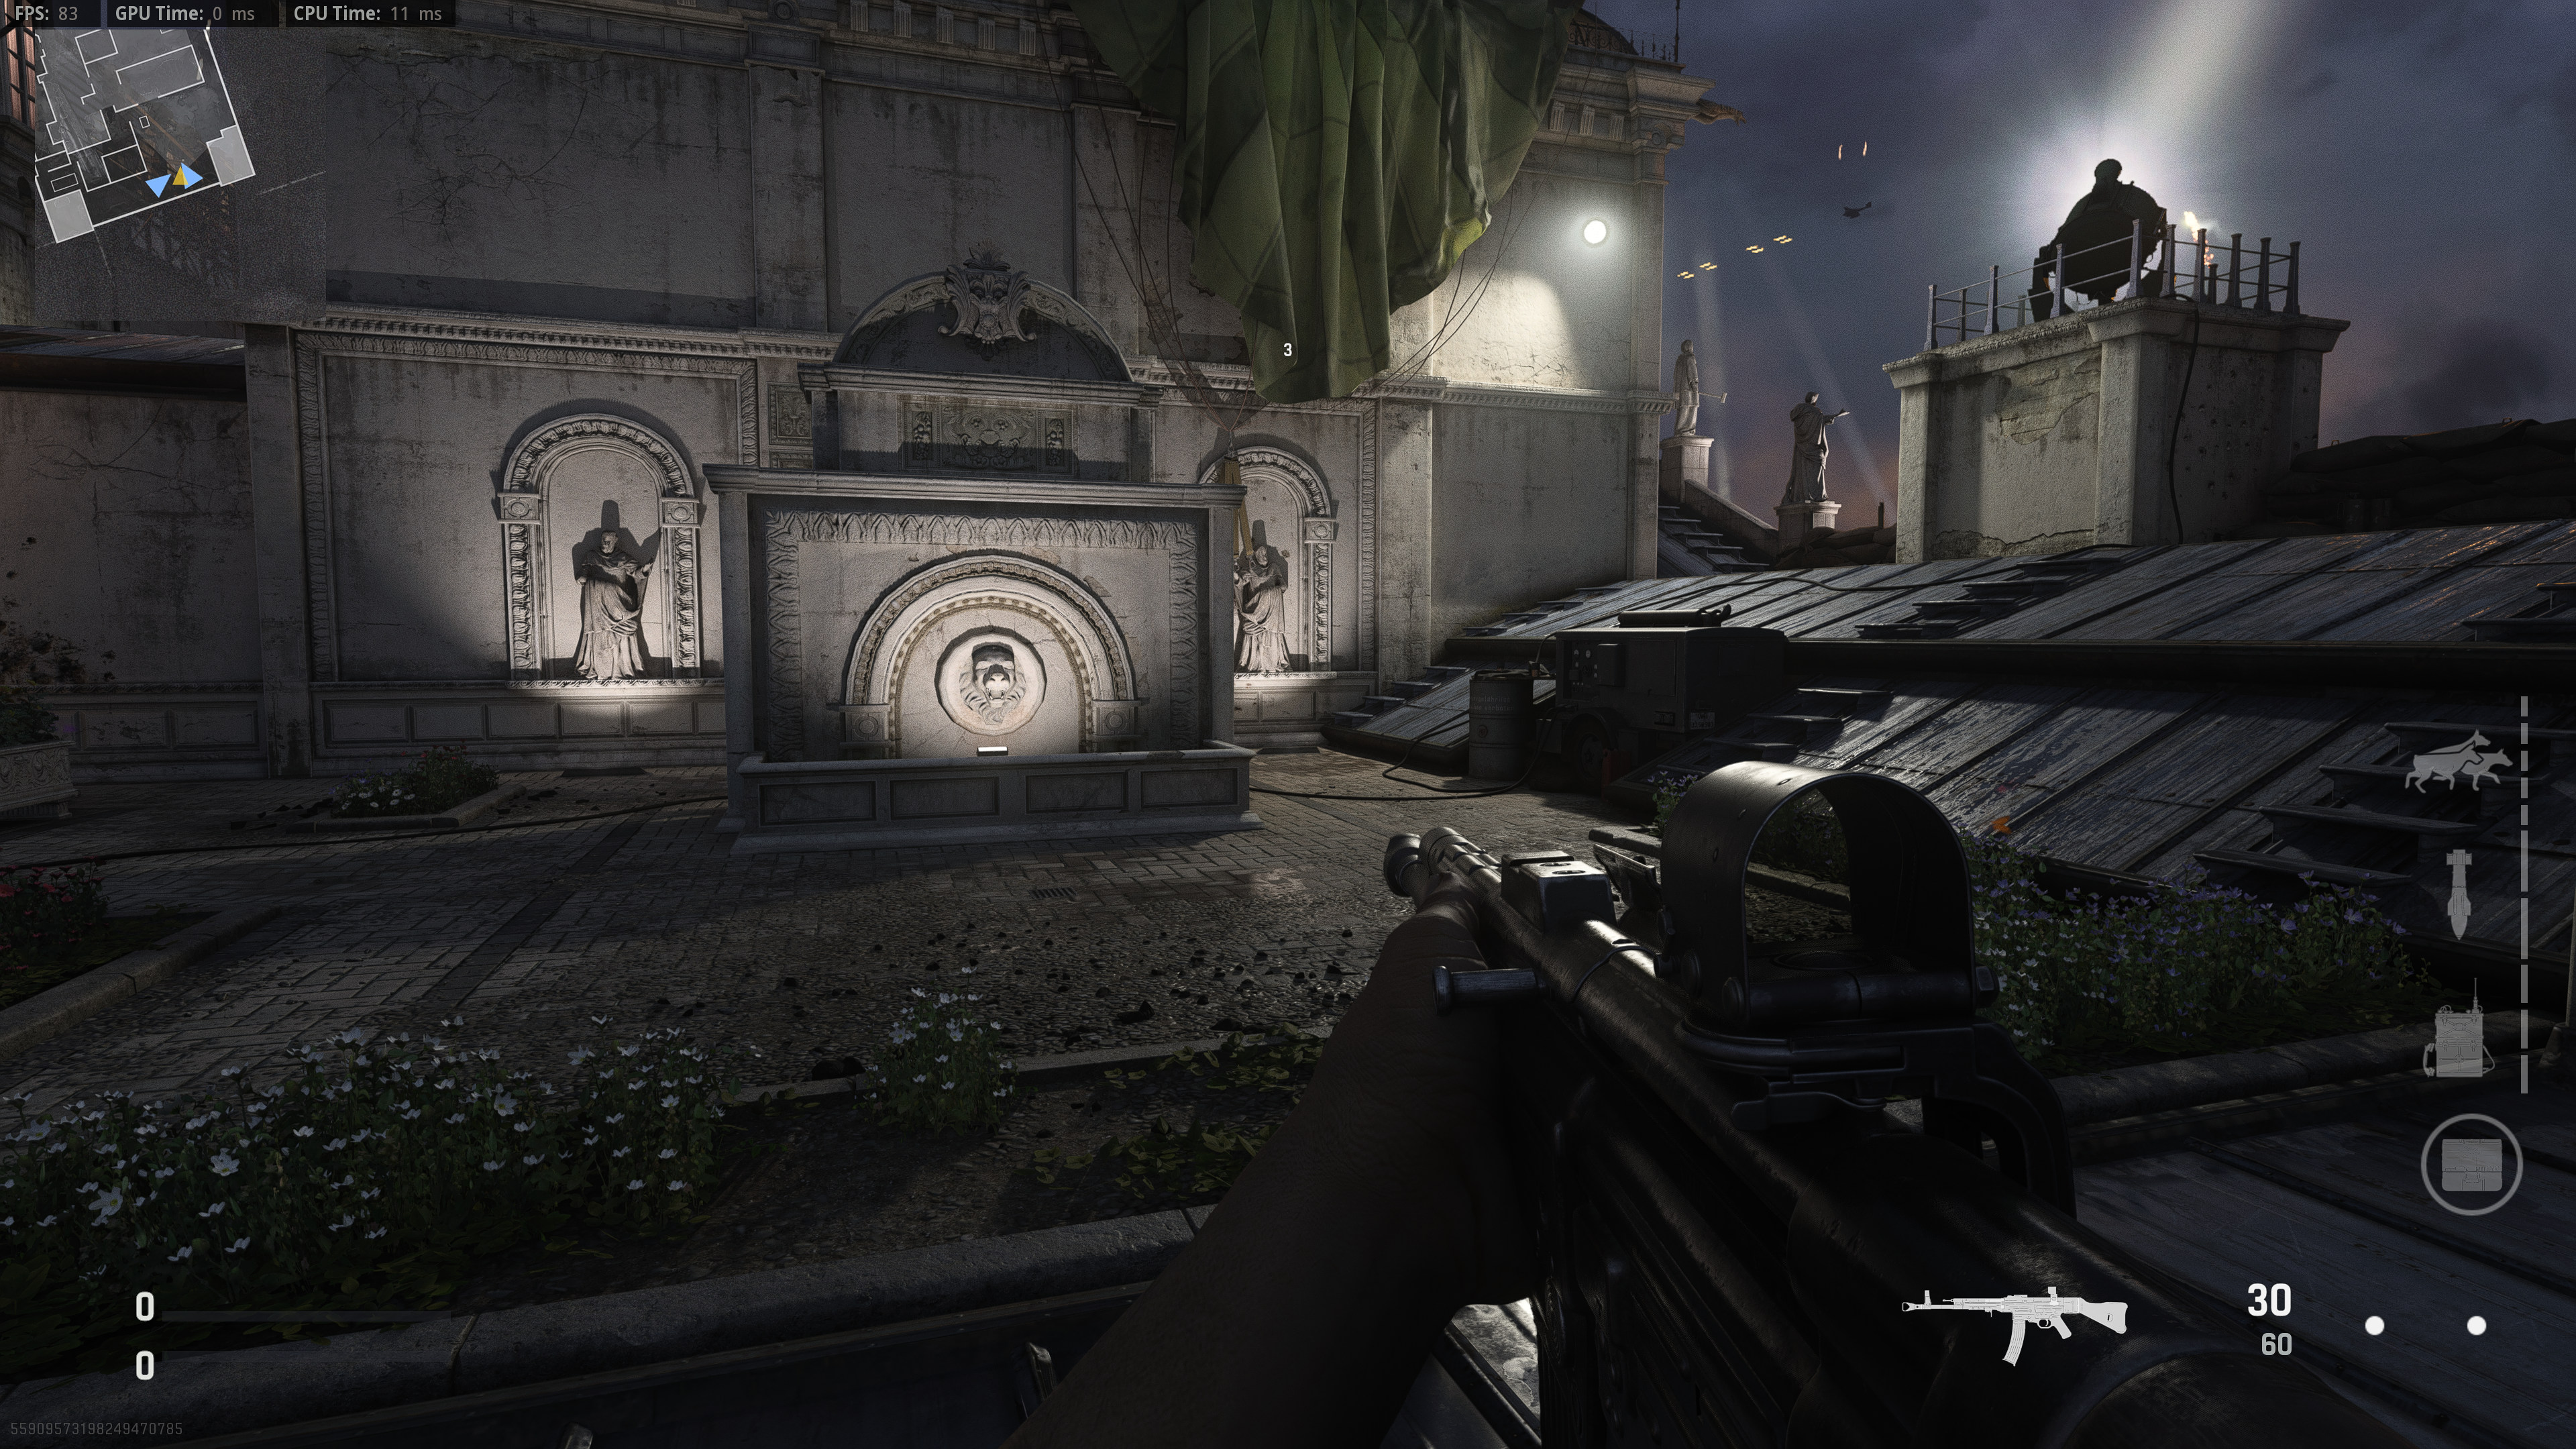
This was a strong year for shooters. A lot of both sides of the scales here. Great experimentation and complete failures. The usual Battlefield and Call of Duty fair was some of the worst in the last decade with awful launches and/or not enough changes from the previous versions. Overall, it was still a solid year, better than last year even, with tons of heavy hitters and some actual newcomers to change the game up.
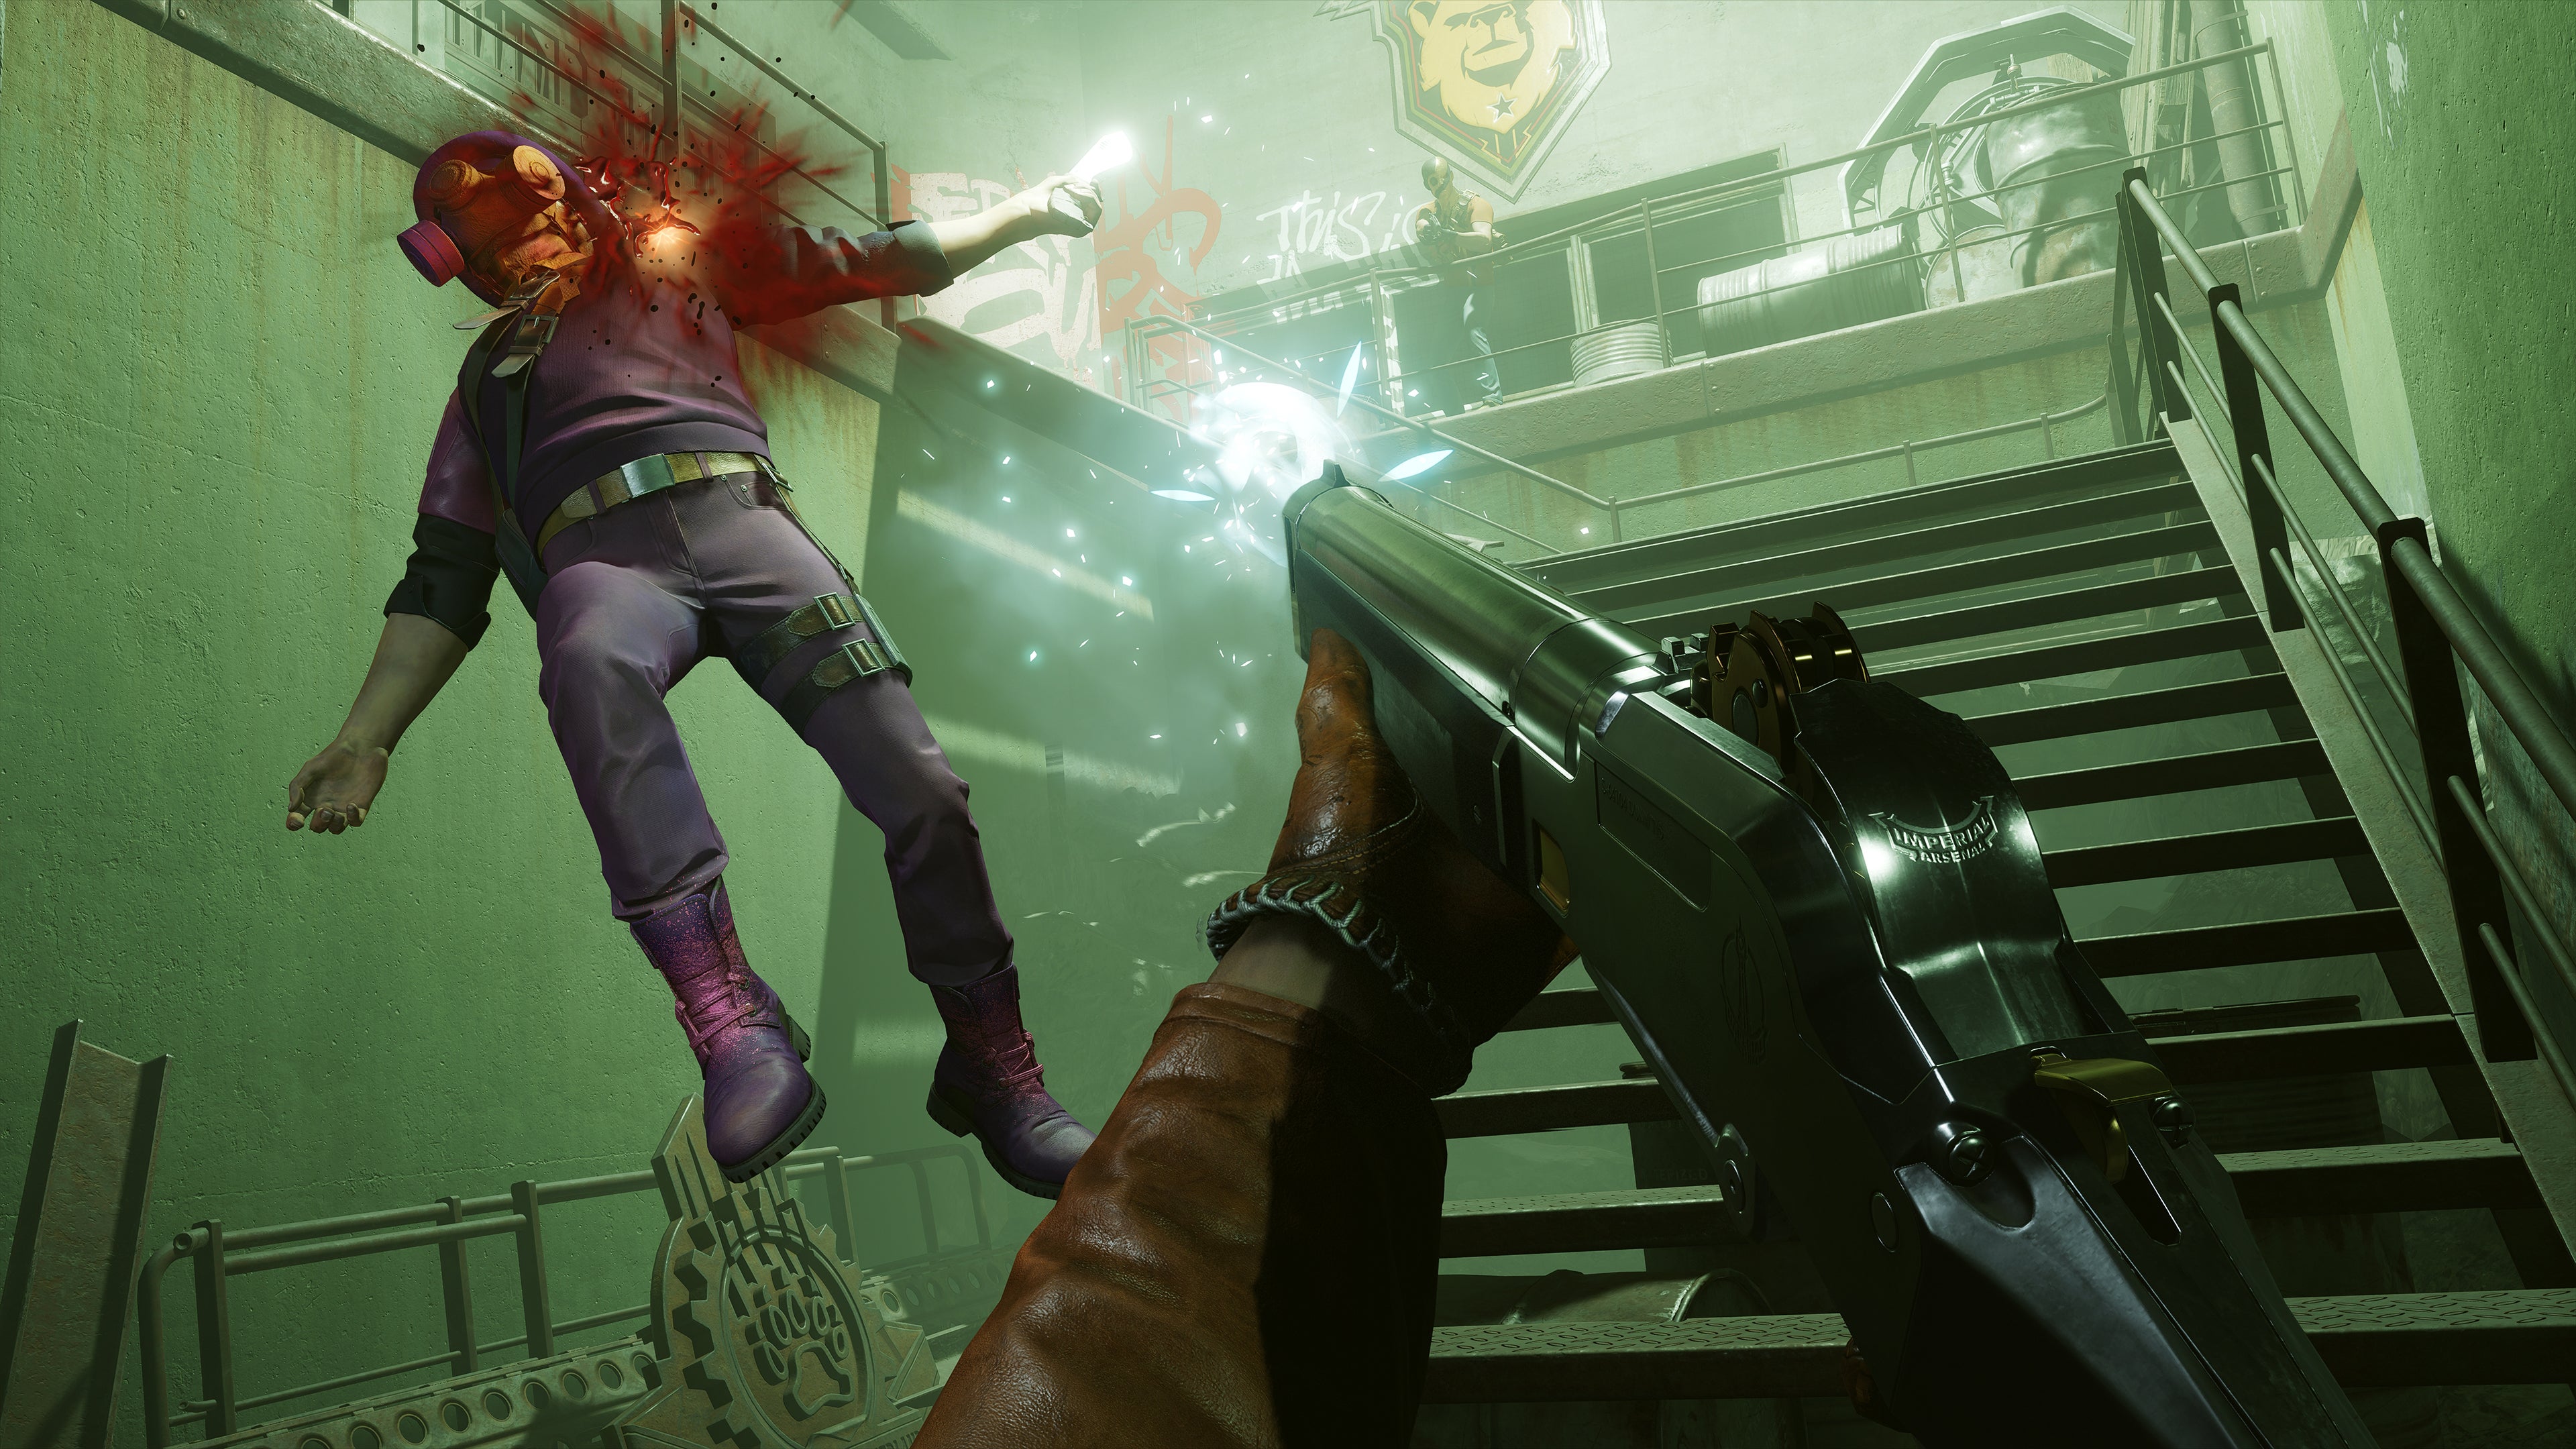
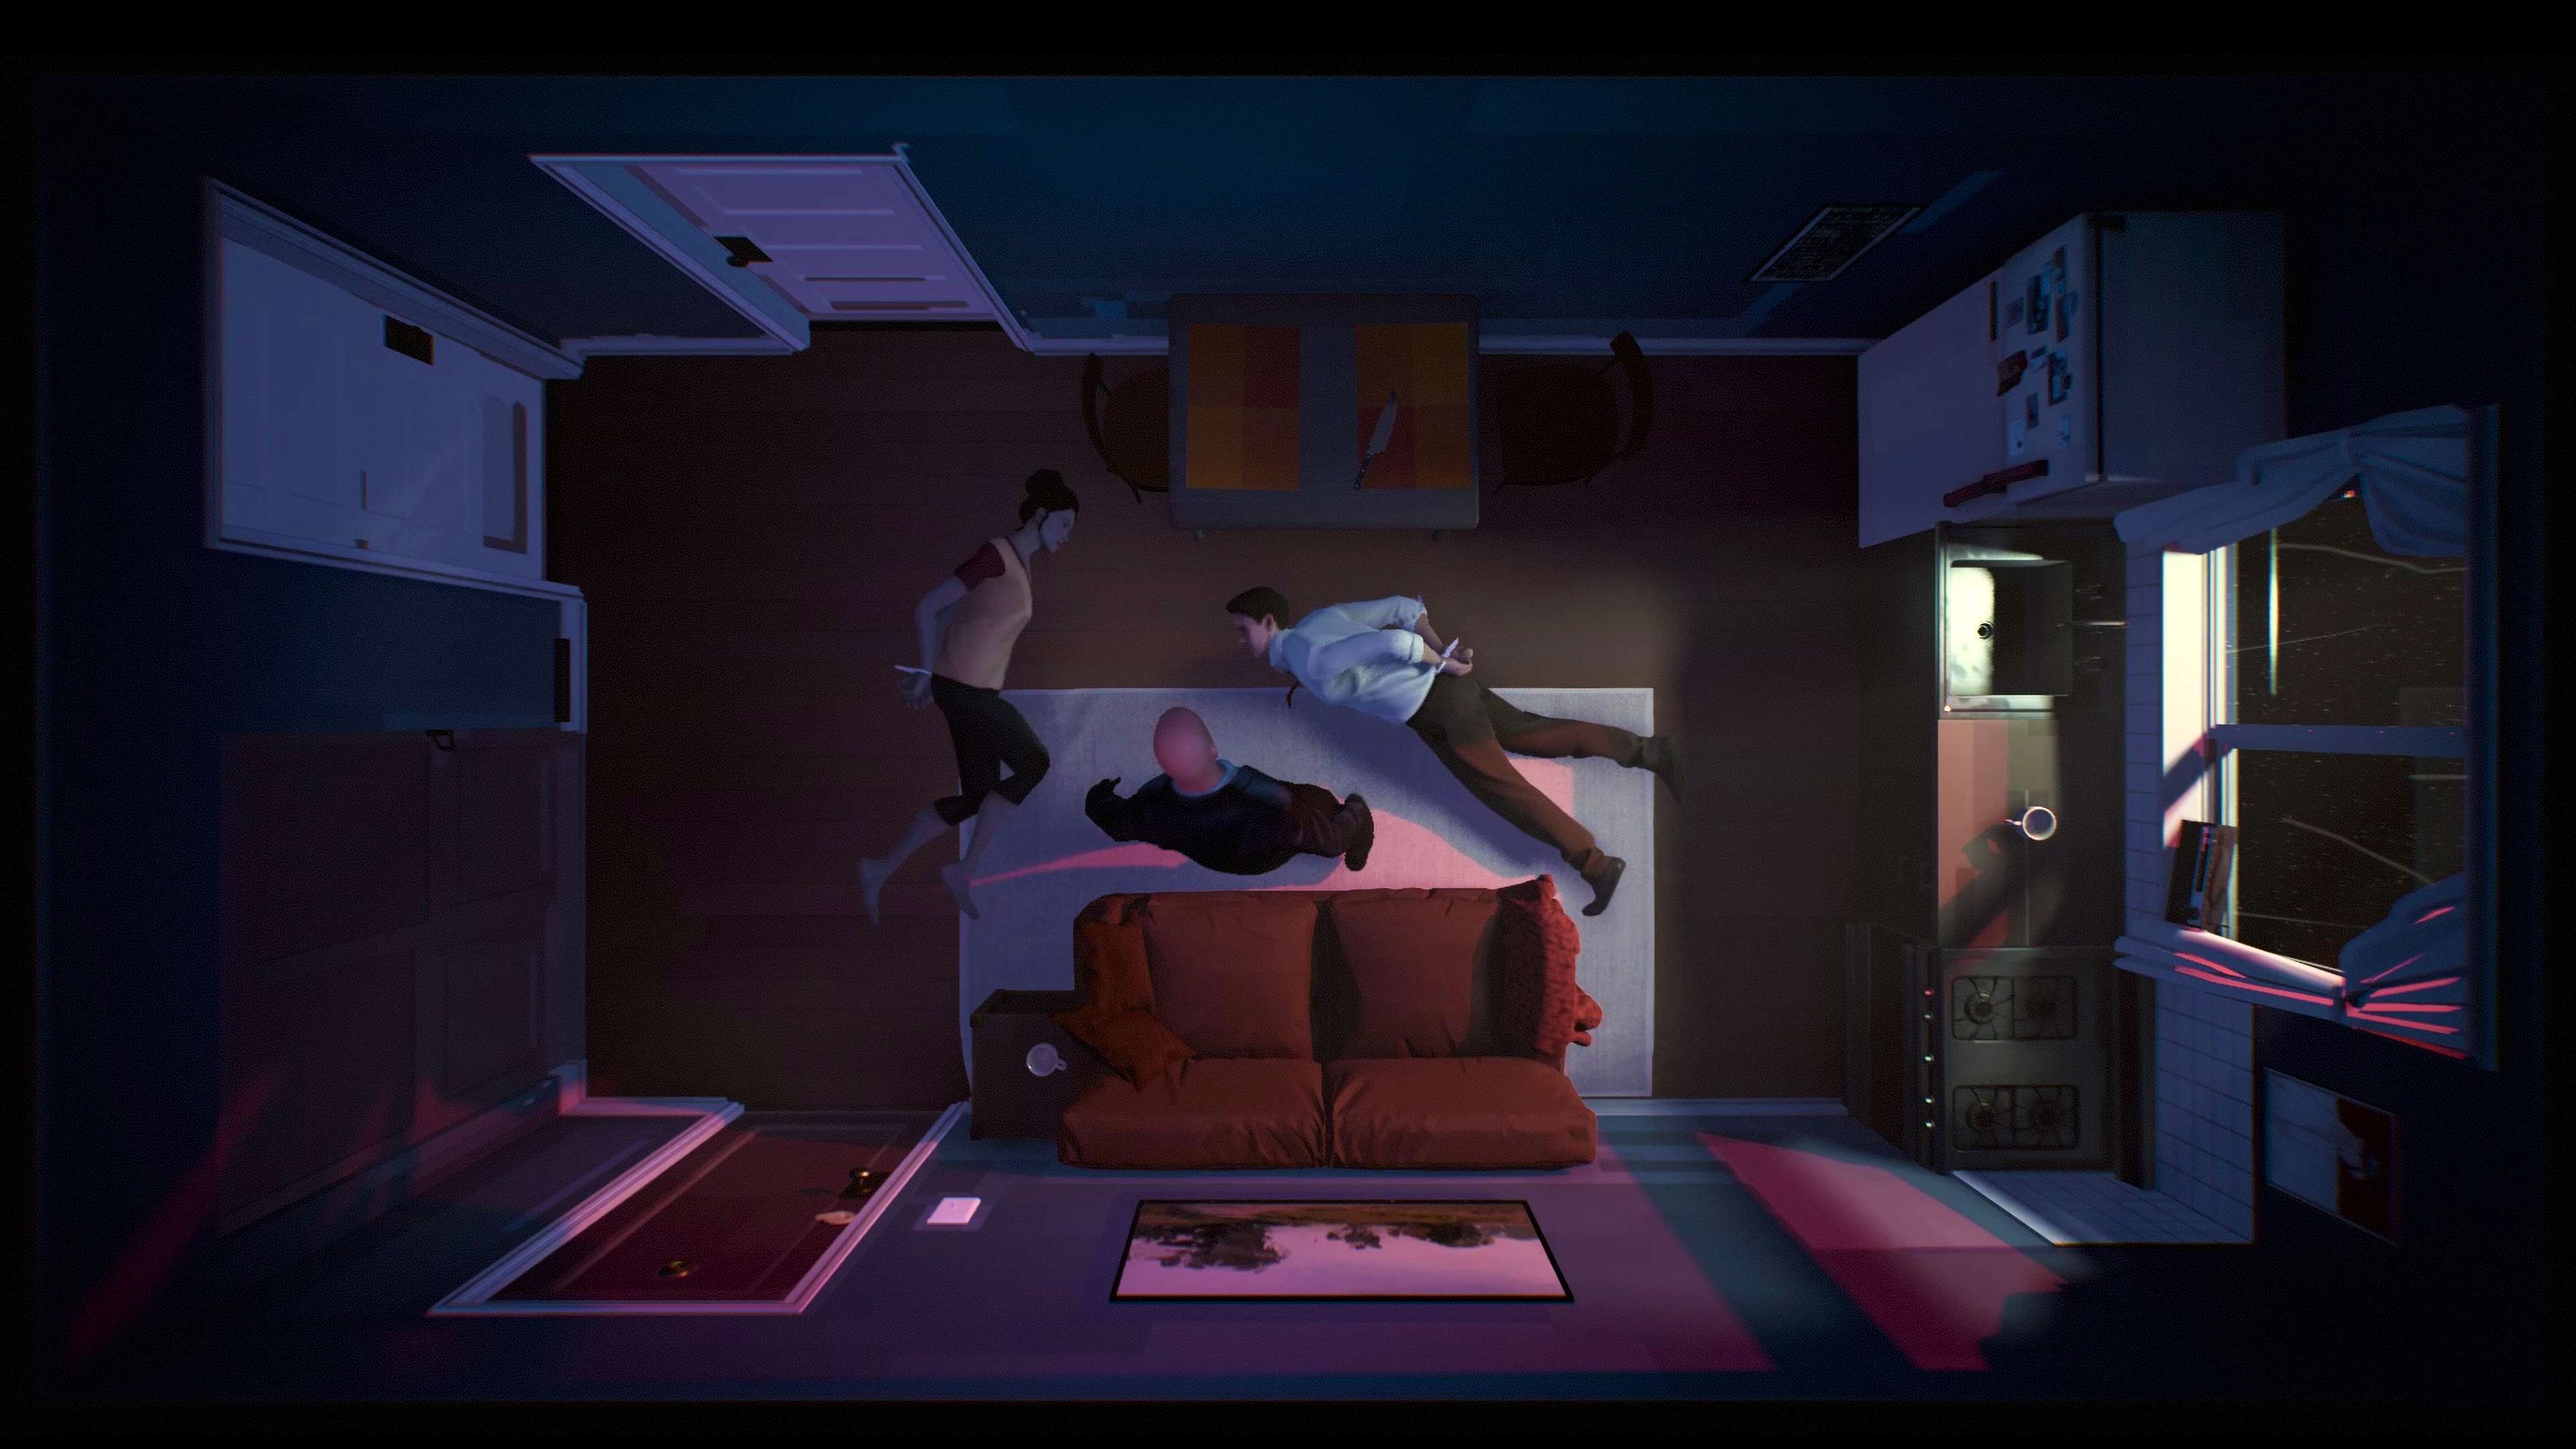
Deathloop
Deathloop is probably one of the most original games of the year, and the fast that it’s a new IP, was actually good, and moved the shooter genre forward all in one was just awesome. It had a rocky launch with lots of bugs, but Arkane Studios quickly patched a lot of them out and the game didn’t ship or need a stupid multiplayer mode for once. This is a rock solid time warping, looping, mind fuckery of a game that has great stealth and action parts all mixed into one.
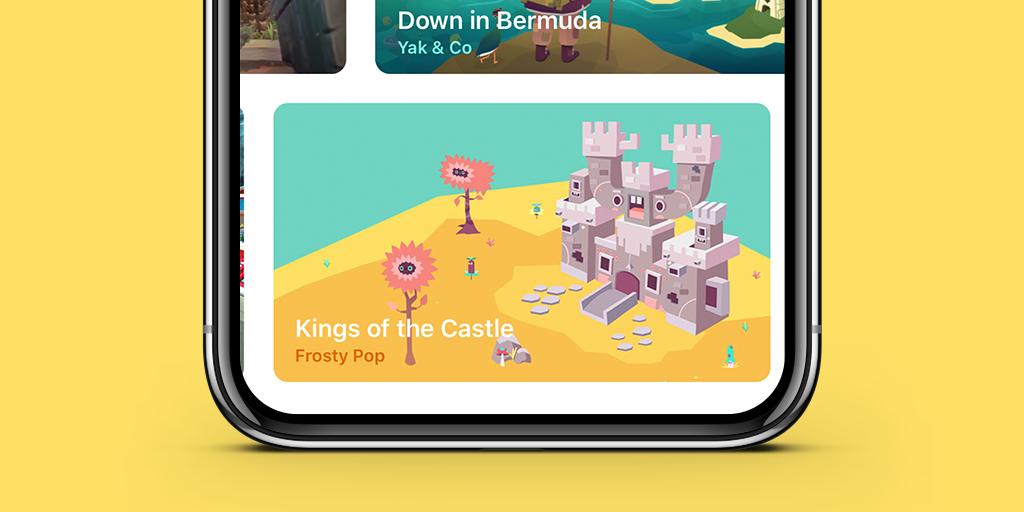
With most consoles gaining ground with their subscription platforms and Microsoft killing it with Xbox/PC Game Pass, Apple and Google both grabbed that idea and did their own thing. Google Game Pass just isn’t that great, but Apple Arcade features many exclusive big-budget titles. While the platform has a trickle of game releases, this was a solid year for the paltform. It helps show that Apple cares about quality mobile gaming and controller support.
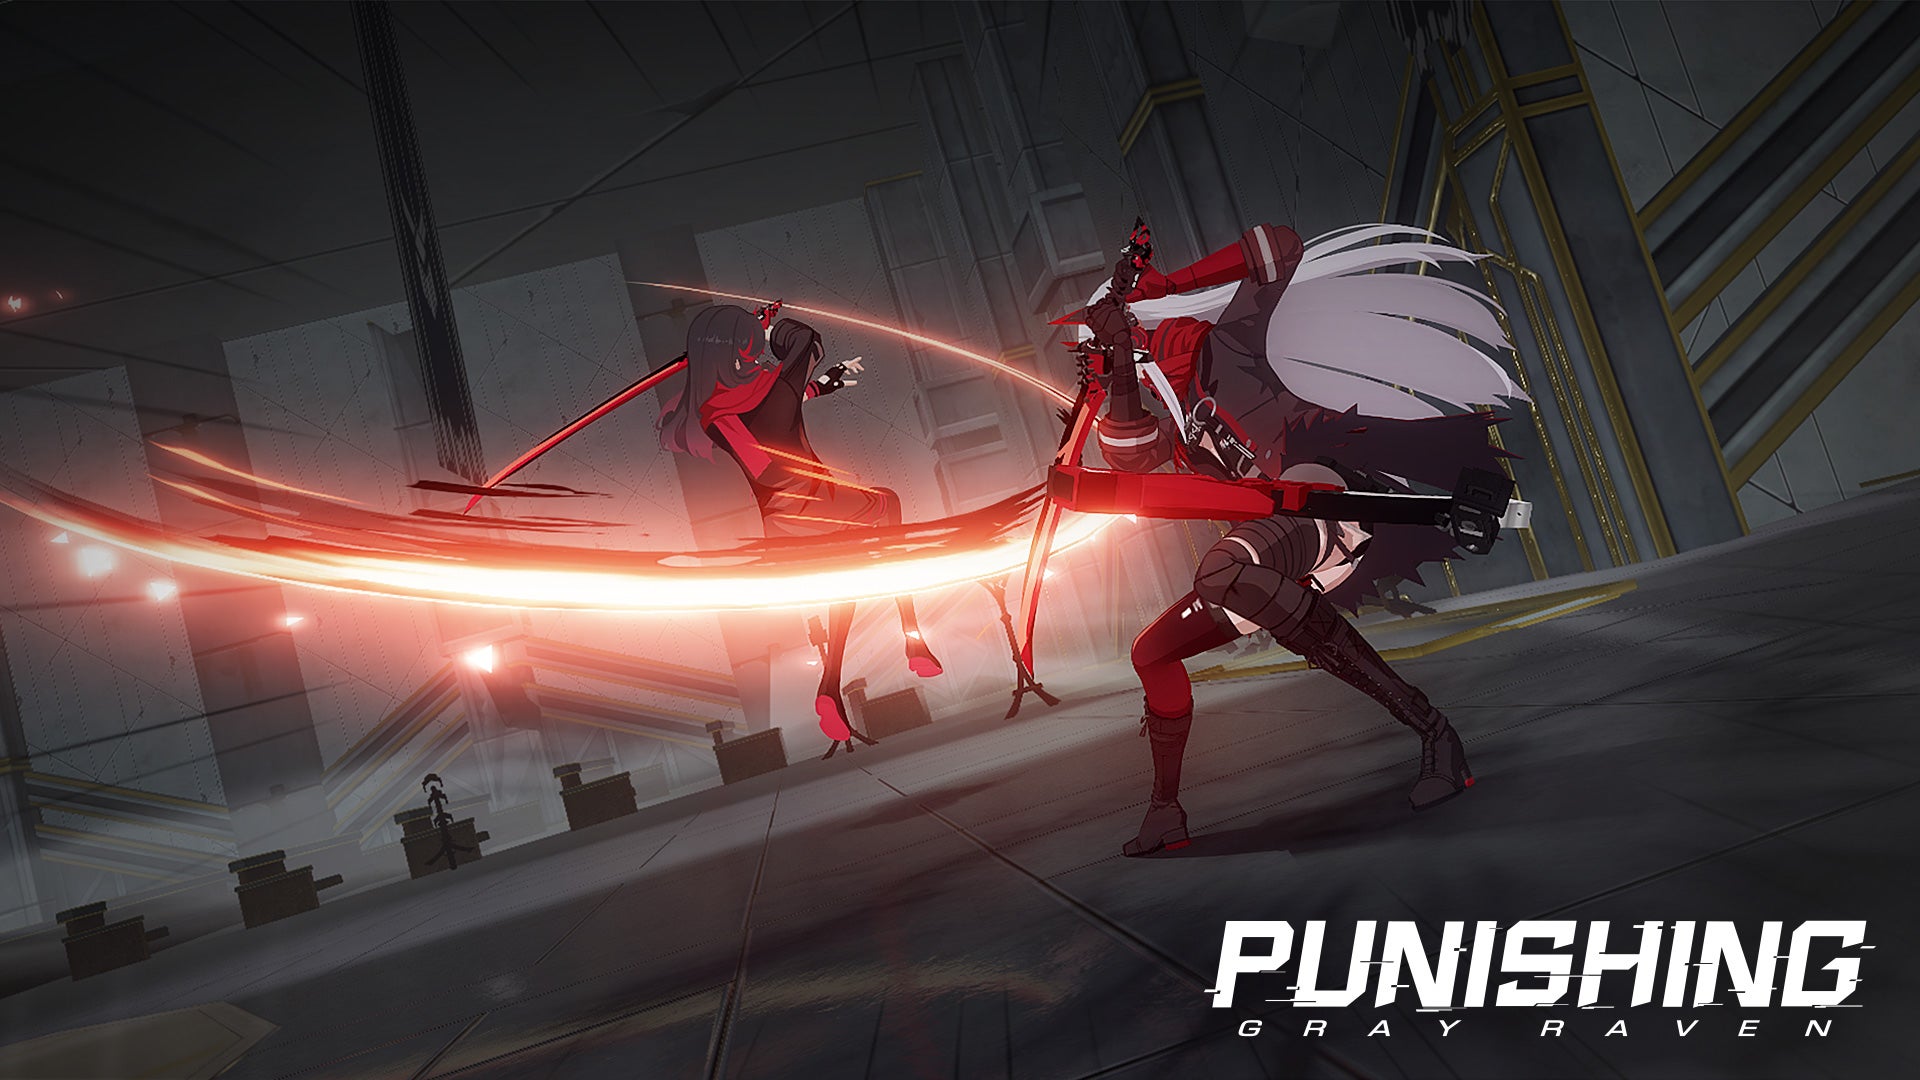
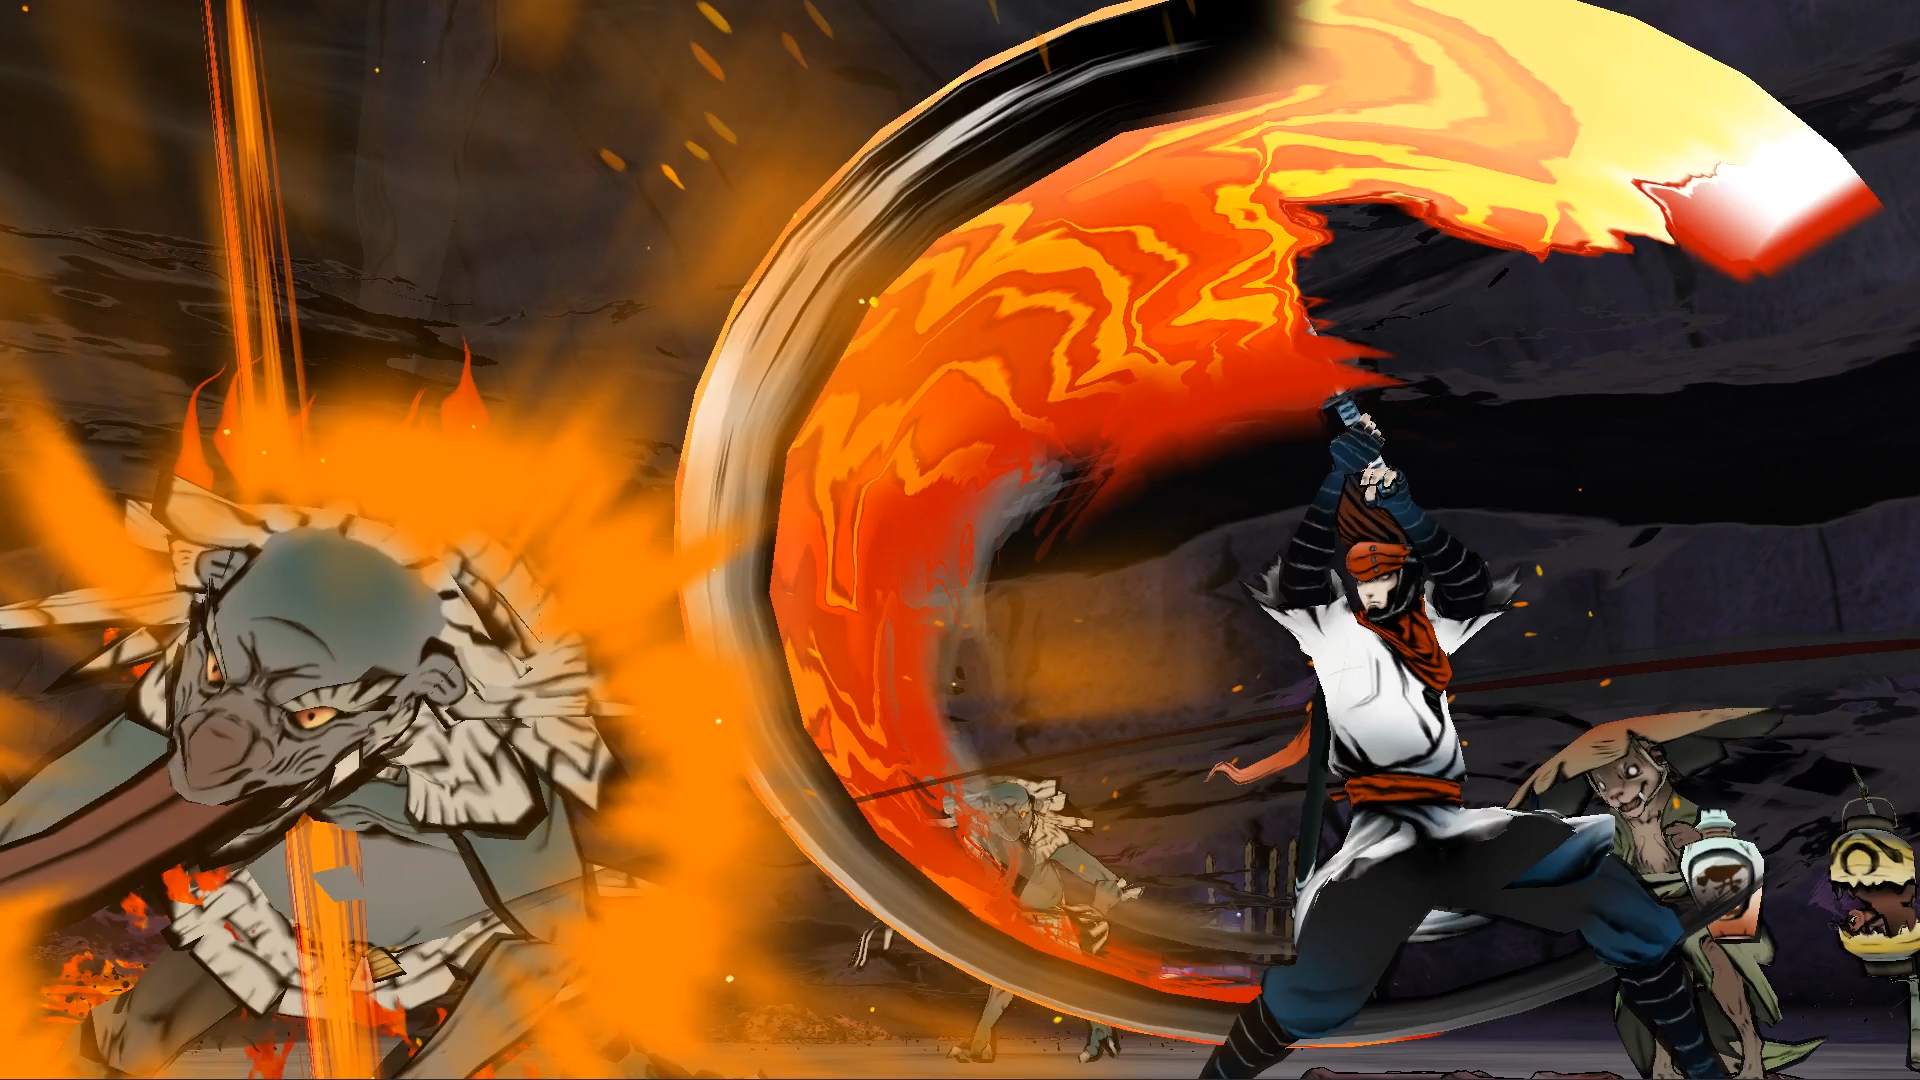
Punishing Gray Raven
Gray Raven is a fantastic action game with stunning visuals for a mobile game. It has fun characters, a fast-paced and crazy fun combat system, and overall features a nice anime style story. While it’s nothing mind-blowing compared to console games, it is still a great feat on the system with controller support to boot.
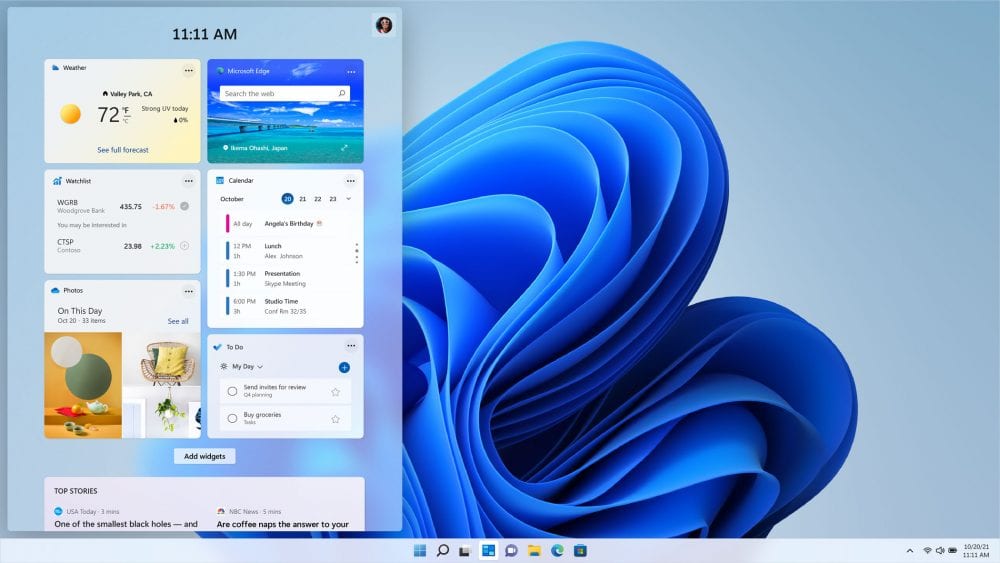
Due to the lack of console exclusives now I had to add some categories. This new one is all about which system just had the best year. This can include really well-done hardware upgrades, great console exclusives, the least amount of terrible launches, the least amount of bad controversy, new software upgrades that are a major deal.
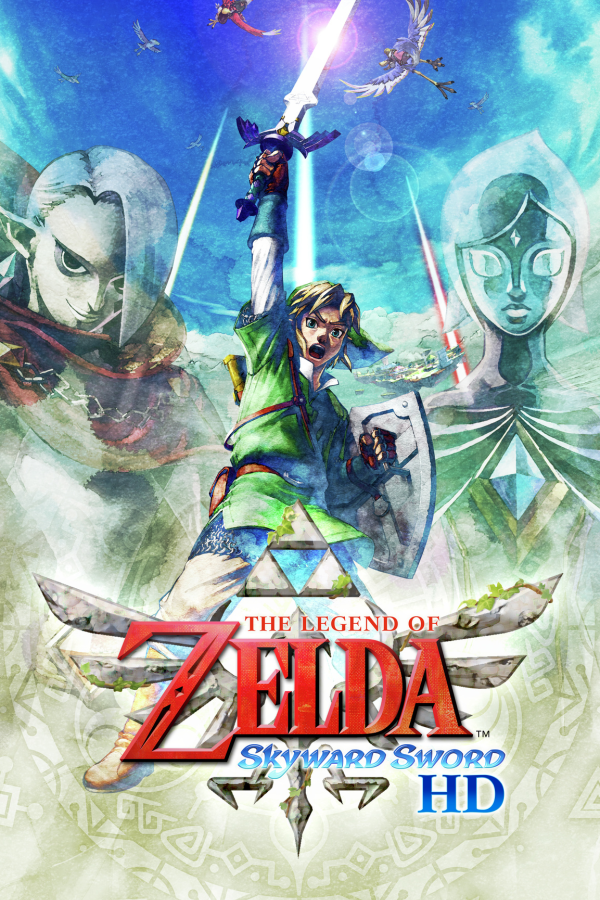
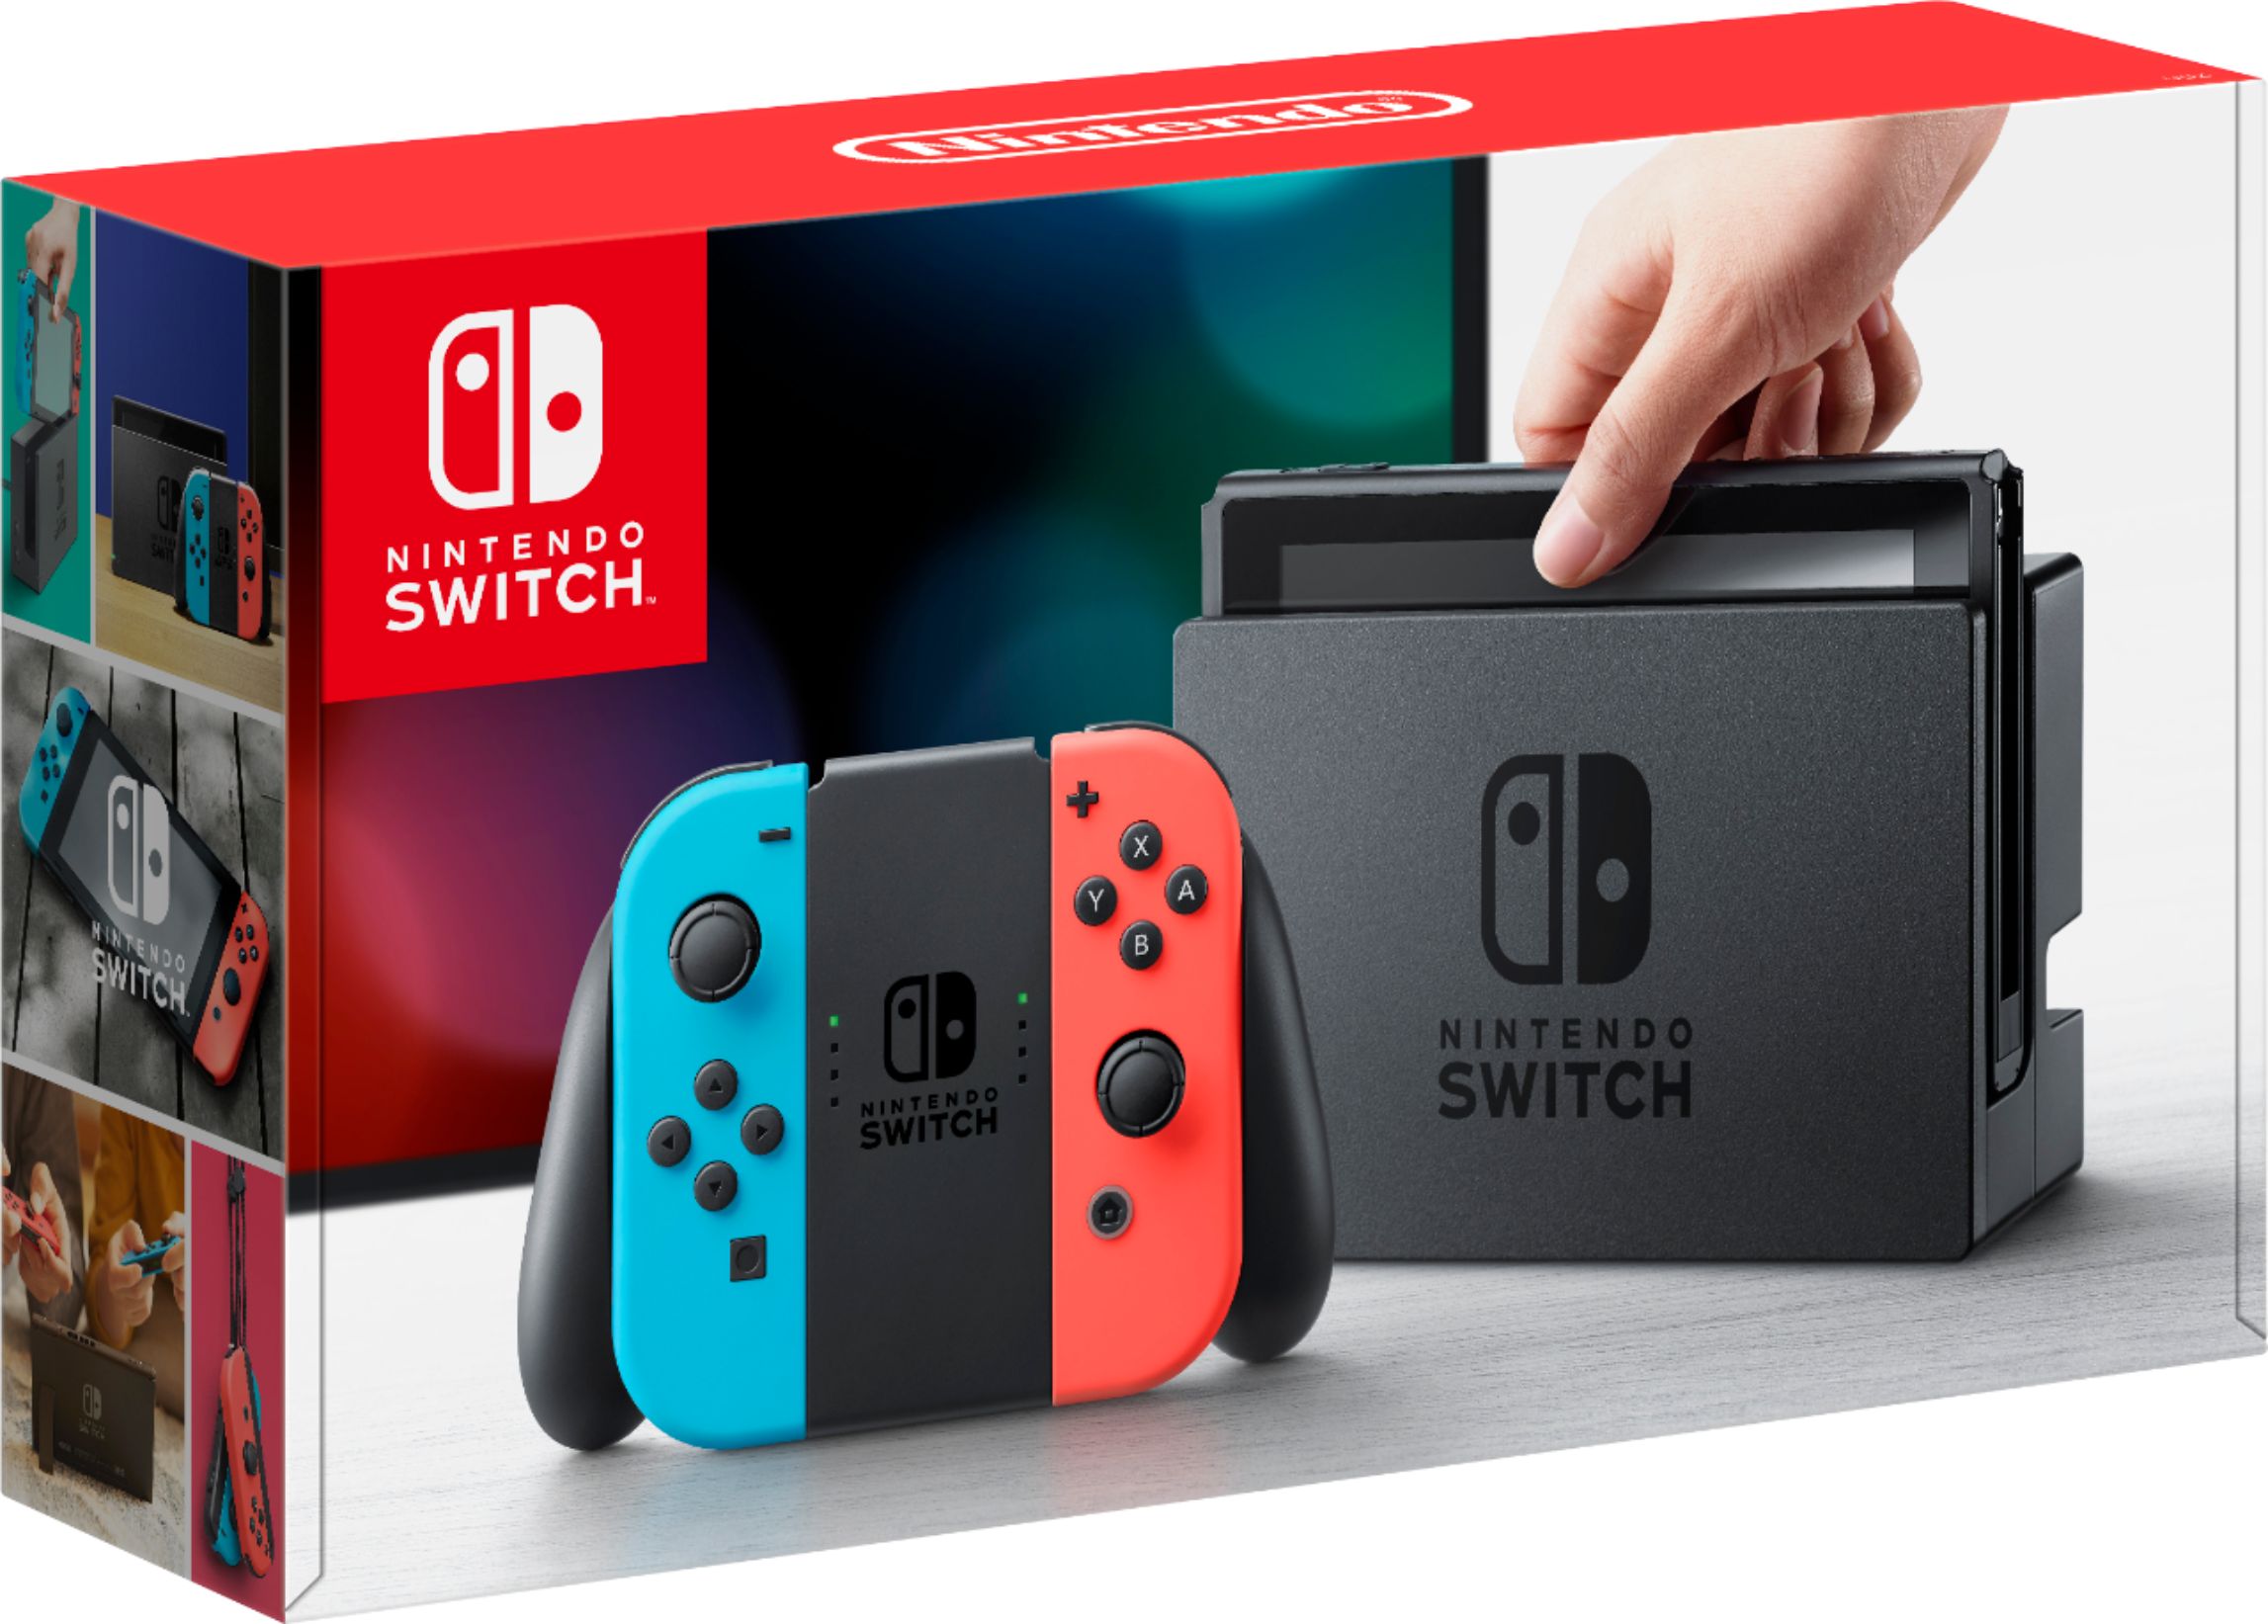
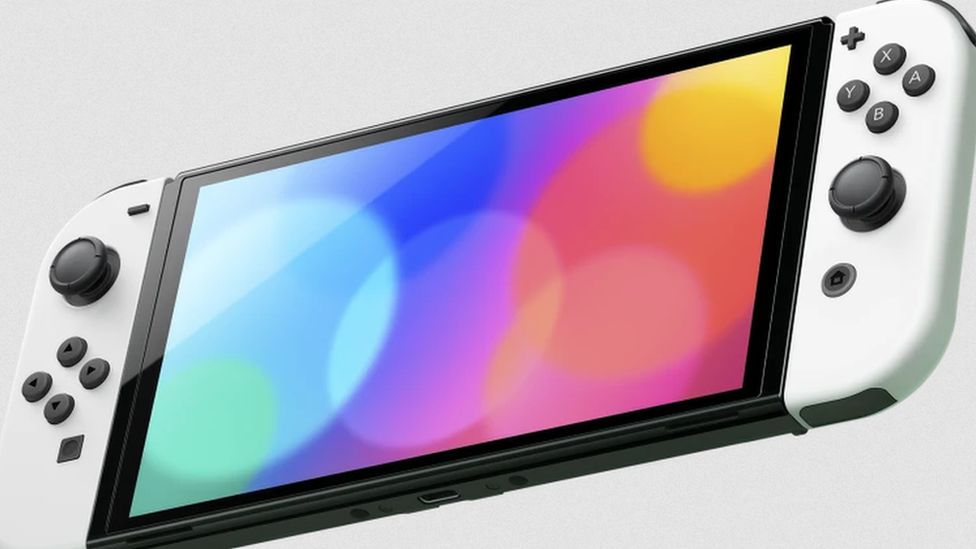
The Switch had a rock solid year despite chip shortages. The Switch Lite and even the bigger version were available all year in stores — the only console you could pick up all year. The Switch OLED launched in October with a higher price point, but a more premium feel and a fantastic OLED screen. There were also rock solid exclusives releasing nearly every month and many of them reviewed well and were worth owning. We didn’t get many awful launches, and bluetooth audio was added as a feature this year as well which was a huge deal. There was some great official accessories released like the Skyward Sword HD Joy-Cons. Overall, this was just a positive time to be a Switch owner.
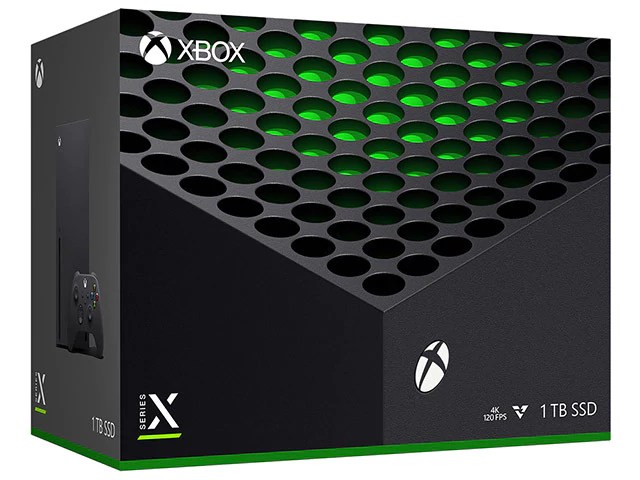
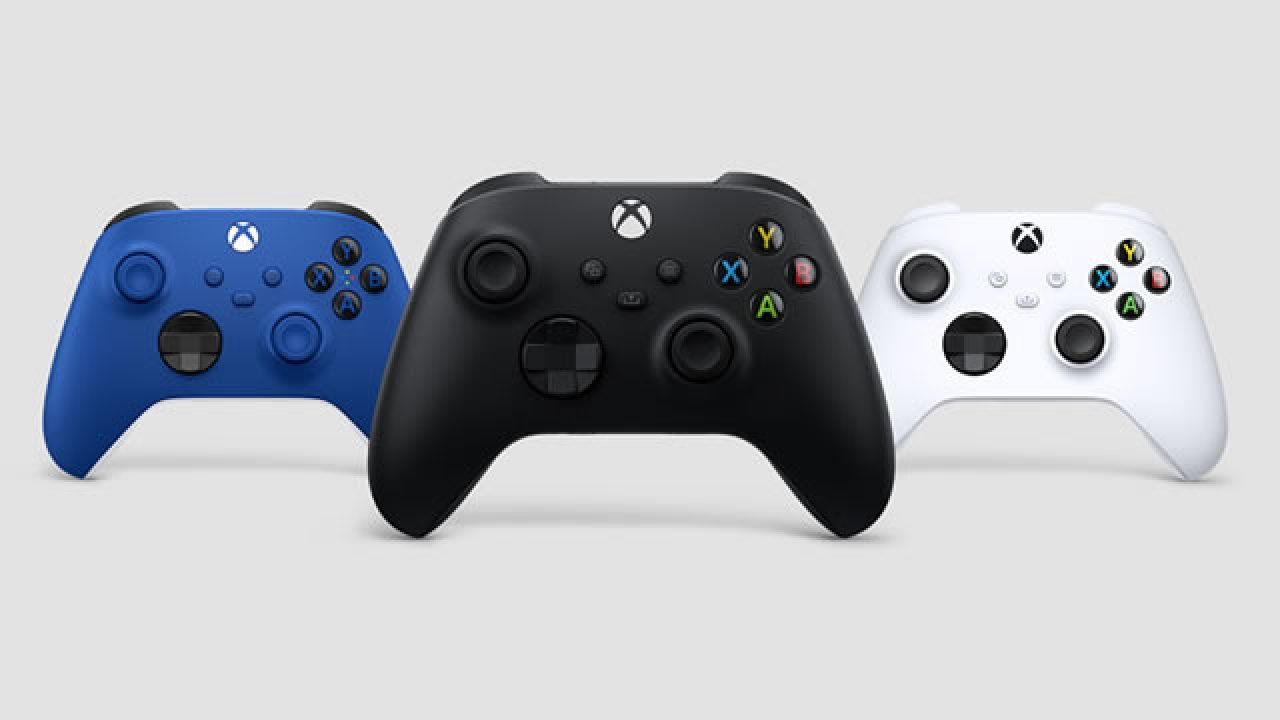
The time has come in which console exclusives are starting to become phased out. You have Microsoft games going to the Switch and PlayStation games porting to PC. The end is nigh and soon this category will pretty much disappear. Over the years the handheld market vanished and usually towards the end of a console cycle this category is rather anemic, but it seems now systems need to be combined into just brand platforms. This category combines PC, Xbox One, and Xbox Series X|S.
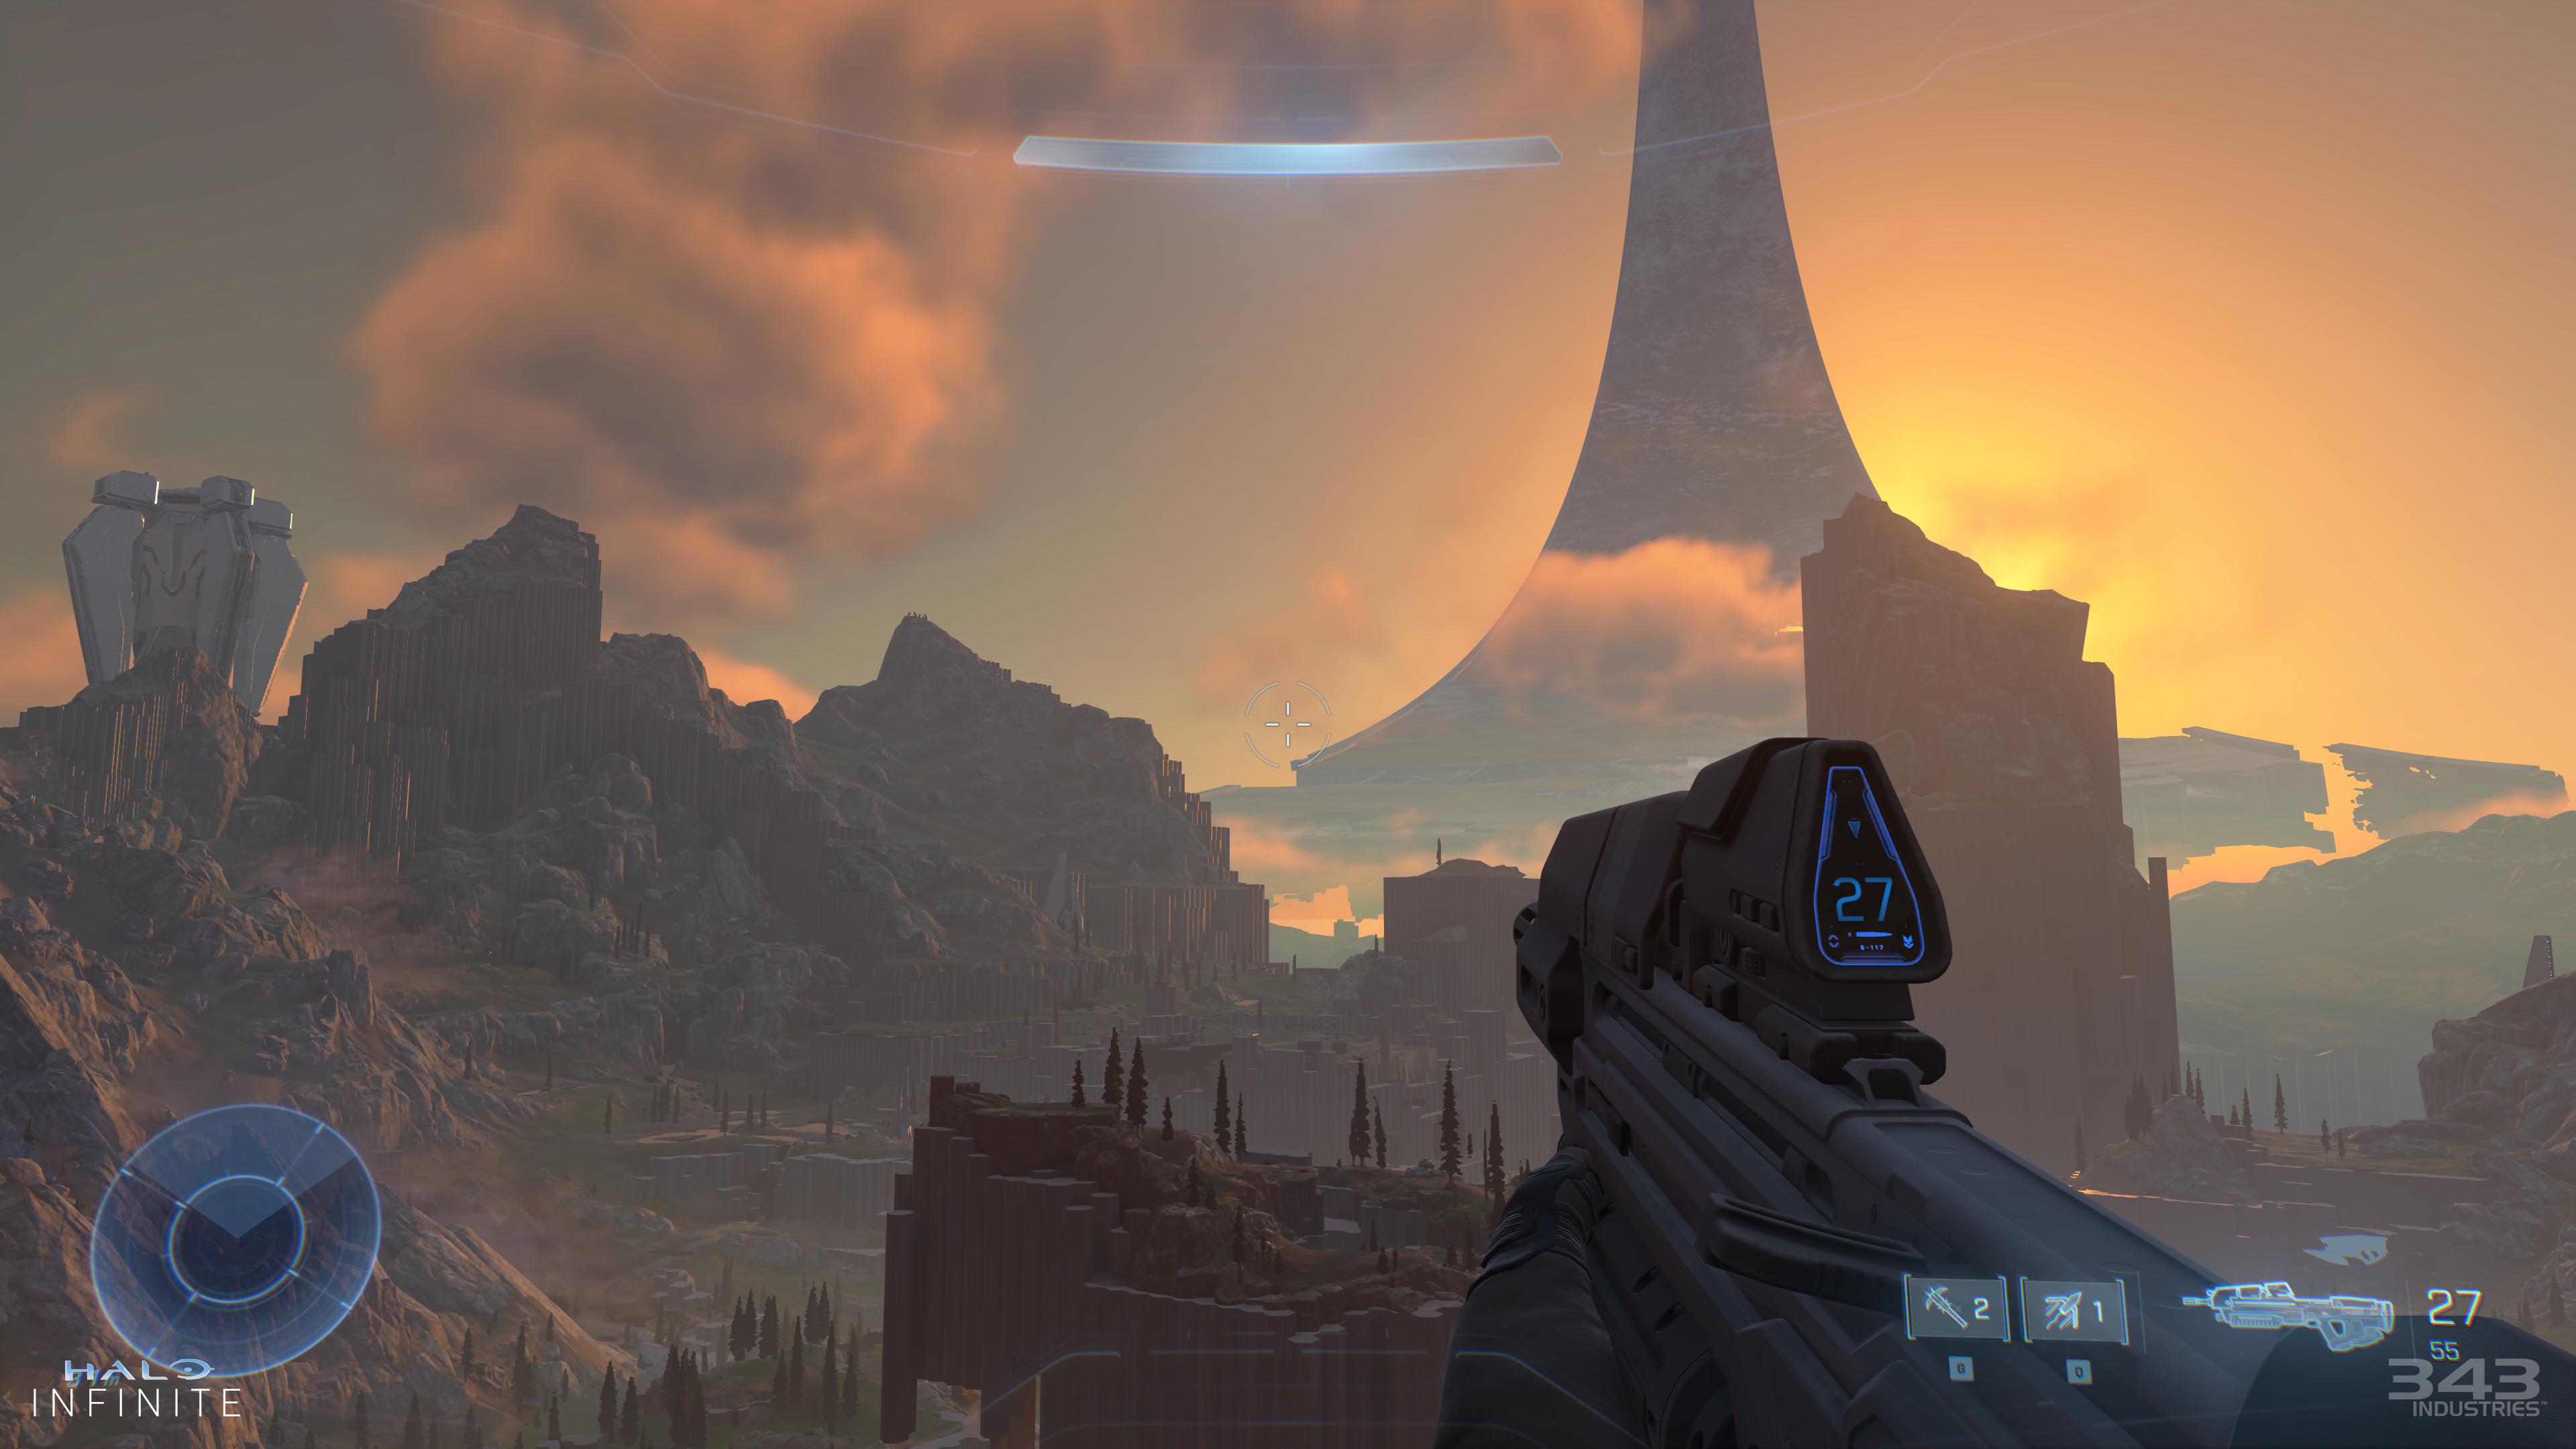
Halo Infinite was a huge surprise that it turned out good. It feels like the original Halo Trilogy which is a good thing. The open world concept they can take or leave, but it at least works well and finding all the extra stuff is fun. The multiplayer is in its infancy still, but it’s solid for what’s here and is probably the best FPS multiplayer of the year. Why it took nearly 10 years for a good Halo to emerge is silly, but 343 seems to have gotten the hint with the extra year in the oven paying off.
There were quite a few great Switch exclusives this year with even a few third-party ones popping up. Nintendo has had 5 consecutive years of greatness on the Switch with fantastic exclusives year after year. It doesn’t seem like Nintendo is slowing down either with 2022 having some great exclusives as well and probably some surprises.
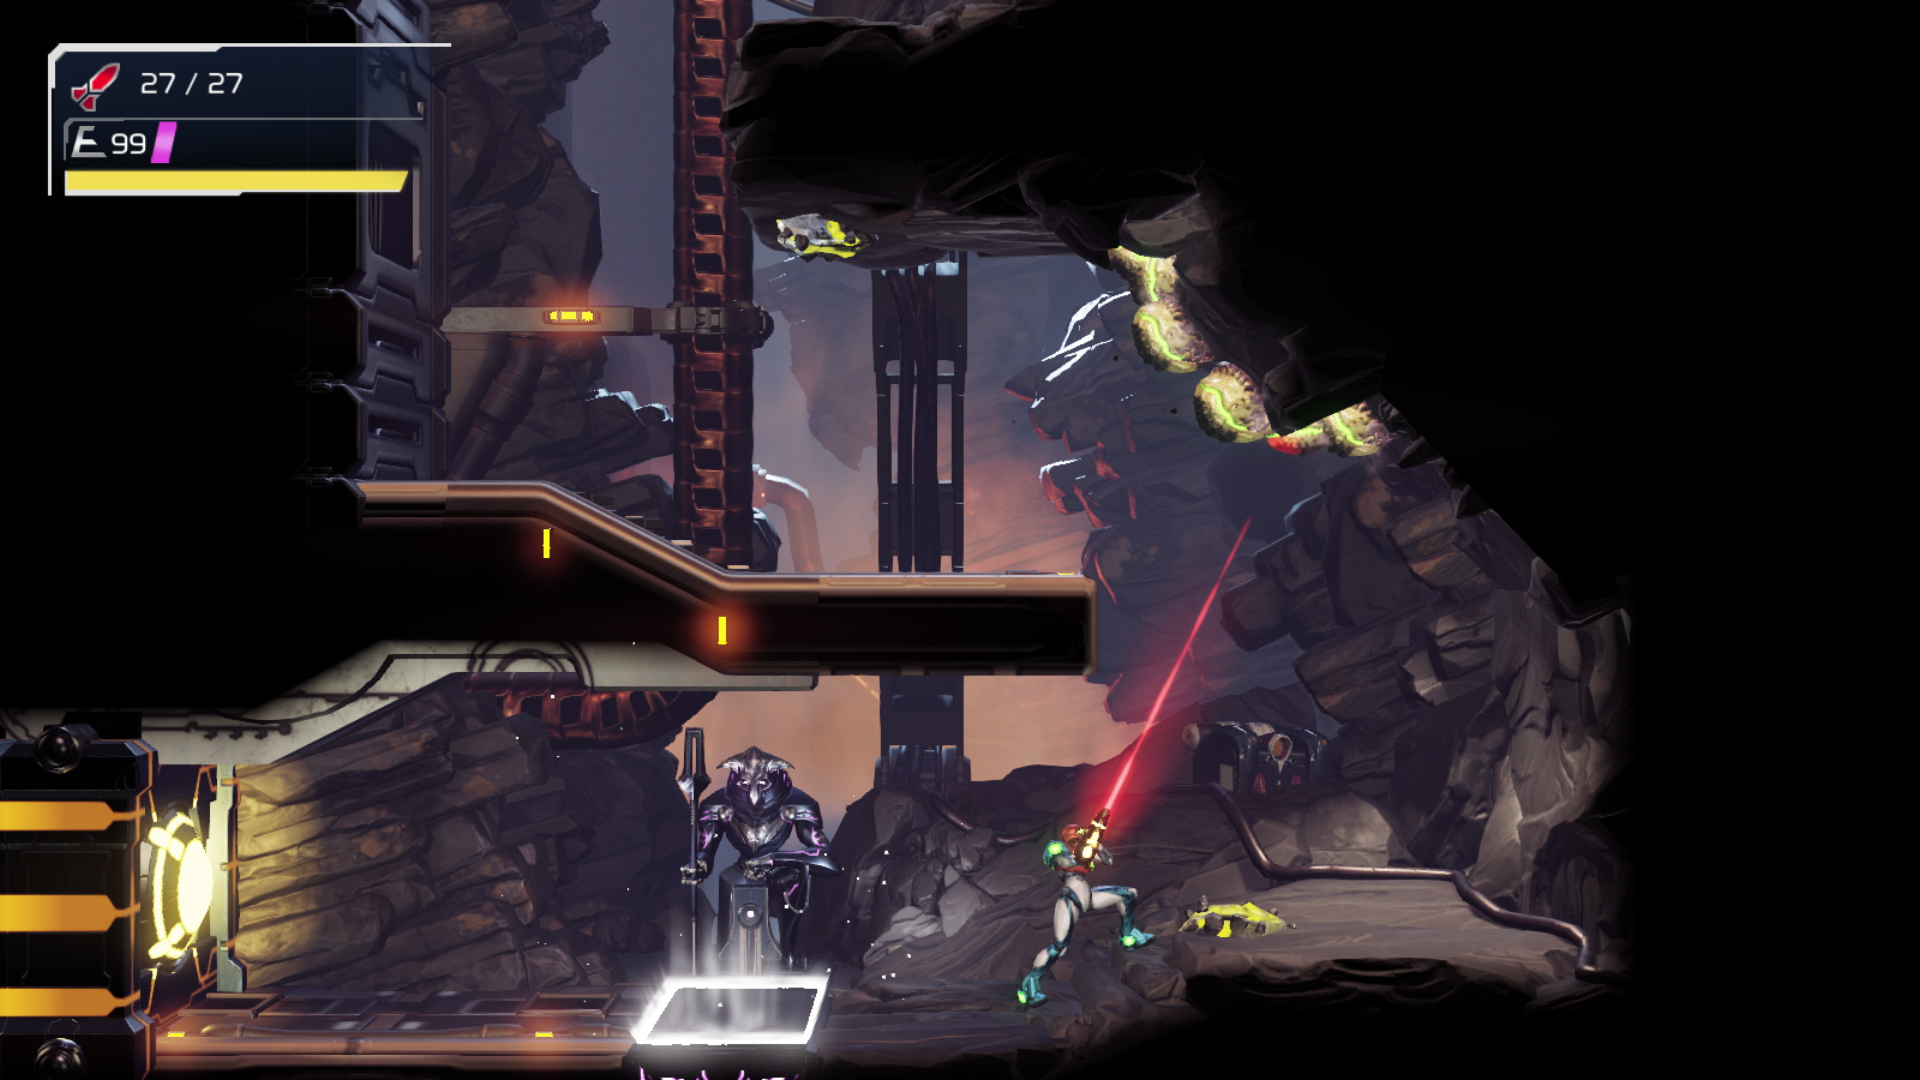
Metroid Dread is probably one of the most anticipated games of all time or at least in the last decade. While we got a remake of Metroid II on 3DS a few years back, we haven’t received a true original 2D Metroid game since the GBA days. What’s here is fantastic, and despite a little critisim for the E.M.M.I. enemies the game plays and feels just like a Metroid should. The game looks great and the classic gameplay and well designed map that allows faster navigation the more you play just feels awesome.
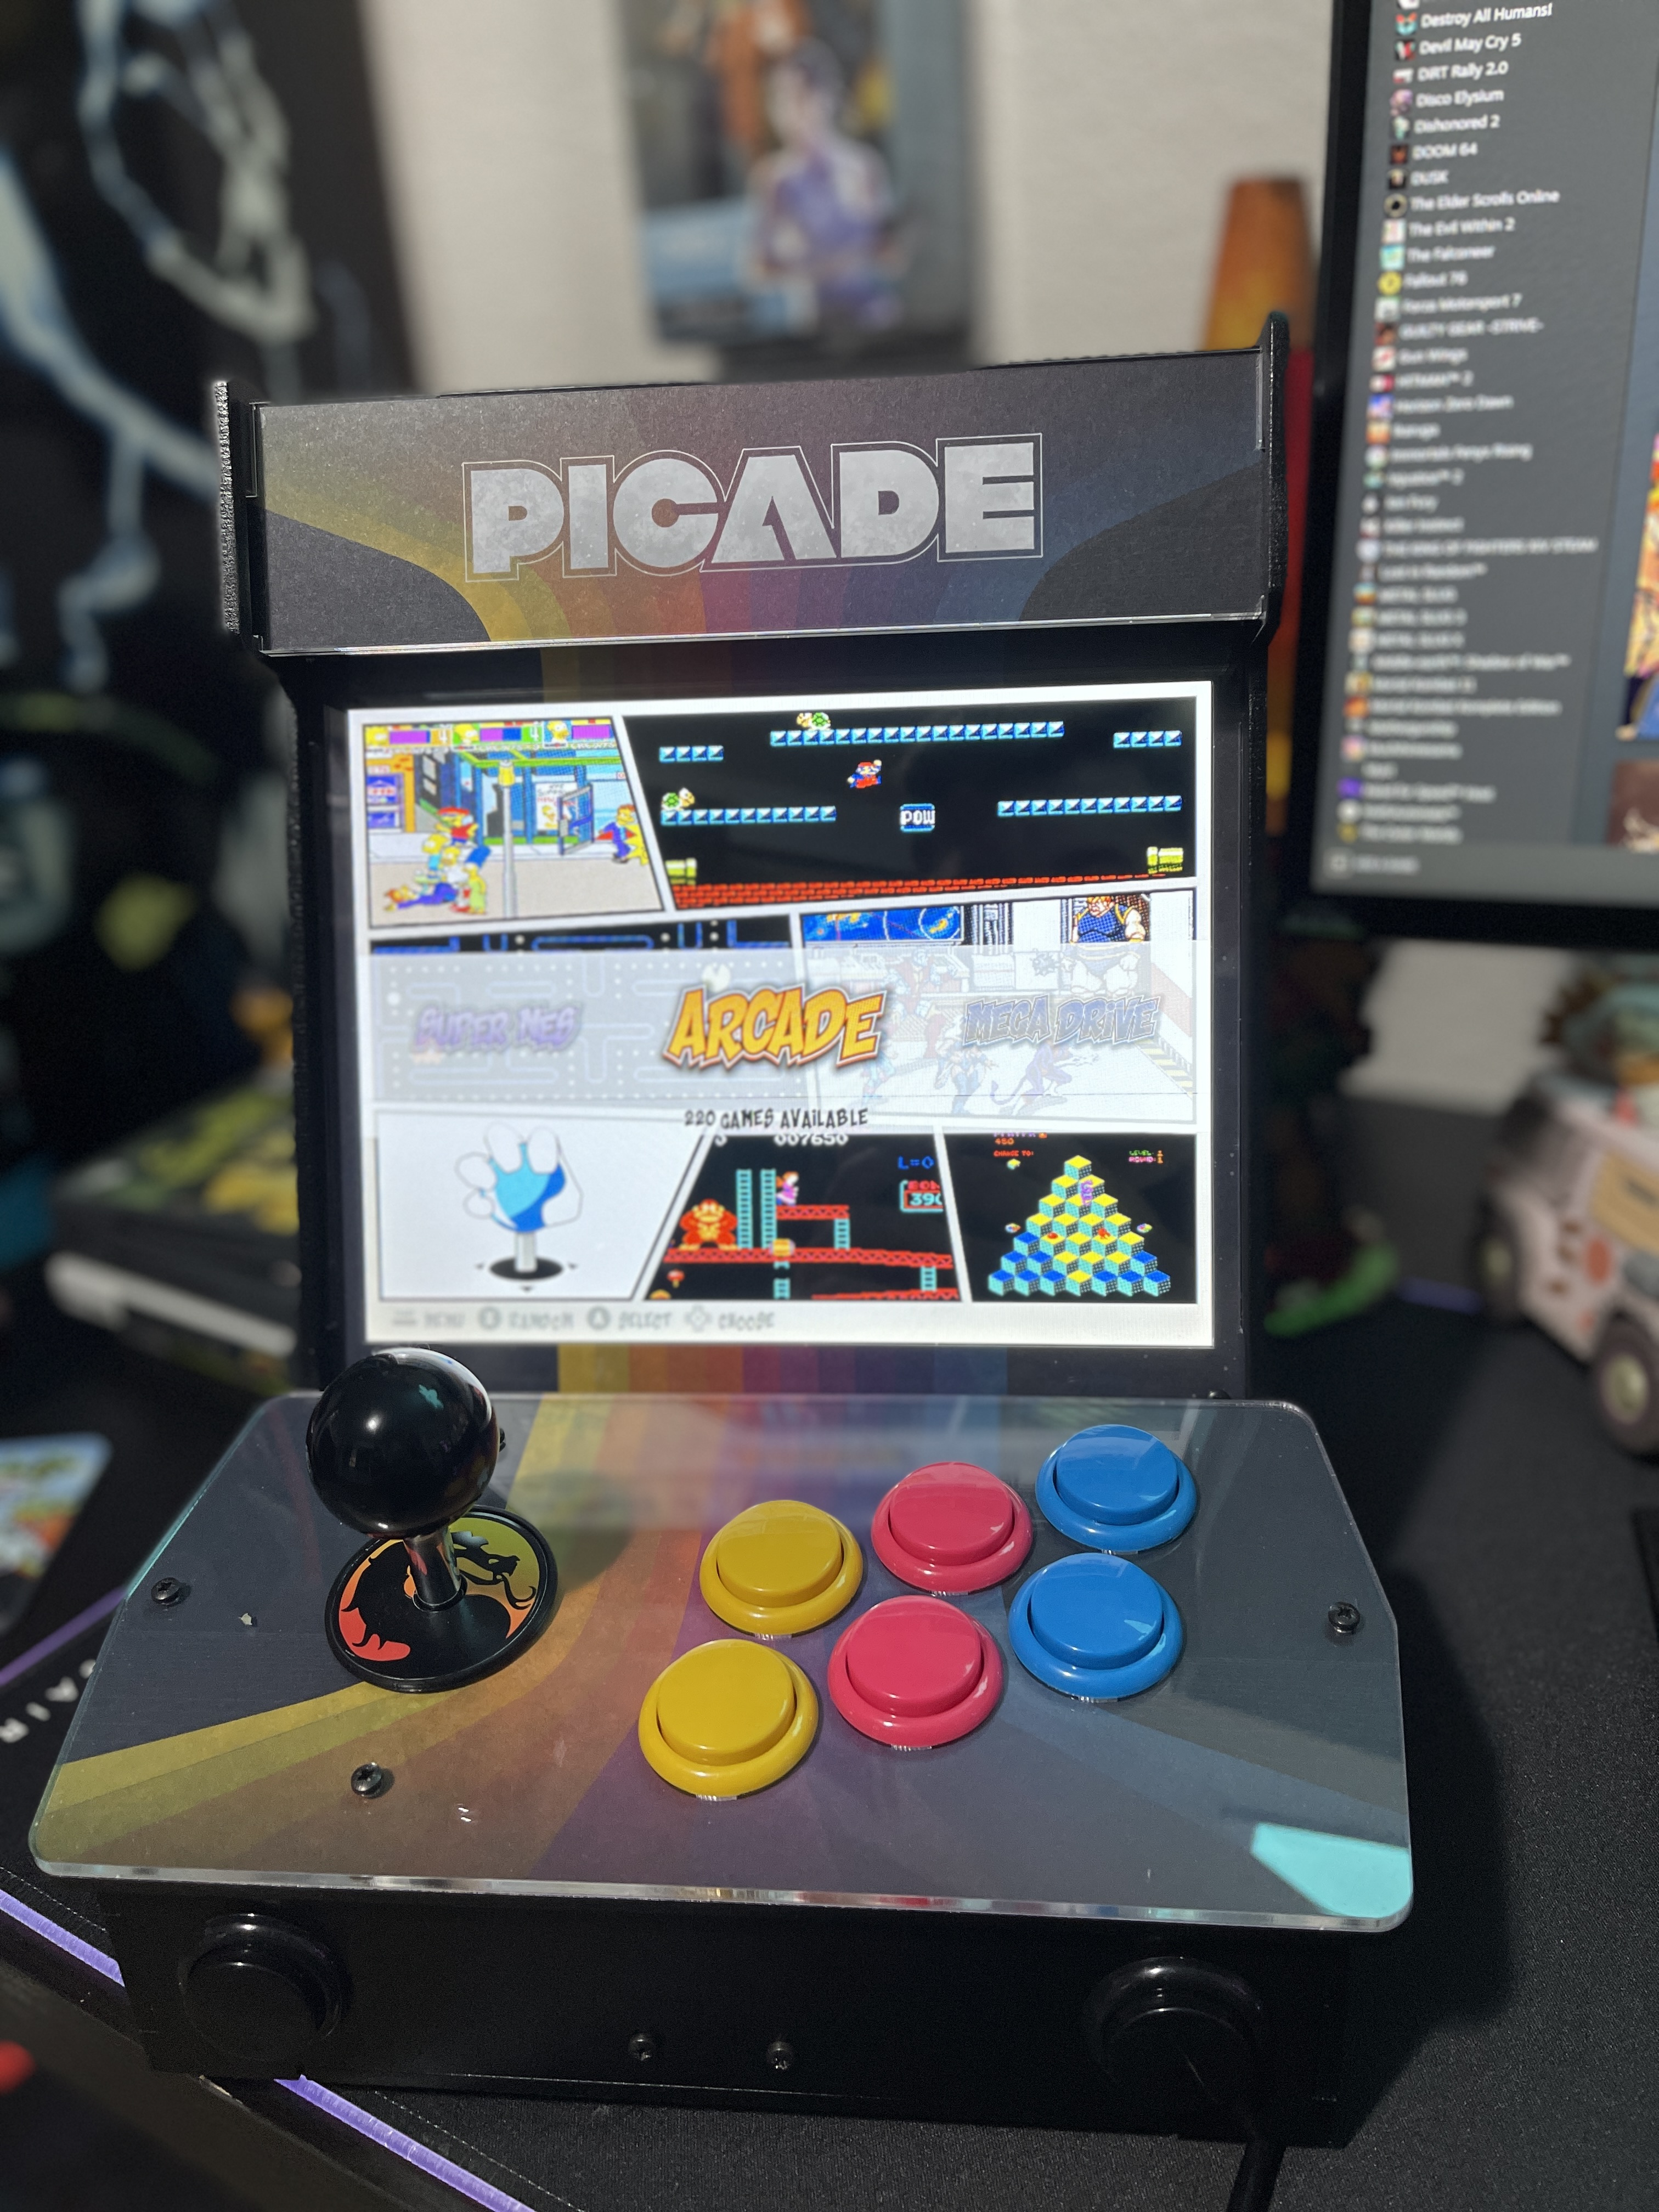
Well, I guess someone had to do it right? There isn’t a single Retropie setup for Raspberry Pis on the internet that I could find. After setting up my Picade I spent three weeks tweaking, adjusting, fiddling, troubleshooting, and overall just learning the ins and outs of Retropie and Retroarch. It’s a fantastic and powerful emulator software but needs to be fiddled with so much that most casual users will give up. You finally have a Pi and an enclosure or some sort of cabinet for it and no idea on how to make it look nice or even get games to work.
Getting Retropie Up and Running
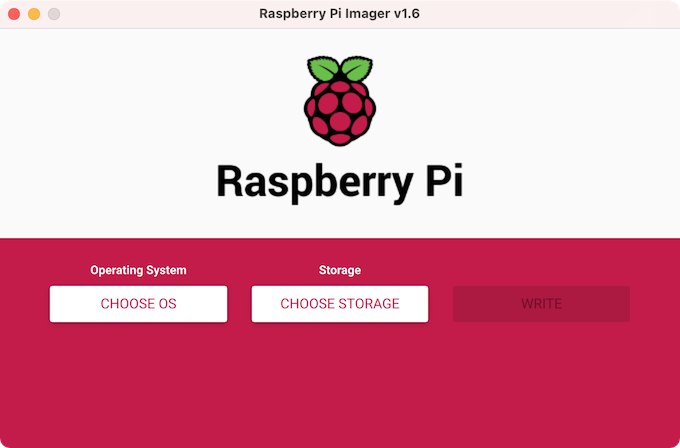
Let’s start with something simple and that’s just getting the thing up and running. You will need to burn an image to an SD card to get started and I highly recommend just using a Pi 4 as this guide will cover that Pi, but older ones are fine too.
Choose the version of Retropie that matches the Pi you’re using and then select your storage and click write. That’s it! You now have the basic Retropie install ready to go. Slot it into your Pi and start it up.
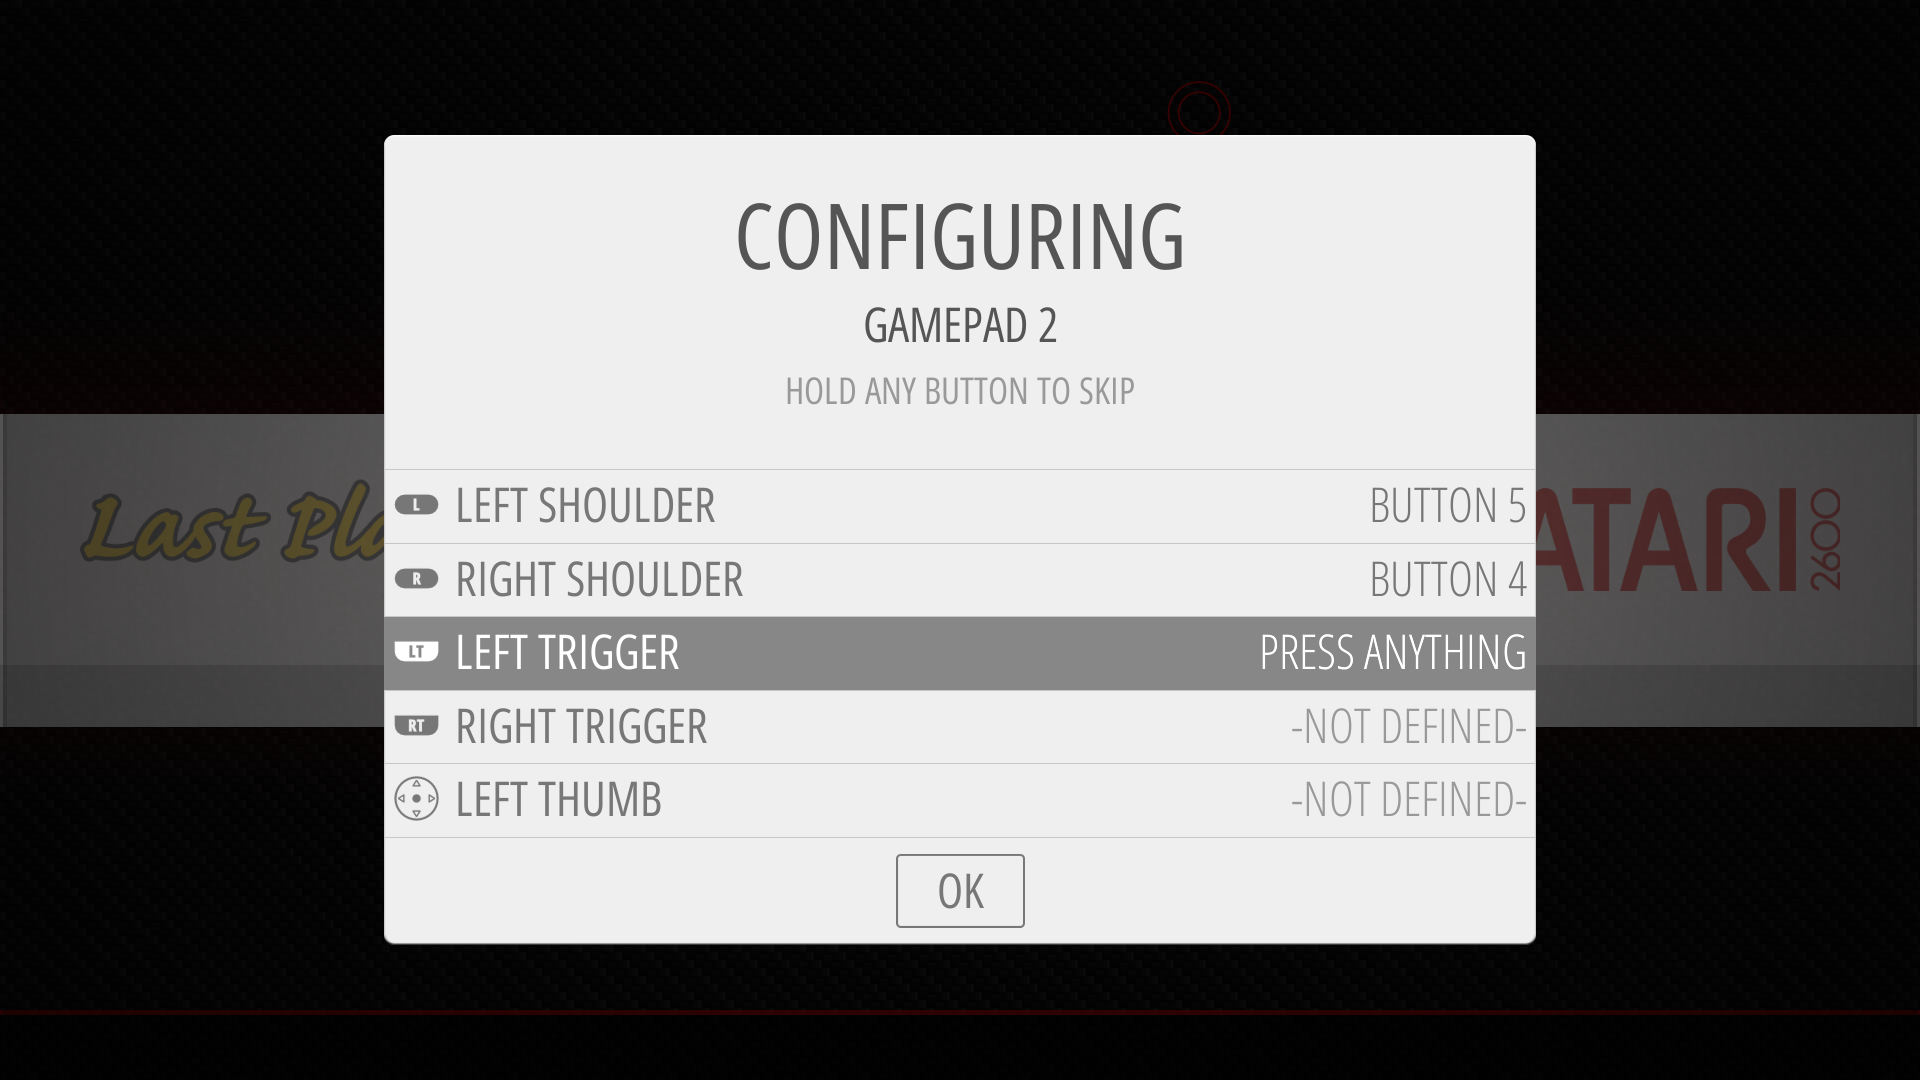
When you startup Retropie you will need to set your controls. If you have a cabinet built around the Pi set your controls as you want and hold down any button you want to skip. If you’re using a controller I suggest picking the main controller and sticking with that one as Retroarch will map EVERY emulator to these controls.
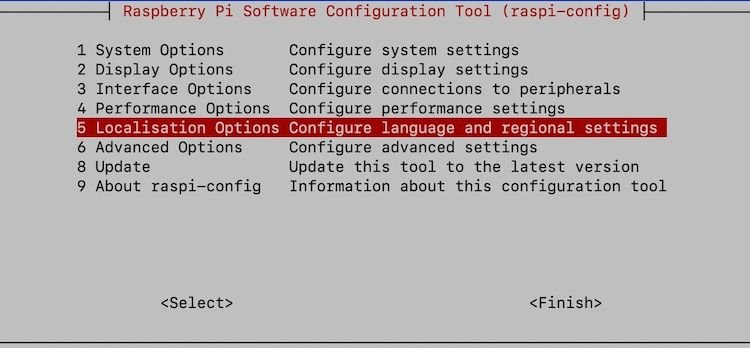
After this, you will need to have the correct keyboard layout for your country. To do this go into RetroPie>Raspi-Config.
For the US layouts change the keyboard to “Generic 105 key” layout and the rest their default options when prompted.
Setup Wifi and SSH
The best and fastest way to get ROMs and files onto your Pi is to set up the Wifi and SSH into it. We can’t do anything without these two things set up first. You can also alternatively use an ethernet cable, which is recommended, but if you have an arcade enclosure or are far away from your router then this may not be an option. Once you have set up your control go into Retropie>Wifi. I highly recommend getting a wireless USB keyboard for this stuff as the “DOS” menus of Retropie are easier to navigate with a keyboard. I use this one as I can leave the dongle inside my Picade and the keyboard has very long battery life. It also has a great layout and nice buttons. You also won’t be typing more than a few buttons prompts or short commands so you don’t need anything full size for typing novels. Rii Mini Wireless Keyboard
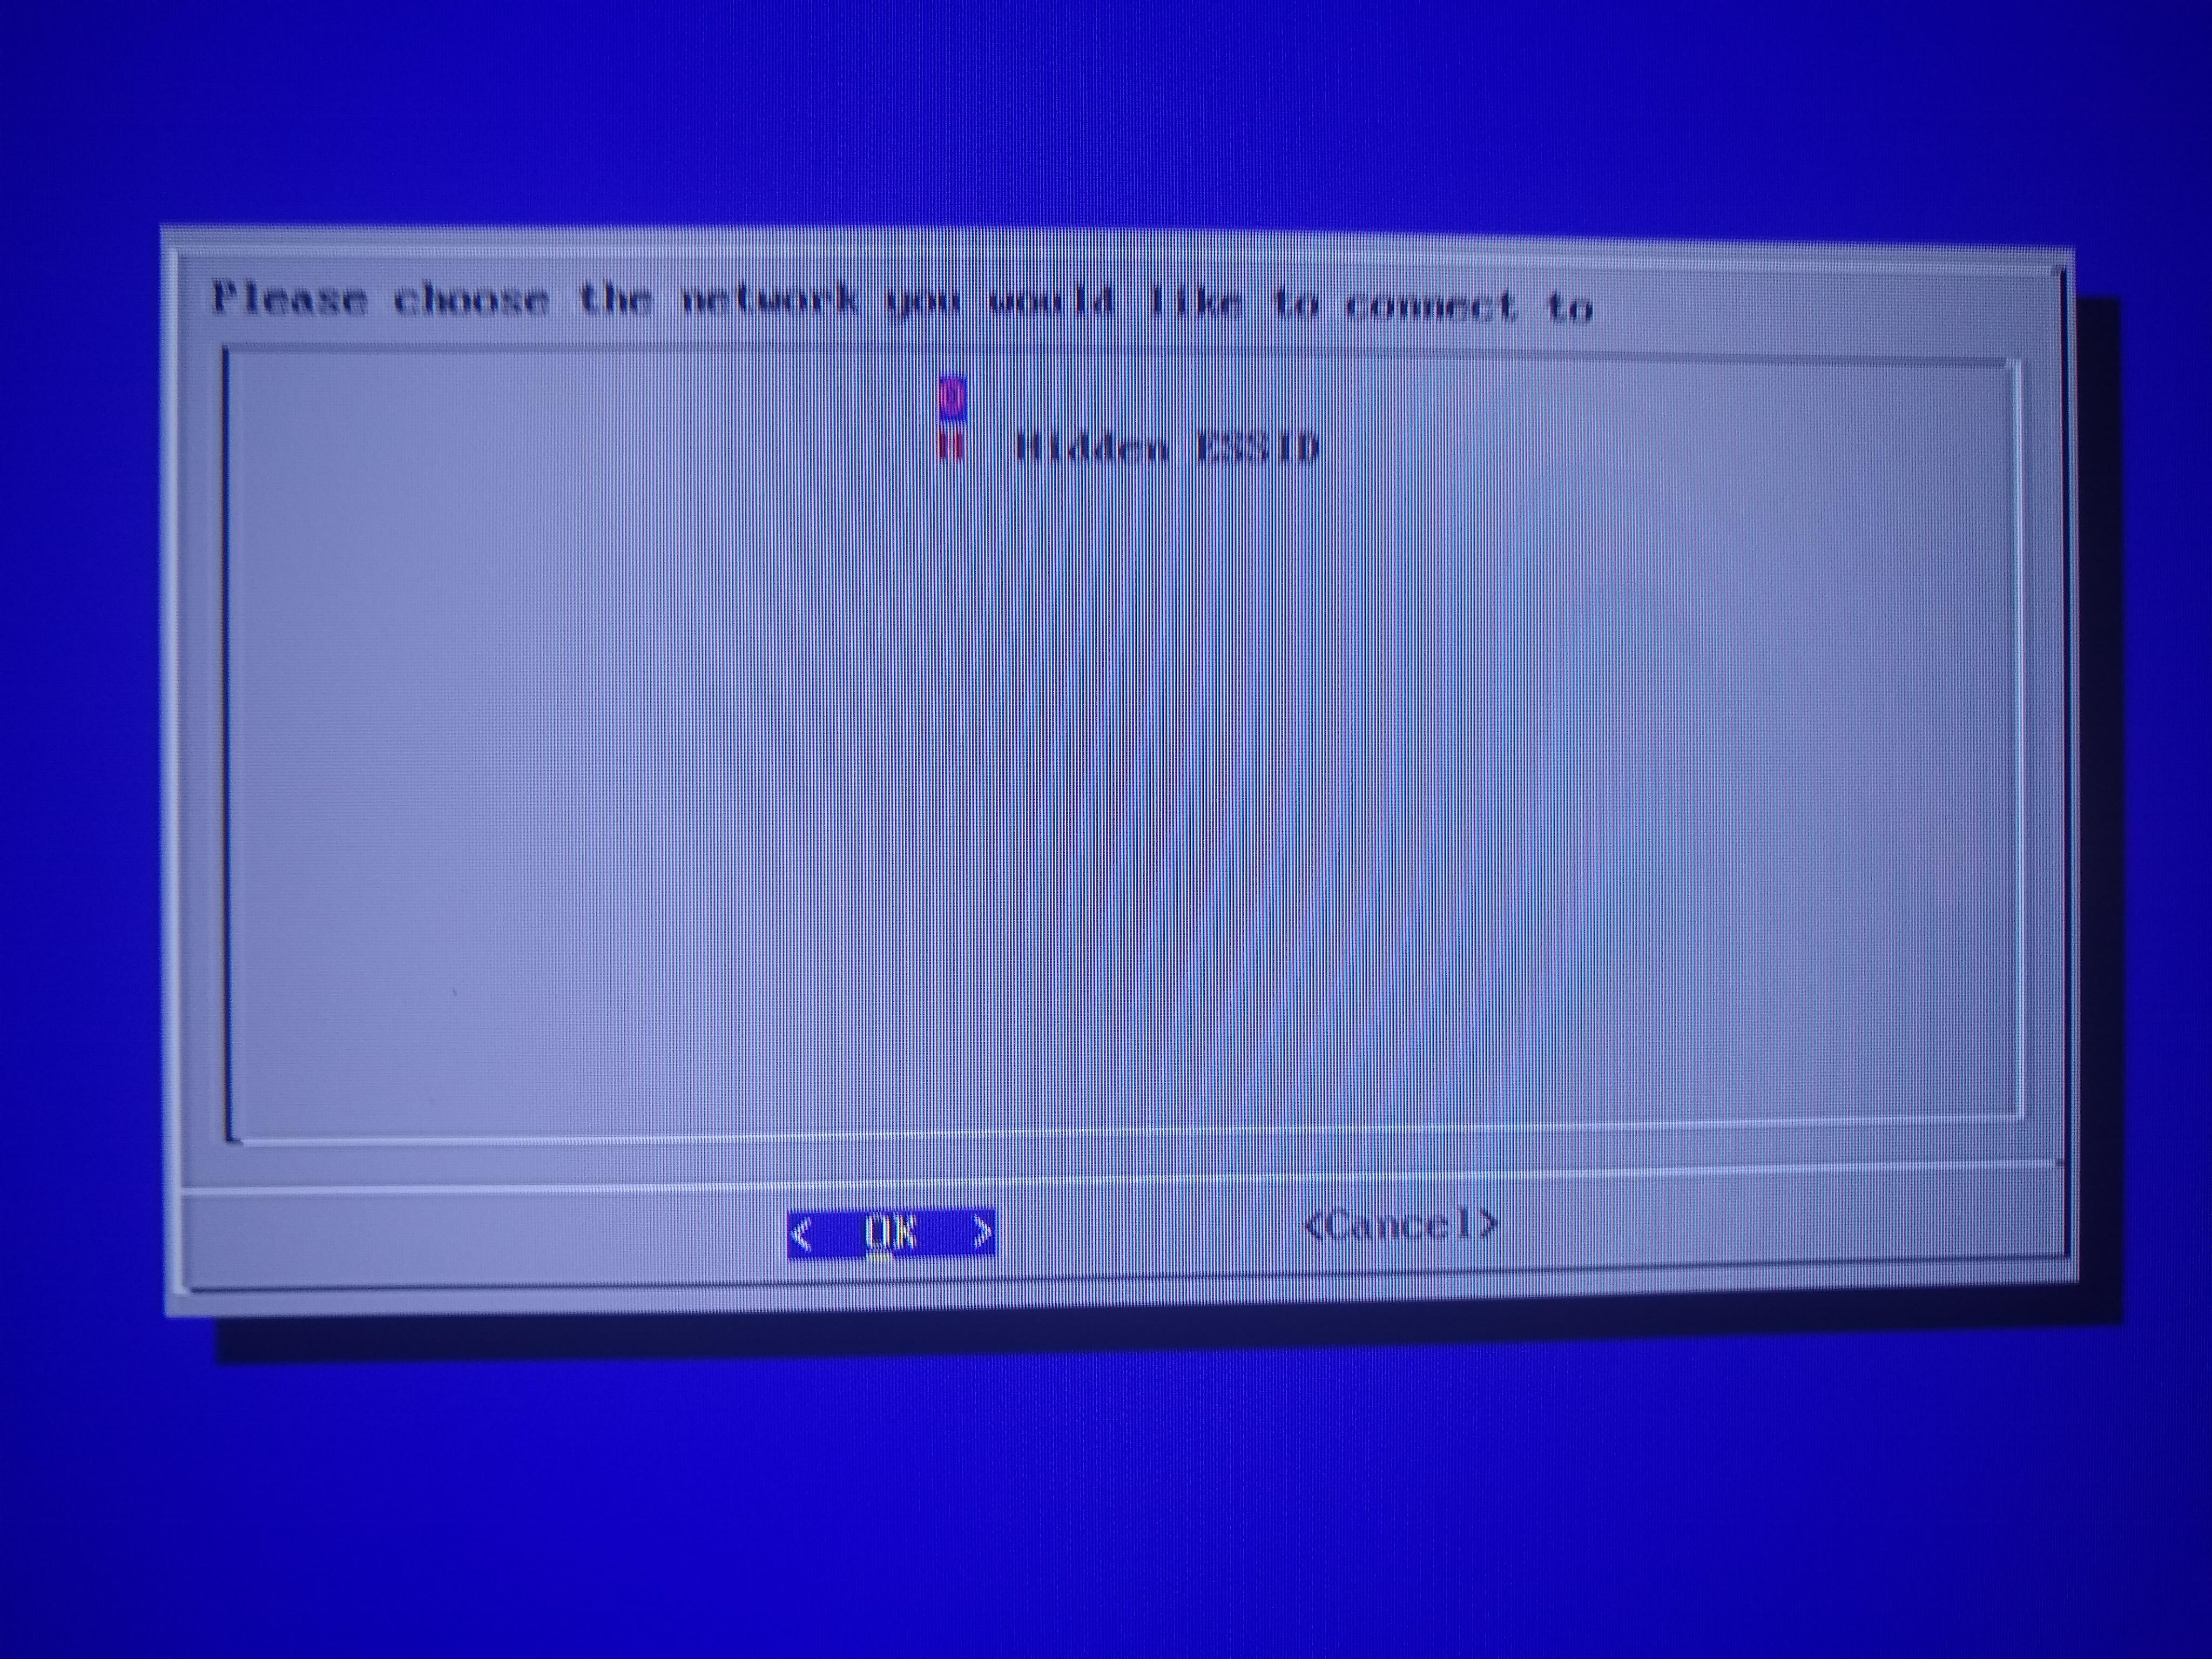
Once you’re in you can scan for an SSID and type in your password. And yes, I looked it up, there’s no way to see the characters in your password which is super annoying if you have a complicated password. You should see SSIDs, this one is blank for privacy reasons. Once you’re connected write down your IP address as you will need it next.
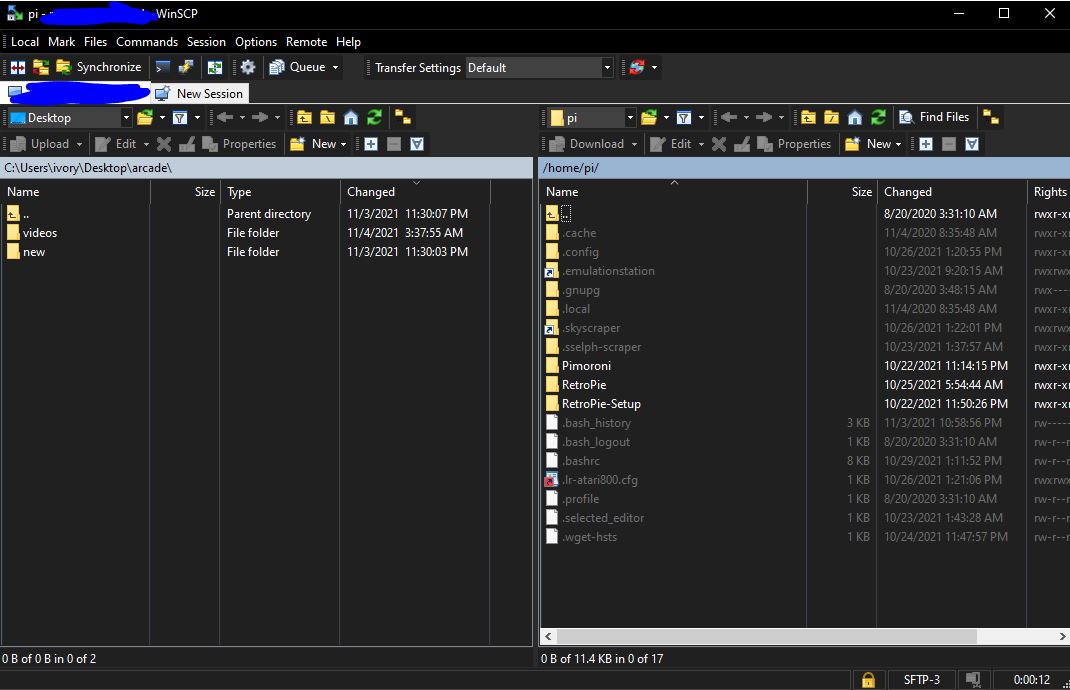
Setting up SSH on your Windows 10 PC (I’m not sure how to do it for Mac) is fairly easy. I highly recommend using WinSCP as it’s just easier and more reliable and has Windows built-in FTP stuff. Once you have it installed you need to enter your IP address from the previous screen and the username and password is always pi and raspberry by default. You can change these if you want, but…who wants to hack into your Pi? Yeah, no one.
You should now see a screen like this. Always remember that in the <root> menu that <home> is your main folder if you get lost. Inside go to RetroPie and the <roms> and <bios> folders are what you’re going to use the most.
You also need to enable hidden files by going to Options>Preferences>Panels>show hidden files
Update RetroPie and Firmware
You should upgrade your firmware if you haven’t already. If you installed a Picade you have probably already done this step, but you need to step down into a command line by pressing F4 on your keyboard and type in:
sudo apt-get update
sudo apt-get upgrade
you can then type
reboot
At this point, I recommend updating Retropie by going into the Retropie>Retropie Setup in EmulationStation. Then select Update RetroPie Script and once that’s done you can select Update.
Now we’re ready to add BIOS files and ROMs
Getting ROMs Working
Before we make Retropie look fancy we want to get games working first. I can’t link where to download them, but for Arcade MAME ROMs you can go to archive.org and get romsets. Now, I need to take some time and explain MAME and how it works as it’s very confusing and most people have trouble getting MAME up and running.
MAME is not like other video game consoles in which you can download any ROM and stick it in the folder and it plays. MAME requires the correct romset version/year for the MAME emulator you’re using. For Retropie you will mostly use mame2003plus, mame2010, and FinalBurnNeo. You must only use the romset that matches the emulator version. This is such a hard thing to find online as there are a million answers. If you go to archive.org and search for “mame2003plus romset” you should find an entire archive of them. This is also important because some ROMs only work with certain emulators and you need to have the right romset. You can’t just download an entire 120GB file and drag them all in your ROMs folder and hope they work. Now the confusing part is getting distracted by the three main emulators. Don’t worry about this. I will link a Google spreadsheet of every MAME game (or most of them) that works and for what emulator to use them with. I highly recommend searching inside the document under each emulator tab at the bottom for the game you want. Search within mame2003plus first as you want this to be your default core. Any other games needing specific emulator changes can be changed individually.
This is also mainly for a Pi3b+, so anything that says it lags will most likely run on a Pi 4 just fine. Remember, there are some popular games that just do not run on a Pi 4 and that includes Killer Instinct and some Cave 1K games. Modern fighters like Tekken 3-6will not run. This also includes certain Sega games that use the Naomi or Atomiswave boards for Dead or Alive and Crazy Taxi for example. The Pi 4 just isn’t powerful enough for these so don’t even bother.
There are also some games that require CHD files which are hard disk images that are needed to run alongside the ROM itself. You will probably not find any games that require these as most are too advanced to run on a Pi 4 anyways, so you can mostly ignore this.
For games like Metal Slug, you need the neogeo.zip BIOS file in the ROMs and BIOS folder. For games like Demon Front, you need the pgm.zip BIOS in both folders as well. I can’t link BIOS files, but Google search “neogeo.zip for mame” and something will come up.
For other consoles, I highly recommend reading the official Retropie help docs and under each emulator, it will tell you if a BIOS is needed, what format each emulator can read files in, and other settings. I also recommend compressing your CD images into CHD files as most disc-based emulators can read these and it saves space. The official docs have links to CHDMan and how to use it. There are places to download already made CHD files for systems like PlayStation. r/roms on Reddit is a good place to start.
Whenever you SSH ROMs over to your Pi you need to restart EmulationStation which is your GUI for Retropie. You can press Start>Quit>Restart ES and your ROMs should appear under the correct consoles if you put them into the correct folders.
Scraping
This is a weird term that most people don’t know, but it means downloading all the images and metadata you need for each game to make your Pi experience look presentable. A blank screen with game names just isn’t very appealing. You also want a nice ES theme to complement these scrapes, but we’ll get into that later. Don’t ever use the built-in scraper inside ES as it’s crap. You want video snapshots, wheels, and even marquees, but it’s a bit complicated and you will need your trusty keyboard for this one.
We are going to press F4 on the keyboard and type in the following:
sudo ~/RetroPie-Setup/retropie_setup.sh
Quick tip. If you press the up arrow in the command line screen the Pi remembers all the commands you type in. This is a quick shortcut when needing to get the scraping section faster or any other command you’ve used.
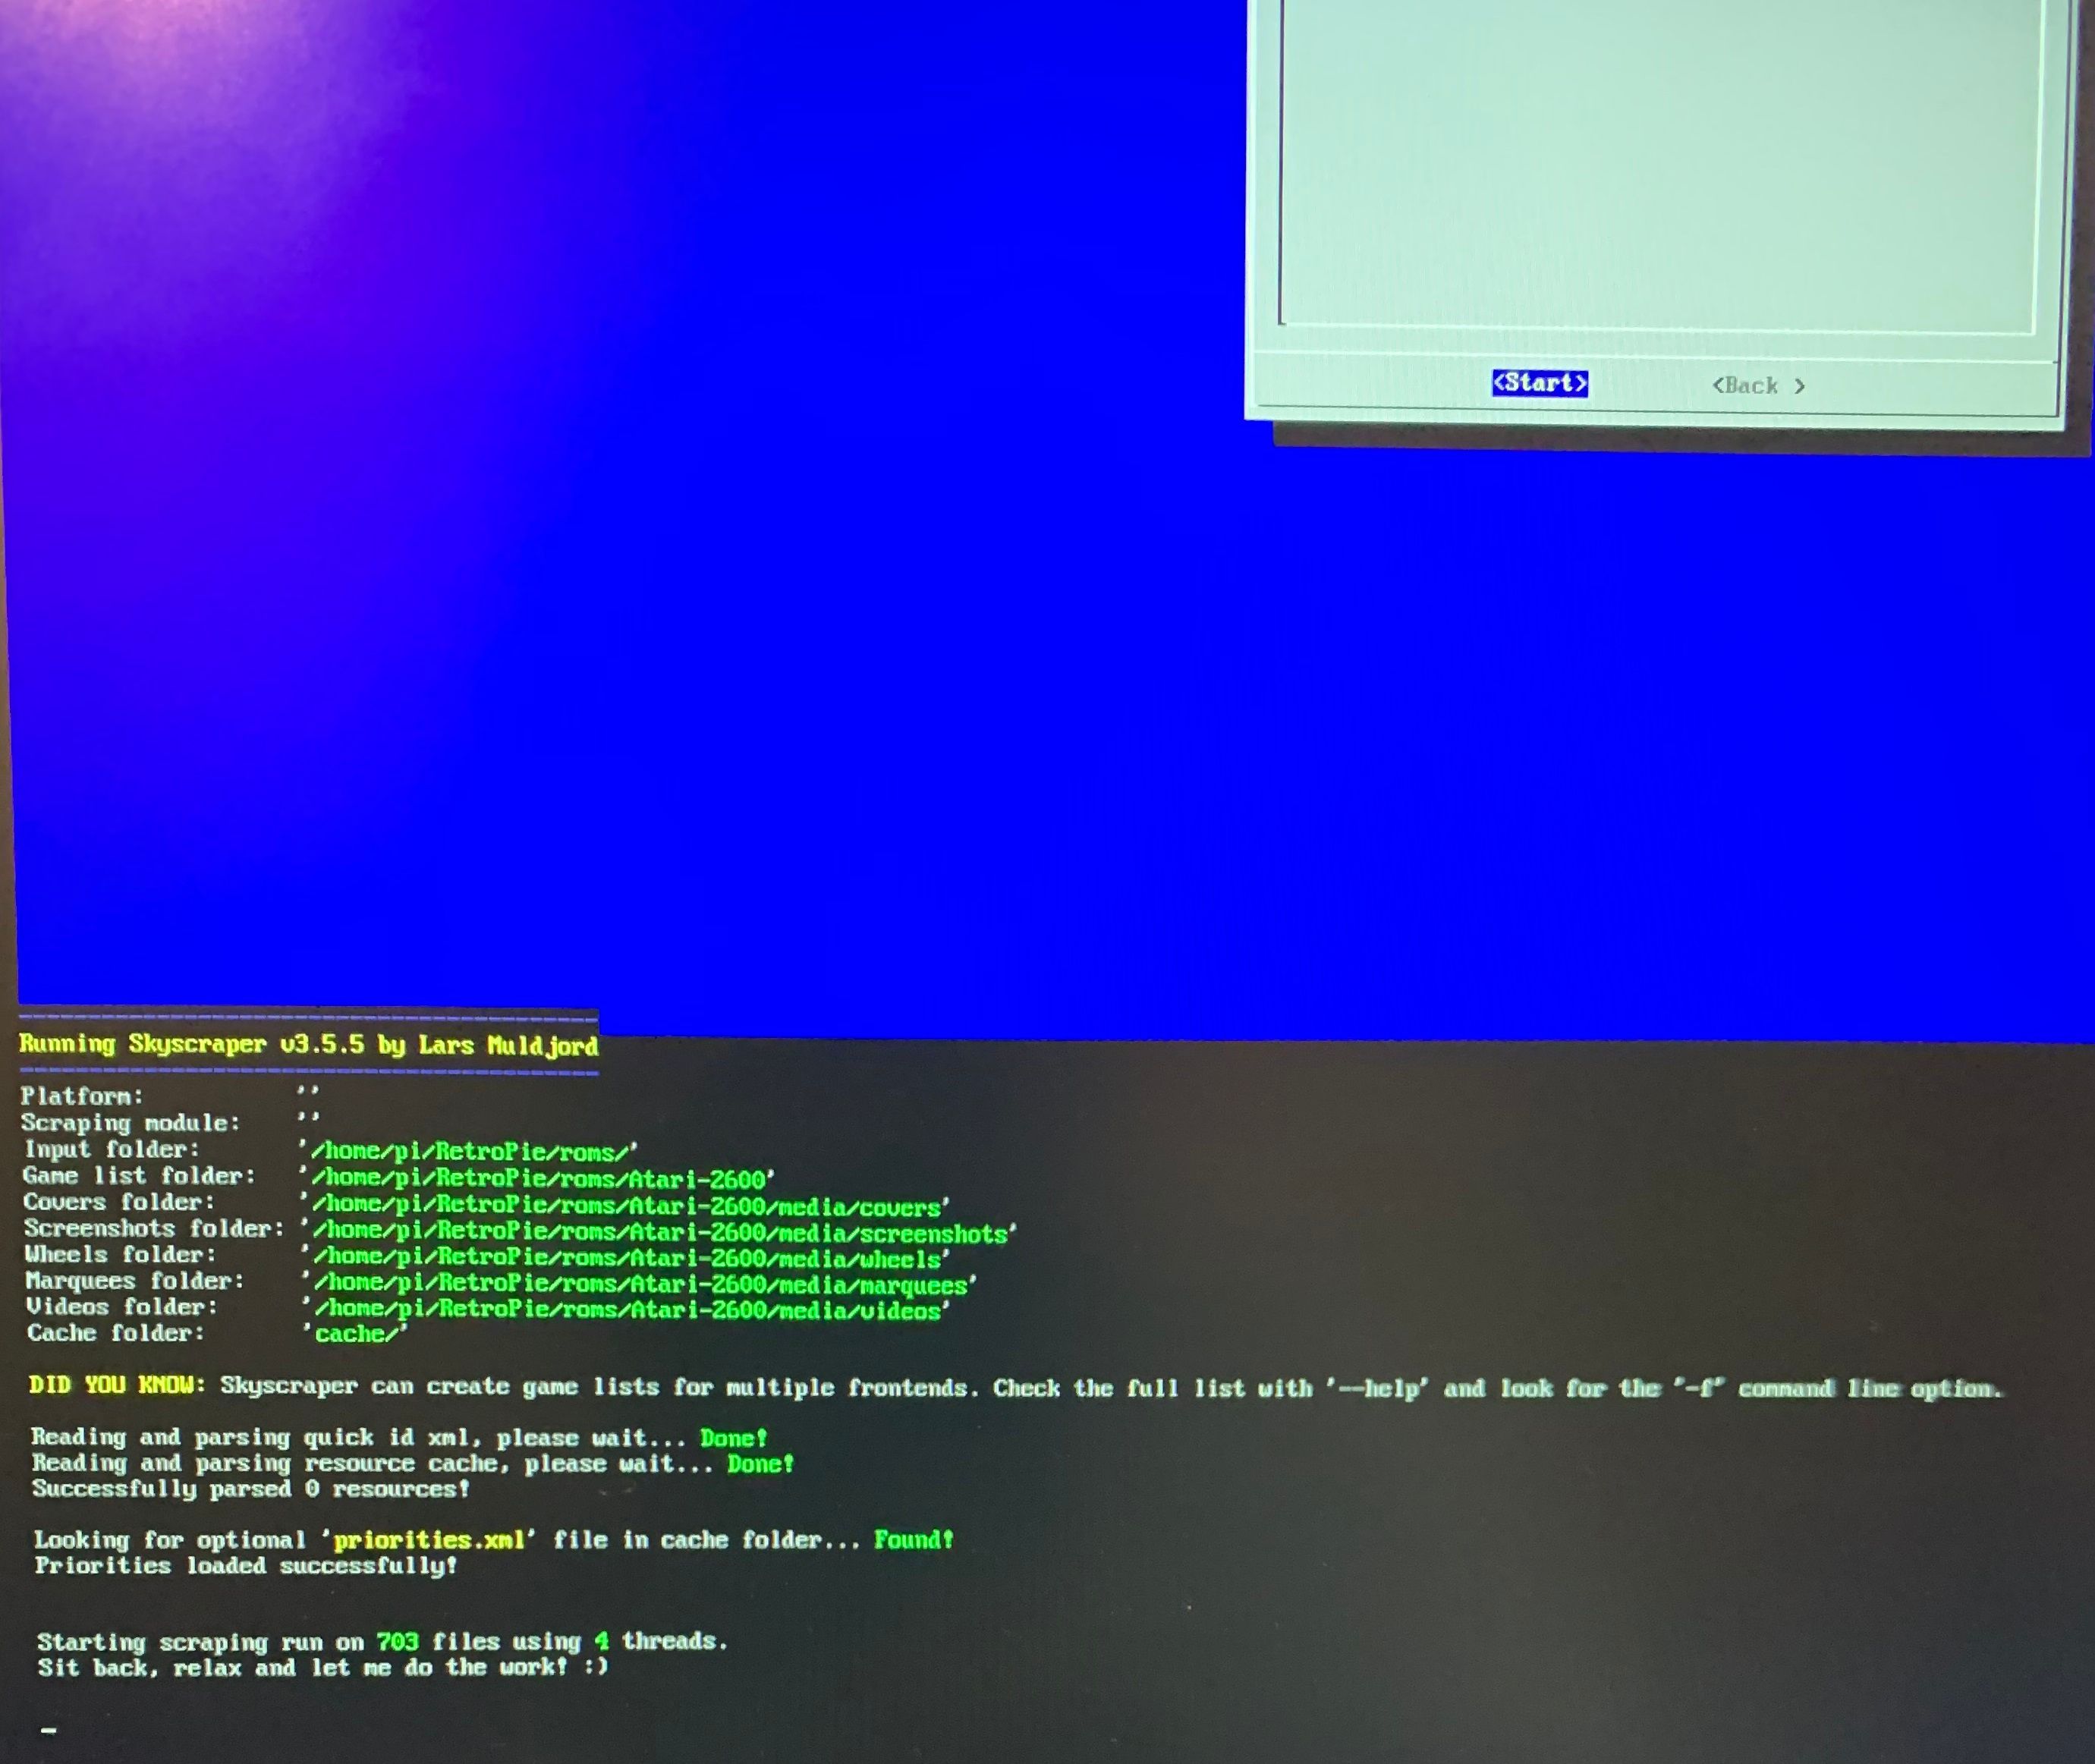
Navigate to Manage Packages>Manage optional packages>scroll down to the bottom and install the skyscraper package.
For this scraper to work correctly you will need to go to screenscaper.fr and create an account. You then need to enter the credentials in the skyscraper .ini file using WinSCP. Optionally you can edit the .ini file on your Pi by going into “Advanced options” in the skyscraper menu and editing the config file there. Pressing Ctrl+X will allow you to save the changes.
Navigate to the following location in WinSCP
/home/USER/.skyscraper/config.ini
Then enter the following at the bottom
[screenscraper]
userCreds="USER:PASSWORD"
Replacing USER:PASSWORD with your credentials.
Once this is done, navigate back to the skyscraper menu. Under option 5 “generate options” make sure ROM Names is Source Name, Remove Bracket info is enabled and the last option is disabled. Make sure “Download videos” is enabled.
Under option 3 “Cache options” make sure screenshots, cover, wheels, scrape only missing are enabled. The rest should be disabled.
Once this is done you need to go under option 1 “Gather resources” and press space to select the systems you want. After this is done let the scraper do its thing. Depending on how many ROMs you have this could take a while.
After this is down you need to generate the lists! They won’t show up in ES otherwise. Go down to option 4 “generate game lists” and select the systems you just scraped and continue.
You’re done scraping! After this backup, until you see the reboot option.
Customization EmulationStation
Themes
This is an important one and probably one of the most important visual changes you can make to make your Pi look unique. I suggest looking at a list of the official ES themes here or a video preview of them all here. Navigate to the ES Themes under the Retropie menu and select “View or update theme gallery” and then “Update theme gallery”.
Once you have the theme you want installed press the select button on your controller and go to UI Settings>Theme Set. It should change instantly. This is when you should check your scrapes. If you have a theme that plays videos you should see them playing when you highlight them. Some videos may not play and you may need to change to the OMX Player by going into the settings again and “Other Settings” and turning it on. If this still doesn’t work some videos may need to be re-encoded. Don’t bother doing this until you have all the games you want on your Pi and are happy as every time you scrape you will need to replace/re-encode all of the videos again.
Splash Videos
Splash videos are videos that play while Retropie is booting up. You will want to disable startup text and the length of the video will depend on how many games you have installed. Videos can range from around 12 seconds to a minute. These videos cover up anything on the screen so it looks cleaner when starting up.
To disable on-screen text that you see during the start-up phase you can do so by dropping down into the command prompt with F4
sudo nano /boot/config.txt
go to the very end and add this line
disable_splash=1
These videos are usually in .mp4 format and can be ripped from YouTube videos and dropped into
Here’s a link to an entire playlist of professionally made splash screen videos
Properly Encoding Troublesome Videos
If you have scraped videos for your theme and some aren’t playing at all or have no sound or video then you might need to re-encode them. SSH into your Pi and navigate to
There should be video folders within each system folder. Download and install Handbrake. Under preferences change the output file name format to just “{source}” as you want the file names to stay the same. You don’t want to go renaming possibly dozens, or even hundreds, of videos by hand. You can also batch convert these files, but make sure they convert into .mp4 files. Once this is done you can just overwrite the files in each system folder.
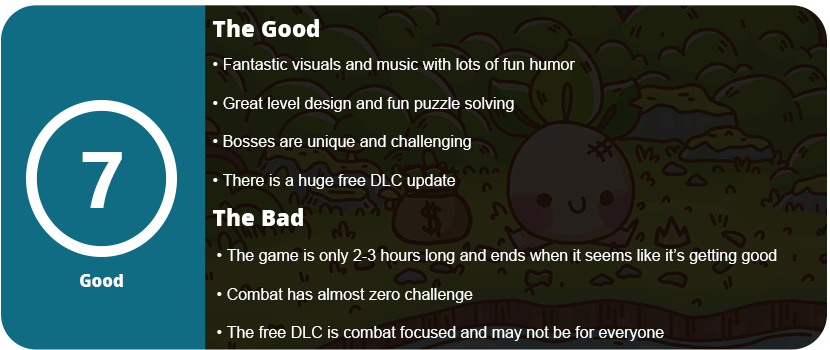
The title is very intriguing, unlike most game titles. Another game title based on a crime, Grand Theft Auto, is the single biggest video game franchise in history, so how does a white-collar crime-based game compare? Well, there are no data sheets or graphing in this game, but this is a 2D isometric Zelda clone where you are trying to stop a corrupt onion mayor from pushing his greed onto the vegetable people.
The game starts out with a short opening of you, Turnip Boy, who hasn’t paid the property tax on his greenhouse and owes a lot of money. He is wanted for tax evasion and must work off the debt by helping the mayor collect four items for an unknown reason. These four items make up the entirety of the game, as well as four small dungeons. There is a small world to explore with collectible hats that can be obtained by helping veggies around the area. Each dungeon contains a final boss and an item the mayor needs.
Wandering around the village is easy enough and memorable, thanks to the landmarks and great level of design. There are signposts that guide you to the general areas, and the mayor will tell you what area you need to be in. There are plenty of NPCs to talk to that provide fairly funny dialog. Nothing that will make you cry, but some funny tidbits and real-world references from the last 5 years. You start the game with nothing and eventually acquire a sword and a watering can. The can is used more than the sword, but mostly for puzzle solving. You can make green lilies grow, and this activates bombs, melons, and various other items. You also get a portal pot that plants portals (a callback to Portal with the orange and blue colors) and an upgraded shovel sword (maybe a nod to Shovel Knight?). There are a few passive things you acquire, like a hazmat suit, boots to kick blocks, and a few others. These were all recovered relatively quickly. Each dungeon takes maybe 30 minutes to complete, and that includes getting to the dungeon itself. Boss fights are the hardest thing in the game, and that’s not saying much. The combat is really easy and similar to older Zelda games, but there aren’t as many enemy types, and their movements don’t vary much. There’s very little challenge in this game.
Bosses usually require you to use the last acquired item to beat it, just like in Zelda games, and then you get a heart and move on. Once you give the mayor his item, he sends you on your next quest. Inside these dungeons, you can help other NPCs and acquire hats or smaller passive items like keys to get further inside. I never really got lost anywhere, and I thought exploring the game was rather fun. Sadly, due to the combat being so easy and the game being so short, it takes about 2-3 hours to run, even if you do side quests. It’s no more than a short afternoon gaming affair. There’s nothing quite memorable about this game other than the title itself and the art style, which is beautiful and well done. It’s a mix of 16-bit visuals and modern cartoon art. The music is fantastic as well, but there’s just not enough of all of this. Turnip Boy’s dungeons are fun and well laid out, but they’re very short, and I feel there’s so much more potential here, but it’s all cut short right when you feel the game is getting deeper.
There is a free DLC update that adds a rogue-lite train dungeon with a final boss, but if you aren’t fond of the combat, you won’t care here. Unless you really want to spend several hours swinging your sword at stiff baddies, then the final game will be enough. There are a few more objectives to complete and more hats to collect, but the main game isn’t long enough to make you love this game enough to want to spend more time in its world. What’s here is a ton of fun, and it’s a visual and comical treat, but it feels more like a sample of what a longer game could be. The puzzles are solid, the gameplay mechanics are great, the combat is simple but works, and there’s tons of humor here. It’s a fun time and worth a purchase, but don’t expect anything groundbreaking.
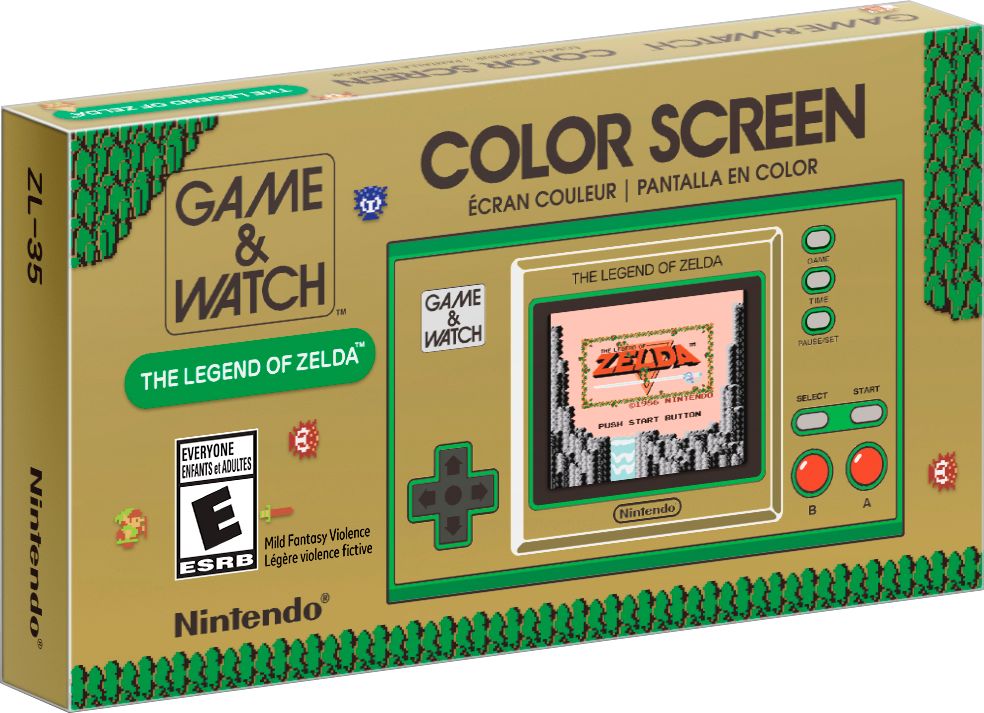
The Game & Watch series is Nintendo’s first foray into video games and handhelds like the GameBoy Micro, and even the DS drew inspiration from it. It’s also not going to attract the attention of anyone under 25 who isn’t just curious or truly into retro gaming. The original Mario Bros. release was underwhelming, as it didn’t have much value for your money. They could have easily added the entire NES Mario library at no extra cost but chose not to. It seems Nintendo listened this time, as the entire Zelda NES library is included here in a nice package with extras.
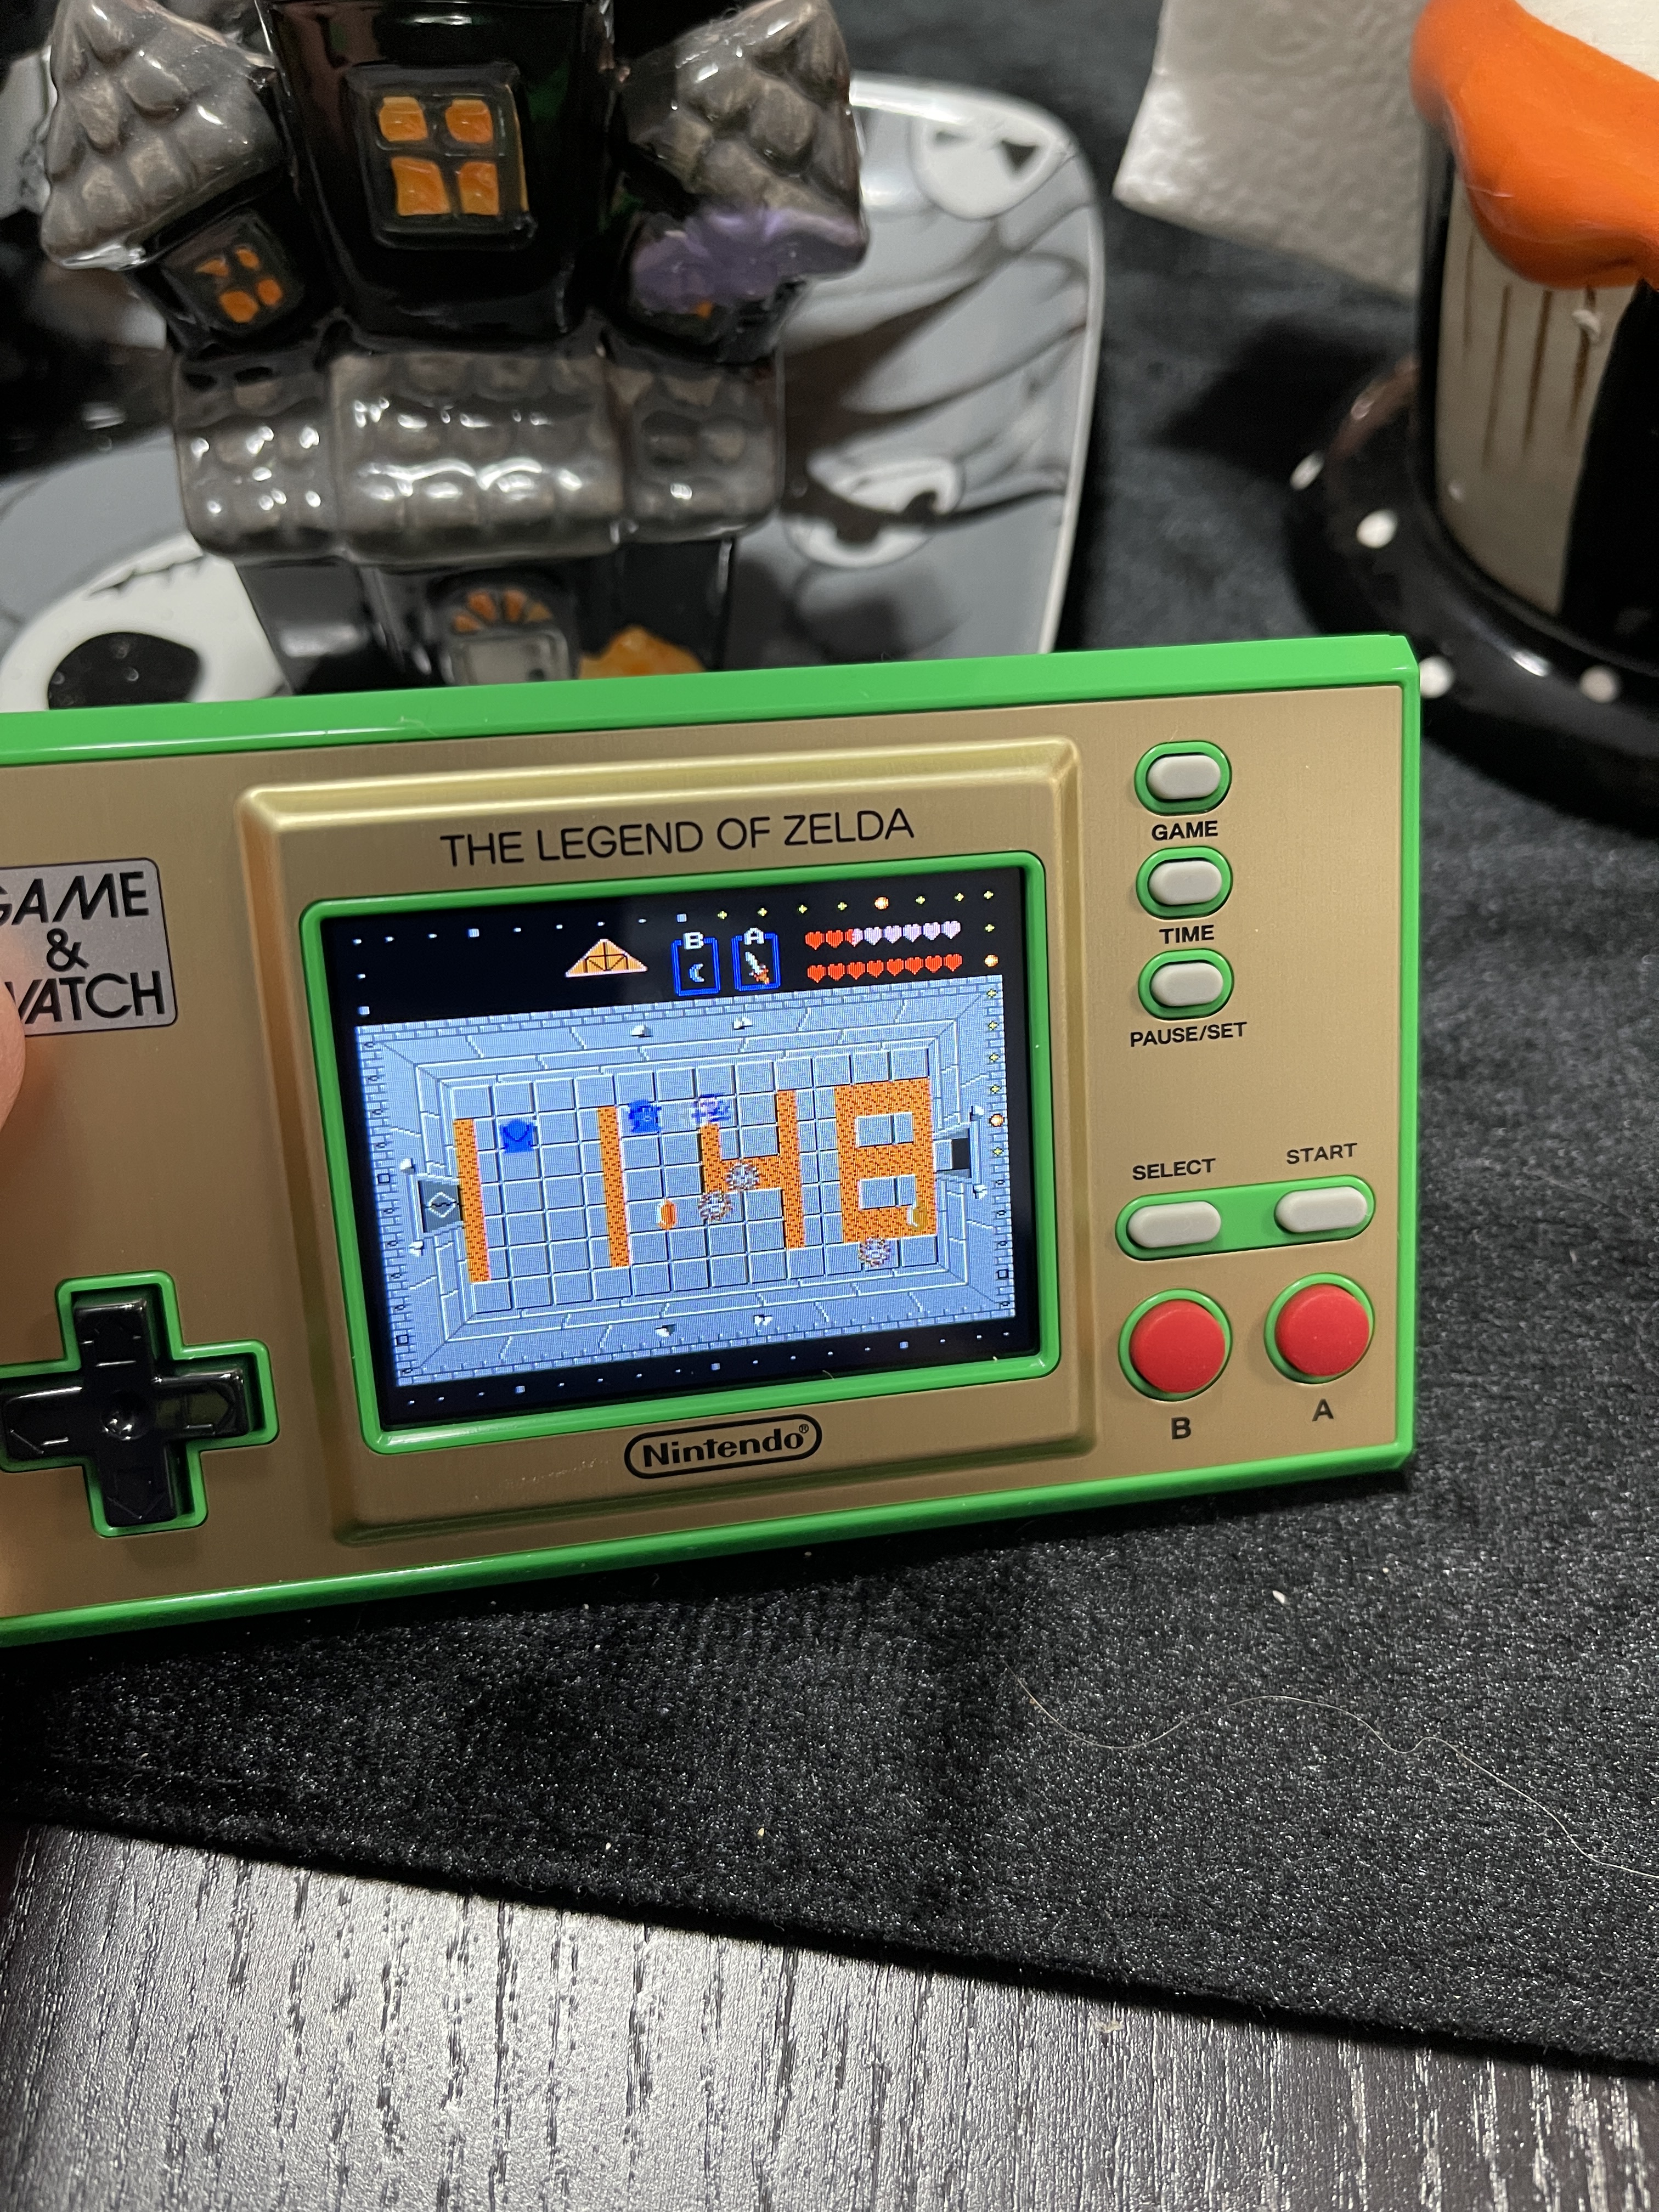
The unboxing experience is quite nice here for such a small, proprietary device. The handheld comes out in a display box (more on that later), some of the usual safety pamphlet stuff Nintendo does, and a code to redeem 300 platinum coins on Nintendo.com (which are used to redeem things that actually matter, like physical items). The device itself is inside a foam sleeve, and that’s your lot. The charger is hidden away inside a “compartment” of the display box, and this is a tiny three-inch USB-C cable, but any cable will work. This one just so happens to be Nintendo-branded, so collectors might want to hold on to it and not lose it. When you power on the device, you will be greeted with a splash screen of Link himself plopped right into the “main” screen, which is the clock. If you press the Pause/Set button, you can enter the system’s settings, which allow you to change the sound and brightness and turn off sleep mode (if plugged in).
Once you have your time set, you can go into the game selection screen and choose between the original Zelda, The Adventure of Link, and Link’s Awakening. You can also play the Game & Watch series Vermin, which stars Link himself. You can then use the timer app as well. So, these sound great on their own, right? Well, this entire device is chock-full of Easter eggs and features that you will probably miss or never know about without playing around with or reading about them. First, the timer and clock screens both have playable games built into them. The clock features several screens, and Link will take 12 hours to complete the “game,” or you can control him yourself. There are hidden Easter eggs here, such as fairies appearing when the clock says 2:22 and other things happening when all digits are the same number. The game’s lighting will affect the time of day as well, which is really neat. There are also several language versions for each game, and you can experience their regional differences. This is more of a historical curiosity thing for most, but it’s nice that these were all included.
The Timer app has three backgrounds you can cycle through and a time attack mode. Every game has cheats built-in that will give you full hearts if you hold A for five seconds while starting a new game. The clock screen can switch from the 8-bit ticking sound (which is really freaking annoying, by the way) to the game’s music and sound effects. There is also an auto-save feature that resumes right where you left off. You can easily switch between all three games and never lose your spot. There’s also a manual-save mode by holding A+B+Select+Start. Vermin has an extra-hard C mode if you press A for five seconds, and the clock screen will also cycle through 11 different backgrounds before going into sleep mode.
If that isn’t enough to keep you busy for a while (seriously, this would be a great stocking stuffer as it’s great value for your money), you get a nice little cardboard display that has a fold-out stand in the back, which is made from the tray the device sits in. This isn’t going to hold up over time, so I suggest you get a third-party stand or something that someone else made for the long term. Collectors will probably not want to use this either. And, as a nice little bonus, the rear tri-force logo lights up when it’s on.
So, that’s your lot. Three fantastic and iconic Zelda titles and the Game & Watch title tie it all in with fun interactive apps. The device itself is what you would expect from Nintendo. It’s lightweight but has sturdy plastic, and the screen is gorgeous with sharp colors and a vivid picture. The speaker is great too, and it spits out 8-bit tunes clearly and doesn’t sound tinny or anything like that. While these games are emulated ROMs, they don’t have any issues and work just fine. The D-pad feels amazing, and while the two face buttons are a bit rubbery, they’re fine for this device. It just looks gorgeous and is a fantastic piece to display as well. Overall, this is how these need to be done in the future and is well worth the $50.
I personally love short indie games, especially if they can deliver something pretty crazy in at least one department. A great story, fun gameplay, or crazy visuals are what Happy Game delivers here. There is no story, no dialogue, and no pretense. You just play as a ball-shaped kid who goes to sleep and has nightmares about three of his favorite toys. Each toy needs to be rescued and falls under one of three chapters.
The first nightmare is about the boy’s ball. He gets beat up, and it’s taken from him, and you use just your mouse to drag the boy around and manipulate objects. Pushing, pulling, twisting, rotating, and anything in between is the name of the game here and the only gameplay element. Every single screen is something completely new, and it’s either gory, crazy, scary, weird, or creepy. I never got bored looking at this game, and the few puzzles that got thrown in were quite fun as well. The game is never complicated or requires using your cerebral jelly, but manipulating certain objects in a certain way is how you solve the few puzzles. The second toy is a stuffed rabbit, and the third is a dog.
I can’t describe the game or give a clear vision without you playing it. It’s just so much fun to look at. The game’s strongest point is the visuals here, as in every step of the way something new is presented. From pulling apart toys to revealing creepy things inside, murdering various oddly shaped creatures, helping other creatures, pulling eyeballs out of skulls, and the list goes on. There’s so much here in just one hour that I have to applaud the developers for giving us so much content and diversity in such a short period of time.
The game is also full of a lot of atmosphere. Most of the game is in black and white to emphasize blood and gore. There’s really creepy music; the boy grunts a lot and cries and shouts but never speaks. The facial expressions on every object are very detailed. This is a moving piece of horror art, or even a hand-drawn haunted house ride, if you will. Very rarely did I not know what to do or couldn’t figure something out. Maybe two or three scenes are a little obscure, but eventually, I did move on.
Sadly, there’s zero replay value other than just experiencing the visuals again. It’s incredibly short-lasting, maybe an hour, but it’s a very entertaining hour. It’s hard for me to score these types of games above an eight, even if they are amazing, because there’s an issue with the length, and there’s almost no gameplay and usually zero stories or character development. These types of short indie games are mostly visual treats or just a quick fast-food type experience that’s rarely as endearing as games like Journey or Monument Valley but are just fun enough to warrant your time. Happy Game is by far one of the most visually striking games of the year, and sadly, it’s going to get looked past due to these negatives that most indie games get bashed for. I’m not personally bashing Happy Game for its shortcomings, as it’s not trying to provide you with some of everything and presenting a mediocre package. Its strong points are worth noting and playing for, and that’s just fine.


ORC is probably the worst game in the entire series. It's objectively awful. Being bad isn't different. Different is Outbreak…